We now have our SuperMicro server setup, and the esxi7 network settings are configured. It’s time to deploy our 3 nested ESXi7 vms. In later steps, we will configure them to use vSAN and be managed with vcenter.
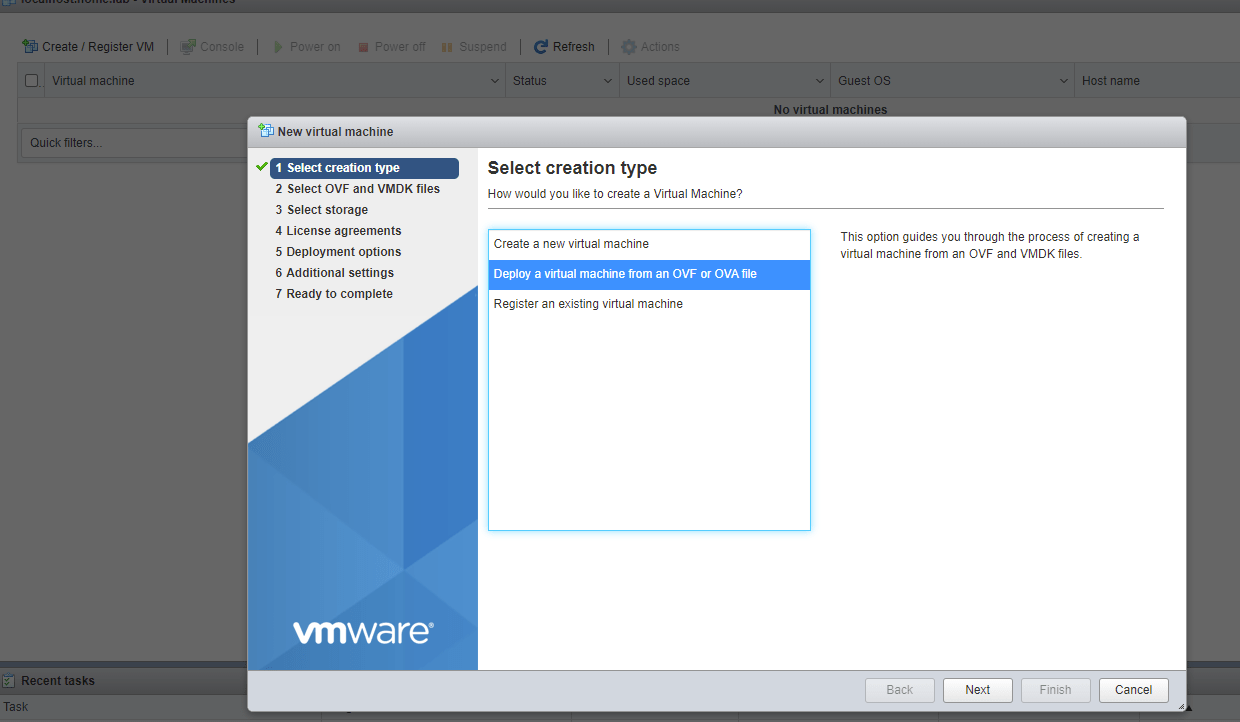
Navigate to the virtual machine tab. It’s time to setup our nested ESXi7 vms.Click “Create / Register VM” and you’ll see the popup above. You can deploy esxi in 2 ways. We’re doing the ova method, so select the second option.
Methods to install nested ESXi in your lab:
The method we used for the baremetal install. Basically mount the ISO as a (Datastore ISO) to a newly created VM, and go through the install process. This takes time to do for 3 vms, and i’m lazy
Use a preconfigured ova, and just modify it to our needs. We will be using this method. Head on over to William Lam’s website to download the ova. Filename: ESXi 7.0 Update 2a Virtual Appliance.
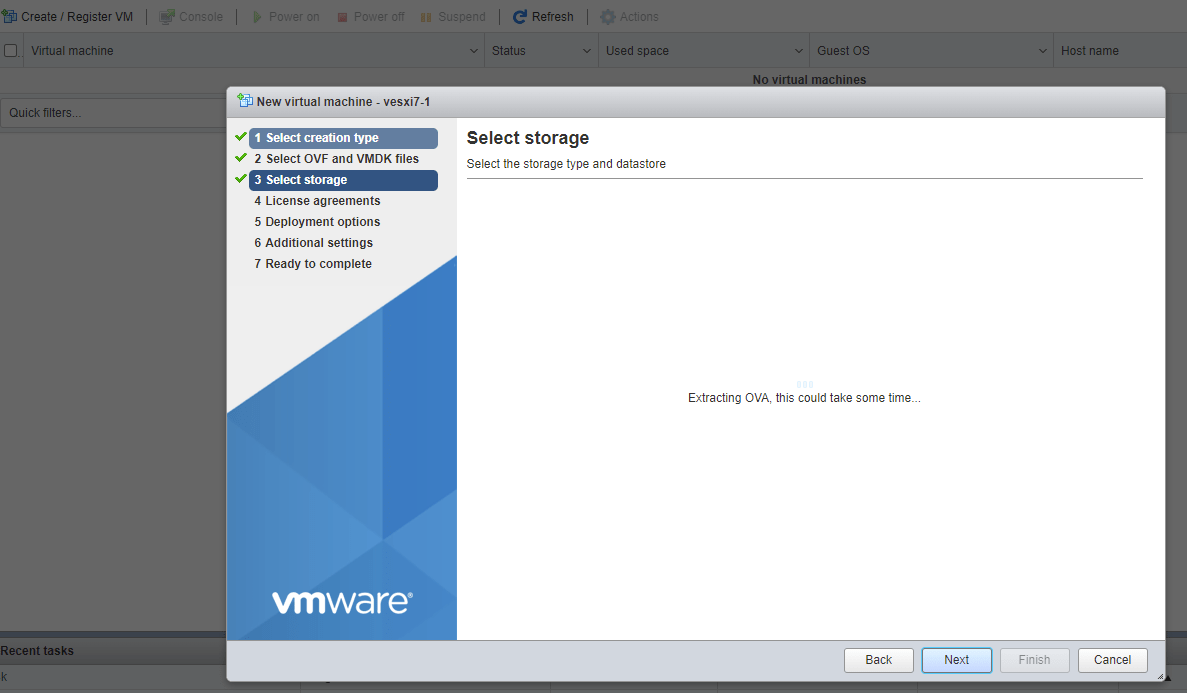
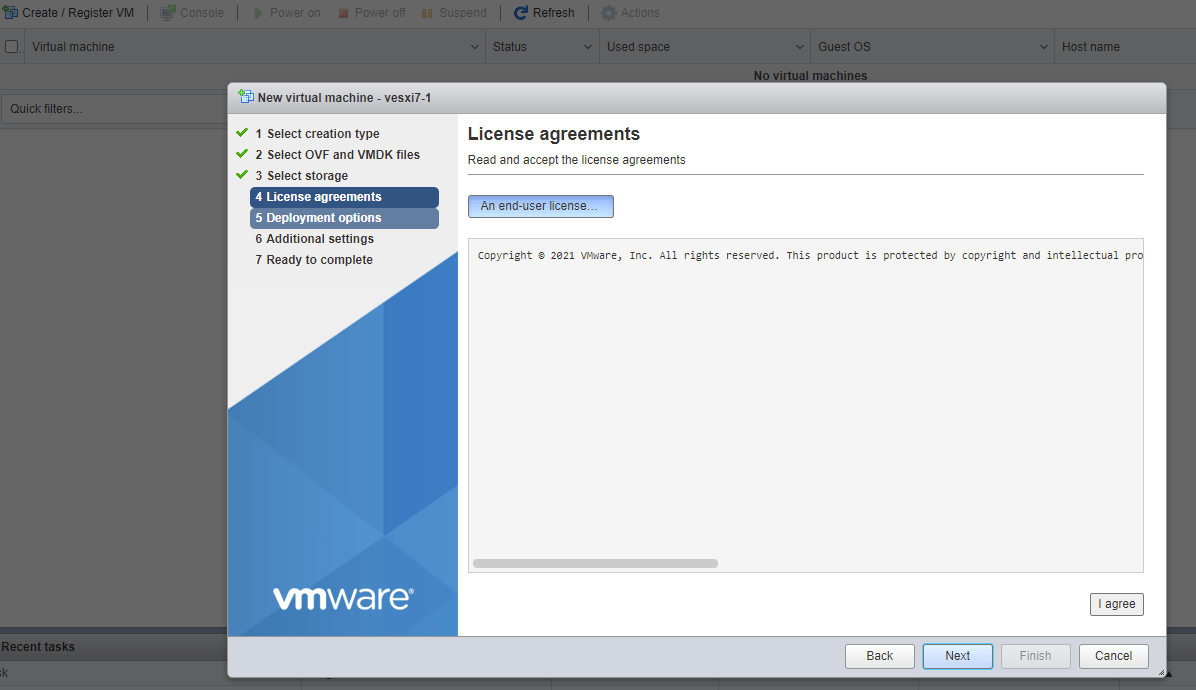
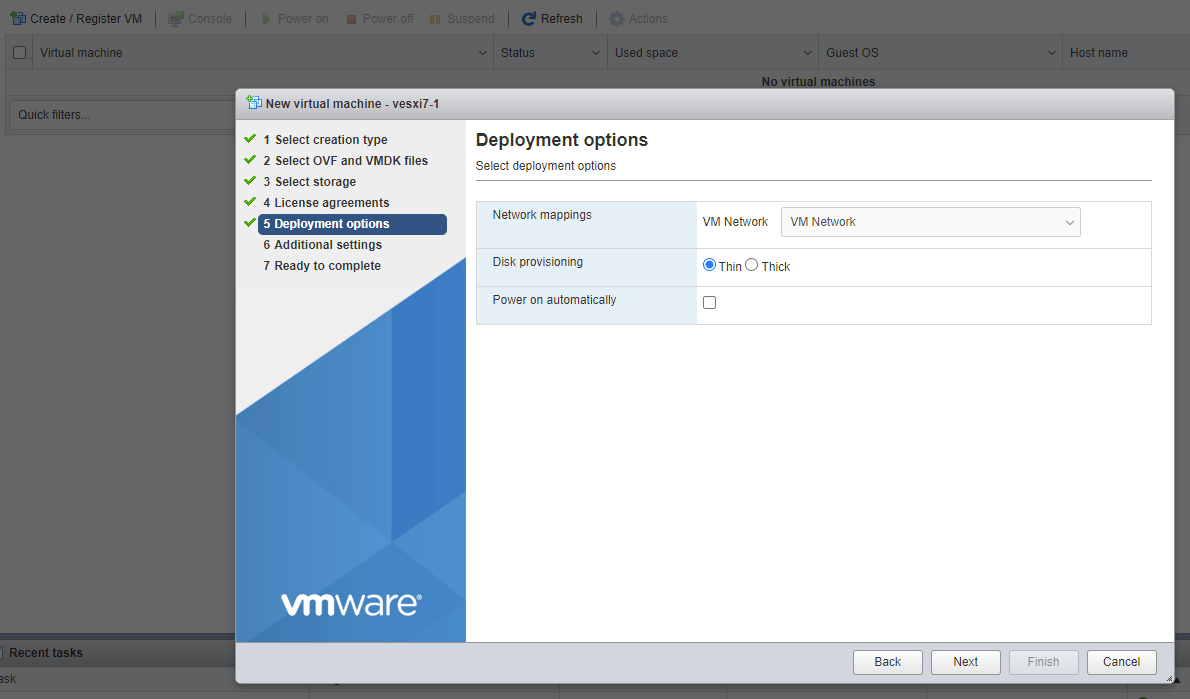
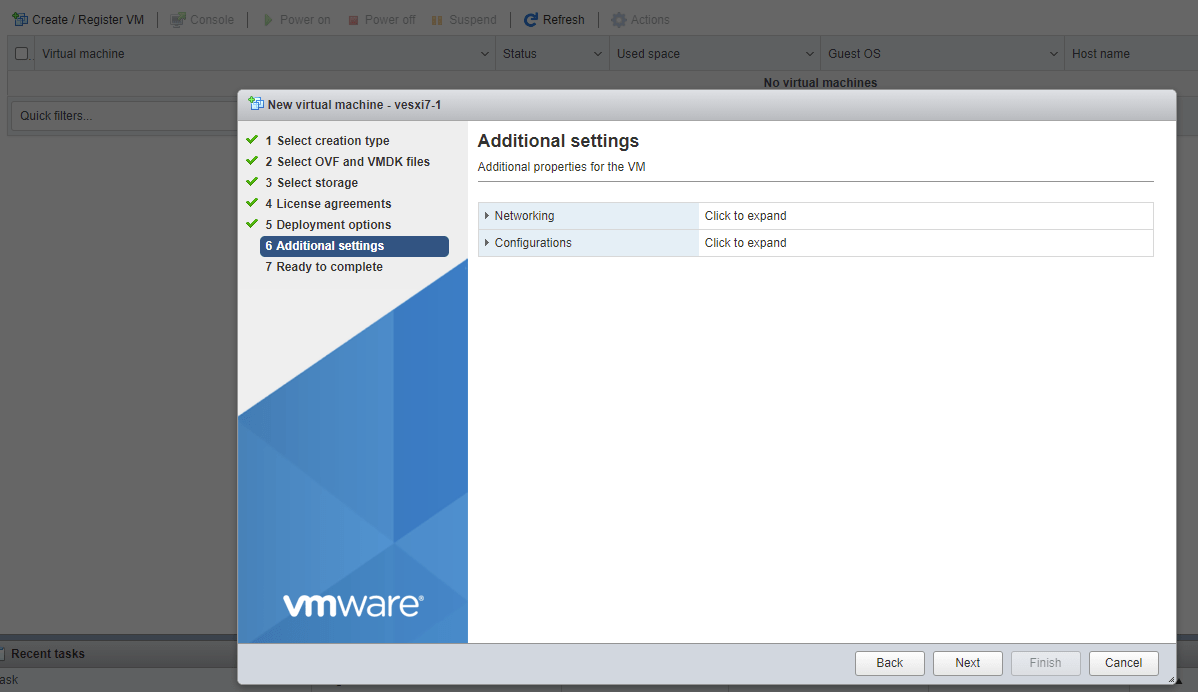
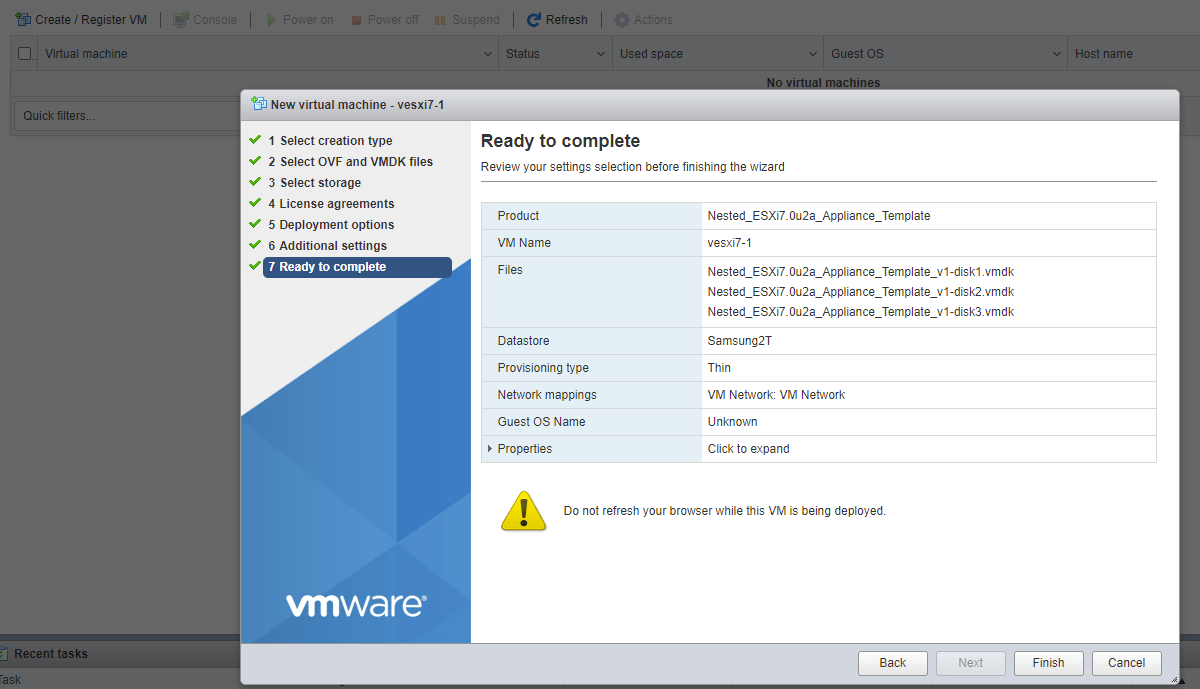
Specify the name and download the ova from the above link (William Lam’s website) and select that ova image here.Select your storage deviceThe ova will take a few minutes to extract, be patient..Once it’s ready, click I agree to accept the EUL and click Next.Select VM Network, and Disk Provisioning Thin. Deselect Power on automatically. Next.Leave all these default, and click Next.Here’s the summary page, select Finish.
Configure the 3 nested ESXi7 VMs
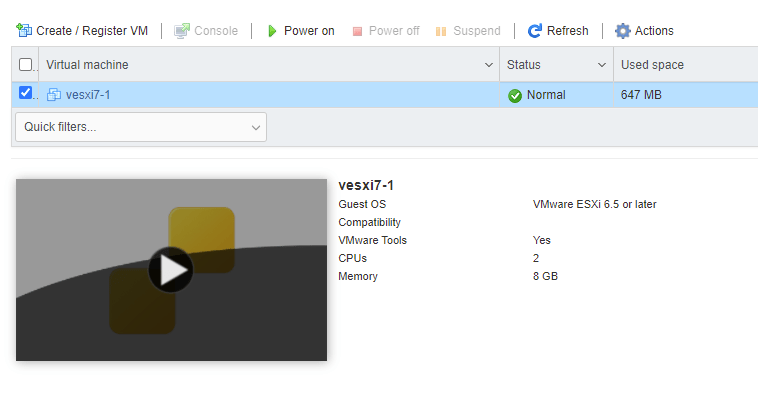
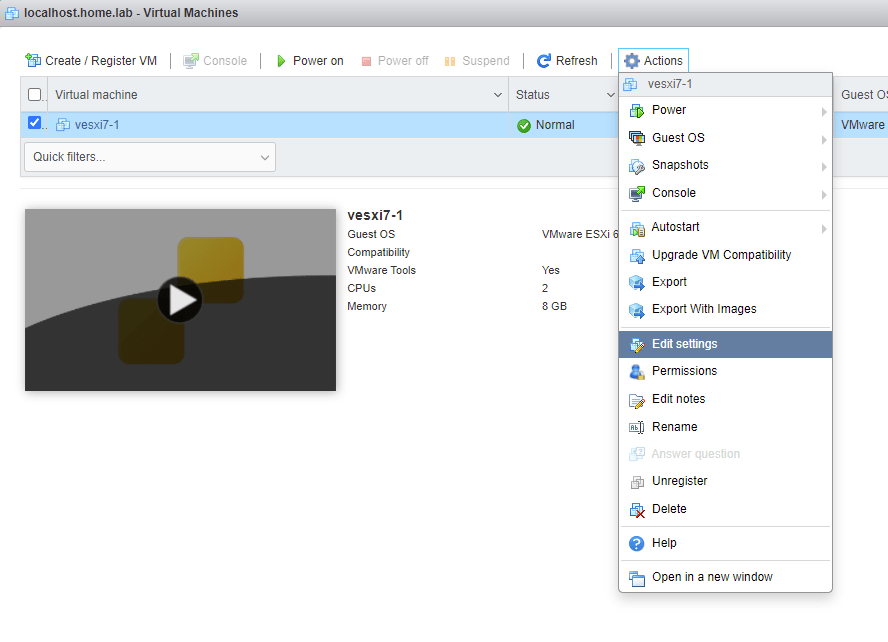
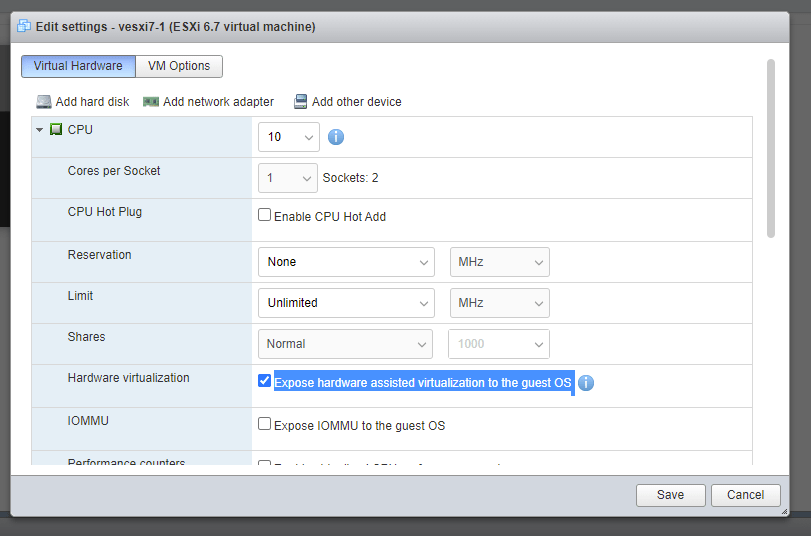
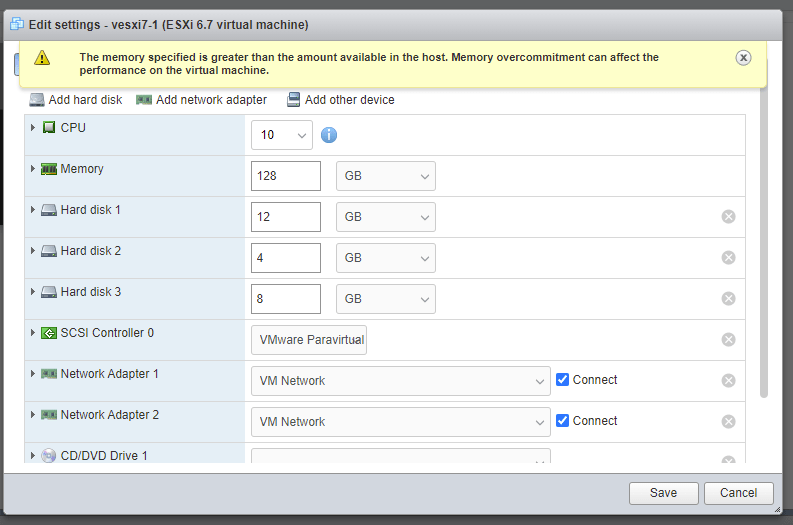
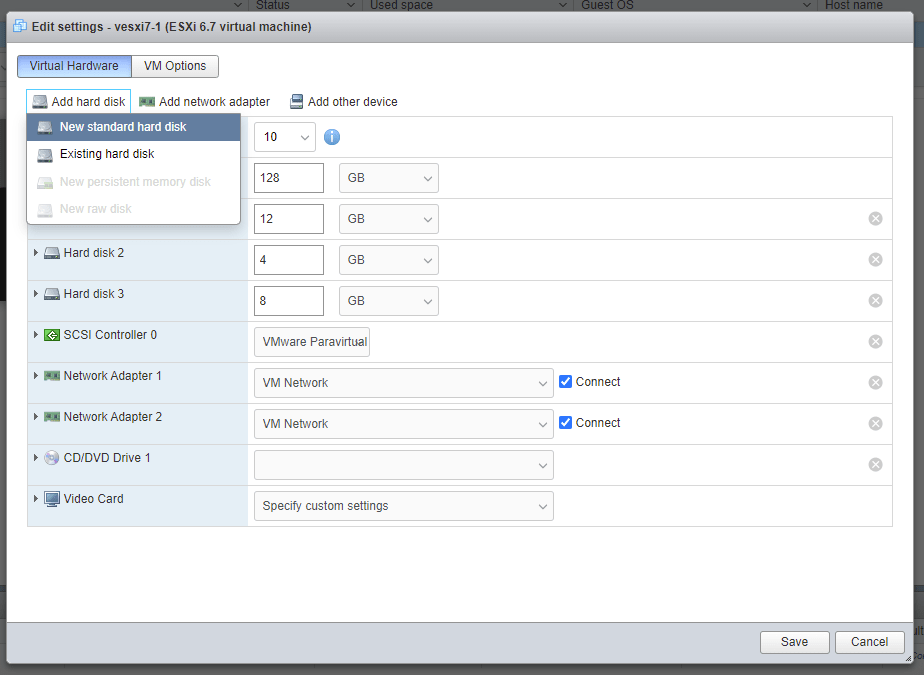
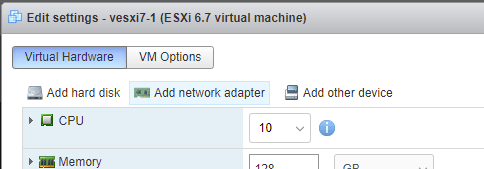
Your screen should look like this. the vm is deployed, but it is powered down. If it’s not powered down, please do so now.Click on the VM and goto the Actions menu, select Edit Settings.We’re going to overprovision our environment pretty heavily here. My vsphere license allowed me to have 32 cpus, so I provisioned 3 ESXi hosts with 10, 10, and 12 CPUs. Depending on what your license is, you might change this number up or down slightly. Make sure “Expose hardware assisted virtualization to the guest OS” is checked!yada yada, Warning saying be careful about over provisioning lol. Ignore it CPU is 10, memory is 128GB, everything else is default so far. Don’t worry about memory reservations under Memory tab, I left all that default.Create 3 new disks, these will be used for vSAN. (You will create 3 disks on each of the nested esxi vms)Pay attention to this step!!!!!!!! Set the hard disks to the GB as I listed above (Most importantly that the new disks are 200gb or more AND THAT THEY ARE ALL SET TO “Thin provisioned” If you select Thick, it will auto fill the space in your SSD, thin, it uses it as needed. Every disk should be thin provisioned in this setup.Navigate back to the top and click “Add network adapter.” You will be adding 8 more network adapters, for a grand total of 10.Make sure they’re all connected and configure them as shown above. Leave all the other settings under the networks default.CD and video card, leave default.Click Save and you should see a screen similar to above.
Repeat the above steps to create 3 total ESXi nested vms: vesxi7-1, vesxi7-2, vesxi7-3
12 vcpu (12, 10, 10)
128 GB memory
12 HD1 thin
4 HD2 thin
20 HD3 thin
200 HD4 thin
200 HD5 thin
200 HD6 thin
Network Adapter 1 vLAN10-Management
Network Adapter 2 vLAN10-Management
Network Adapter 3 vLAN20-vMotion
Network Adapter 4 vLAN20-vMotion
Network Adapter 5 vLAN30-vSAN
Network Adapter 6 vLAN30-vSAN
Network Adapter 7 vLAN40-vmNetwork
Network Adapter 8 vLAN40-vmNetwork
Network Adapter 9 vLAN50
Network Adapter 10 vLAN50
After you’ve finished, you’ll see 3 vms as shown above. Go ahead and power them on.
Powering on the Esxi hosts and setting management network
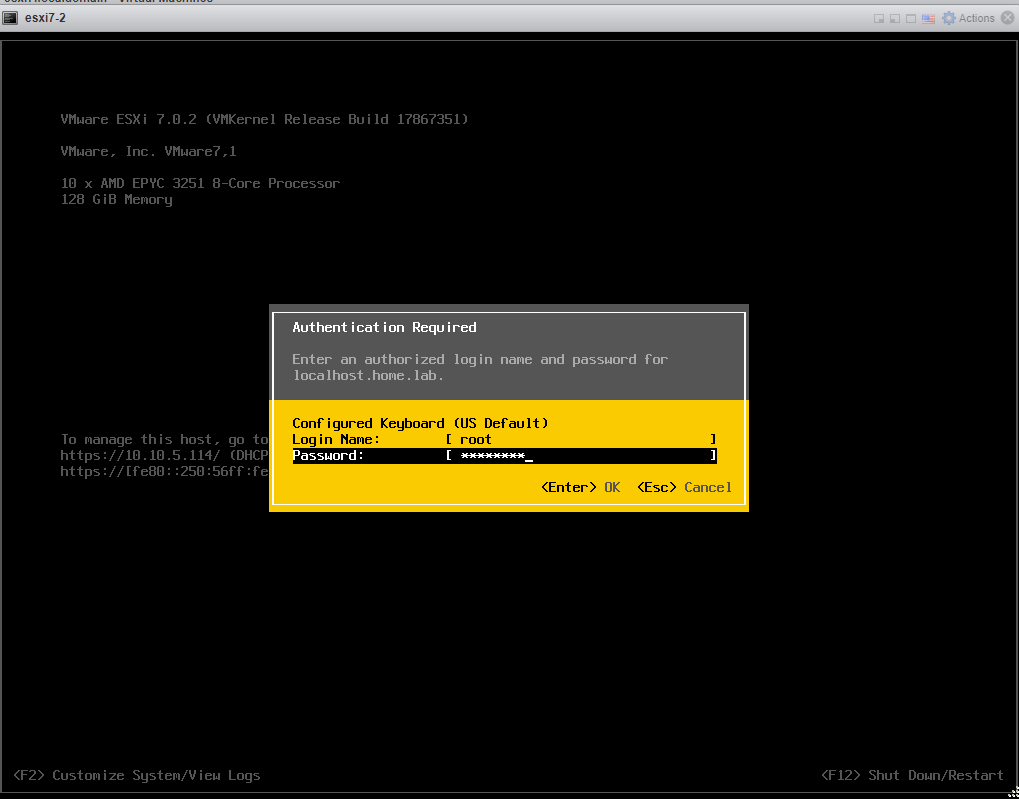
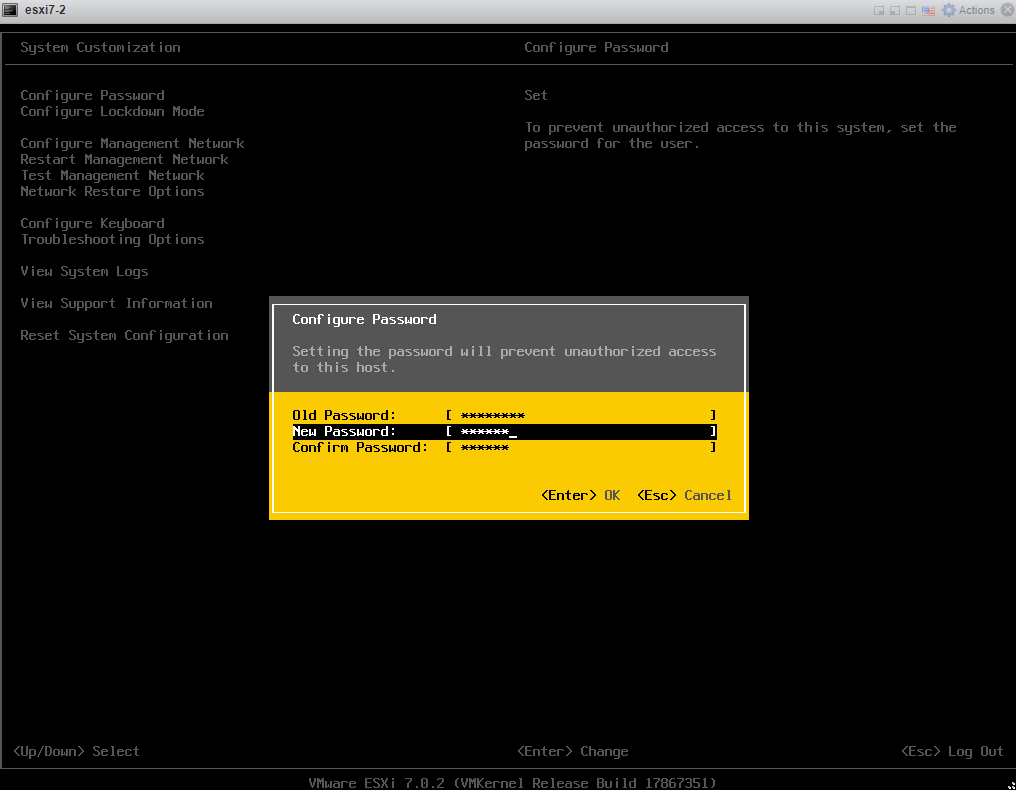
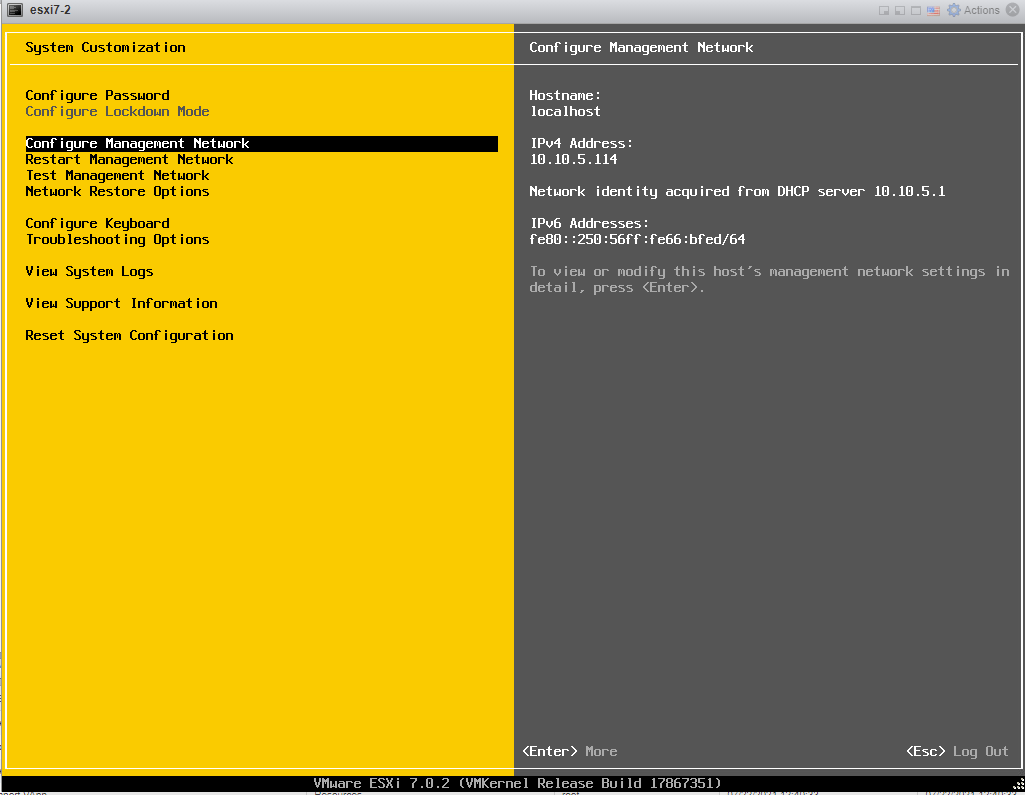
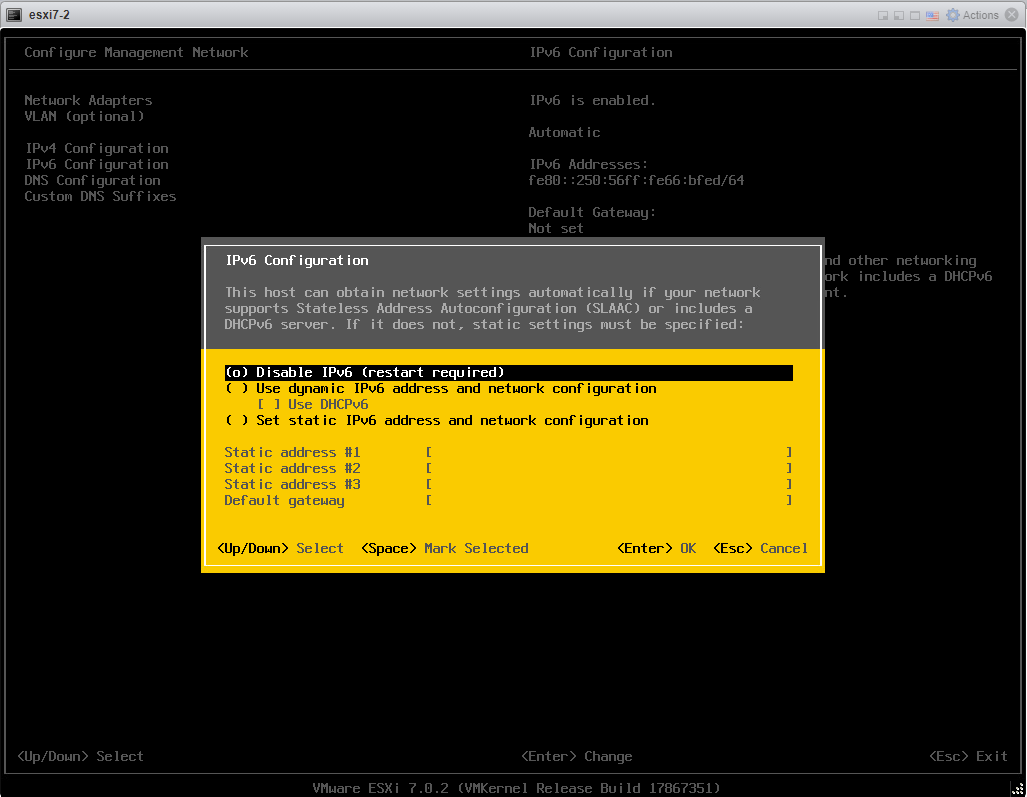
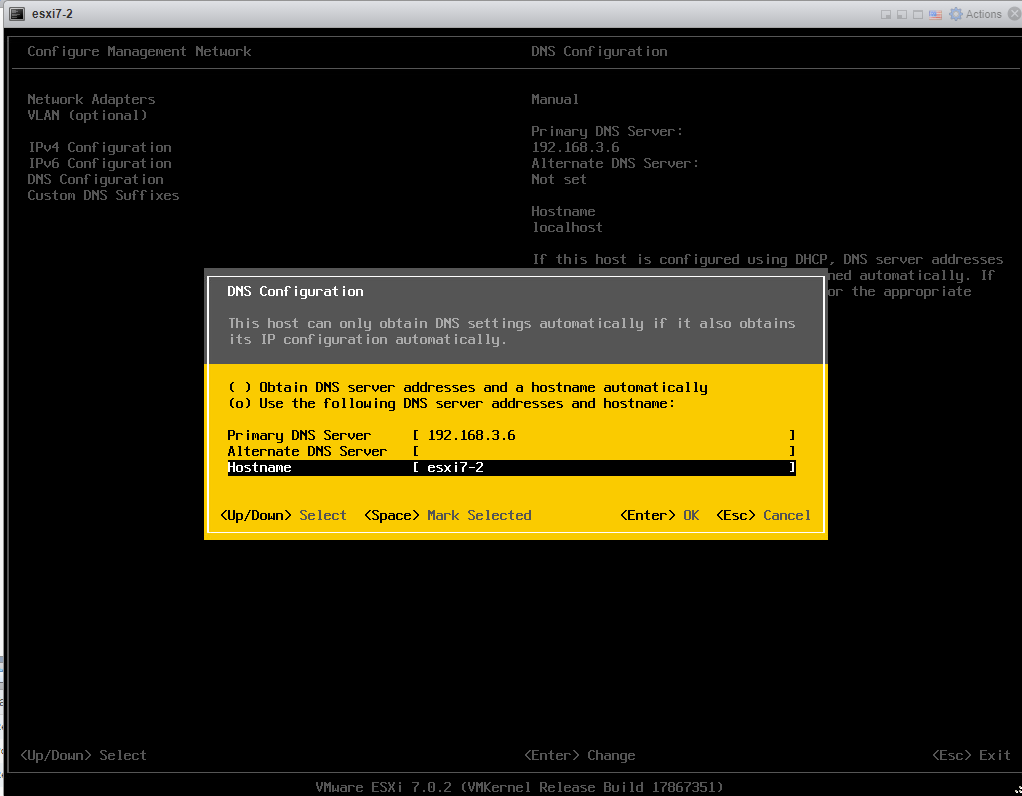
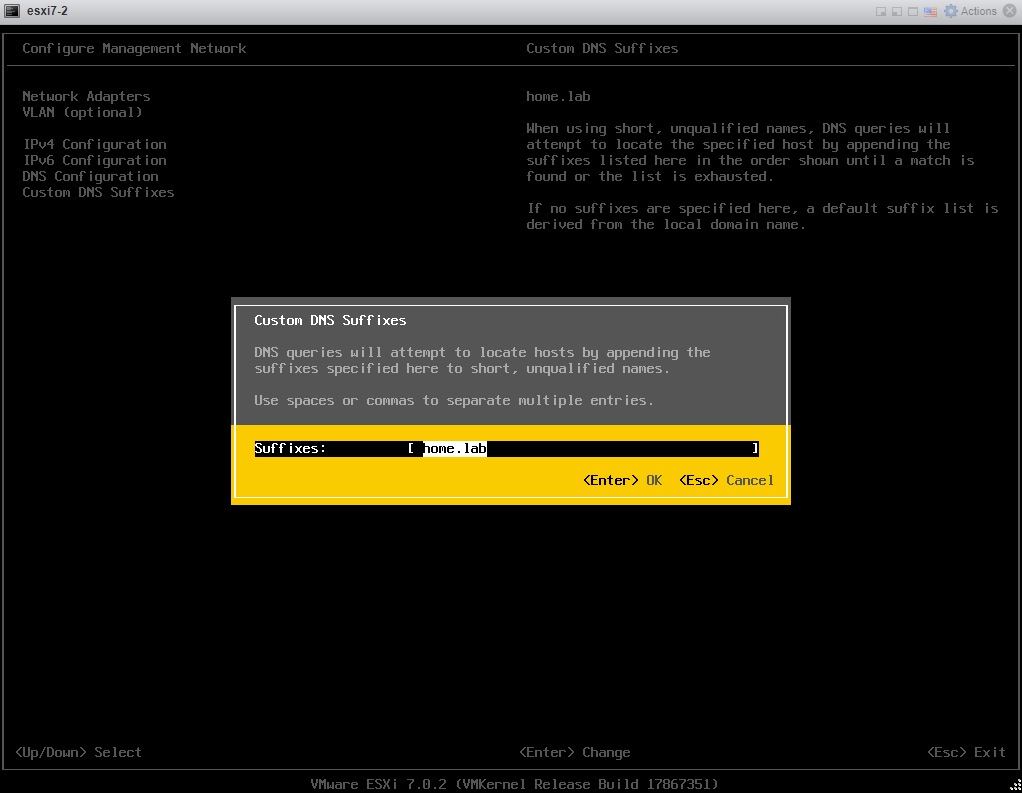
Load the console and press F2 to enter the setup. Default credentials are: root: VMware1!After authenticating, we need to change the root password!Now time to configure the management network, since it is likely using DHCP, and we want these ips to be static!Click on IPv4 Configuration and select the radio button next to “Set static IPv4 address and network configuration” You’ll need 3 IPs, 1 for each of the esxi hosts.Disable ipv6DNS server should already be here, since we configured DHCP on the pfsense router. However, if it is not. Specify them manually.Lastly make sure that your suffix is set. You don’t have to use home.lab for your envrionment, but make sure you’re consistent across the board.
3 thoughts on “Home Lab – Configuring Nested ESXi7 on SuperMicro”
Why do you need to configure each adapter twice? Sorry if it’s a silly question.
It is really only required if you plan on implementing vSAN, HA, and DRS. If you just want a vCenter instance then I believe you don’t need all that. Although I don’t think you can run tkg without it.
Great article! The step-by-step instructions and clear explanations really helped me understand how to configure Nested ESXi7 on my SuperMicro server for my home lab setup.