If you’ve followed the guide this far, you’ve deployed 3 esxi hosts nested on your baremetal esxi install. This guide takes it a step further by deploying vcenter and creating a vSAN cluster on the esxi hosts.
Login to your account at https://my.vmware.com/ and go to Products and Accounts ->Products -> All Products
Select VMware vSphere. View Download ComponentsSelect your version and download the vCenter Server. I’m using VMware vCenter Server 7.0U2b with Enterprise Plus Download the VMware vCenter Server Appliance (7.5GB) VMware-VCSA-all-7.0.2-17958471.iso
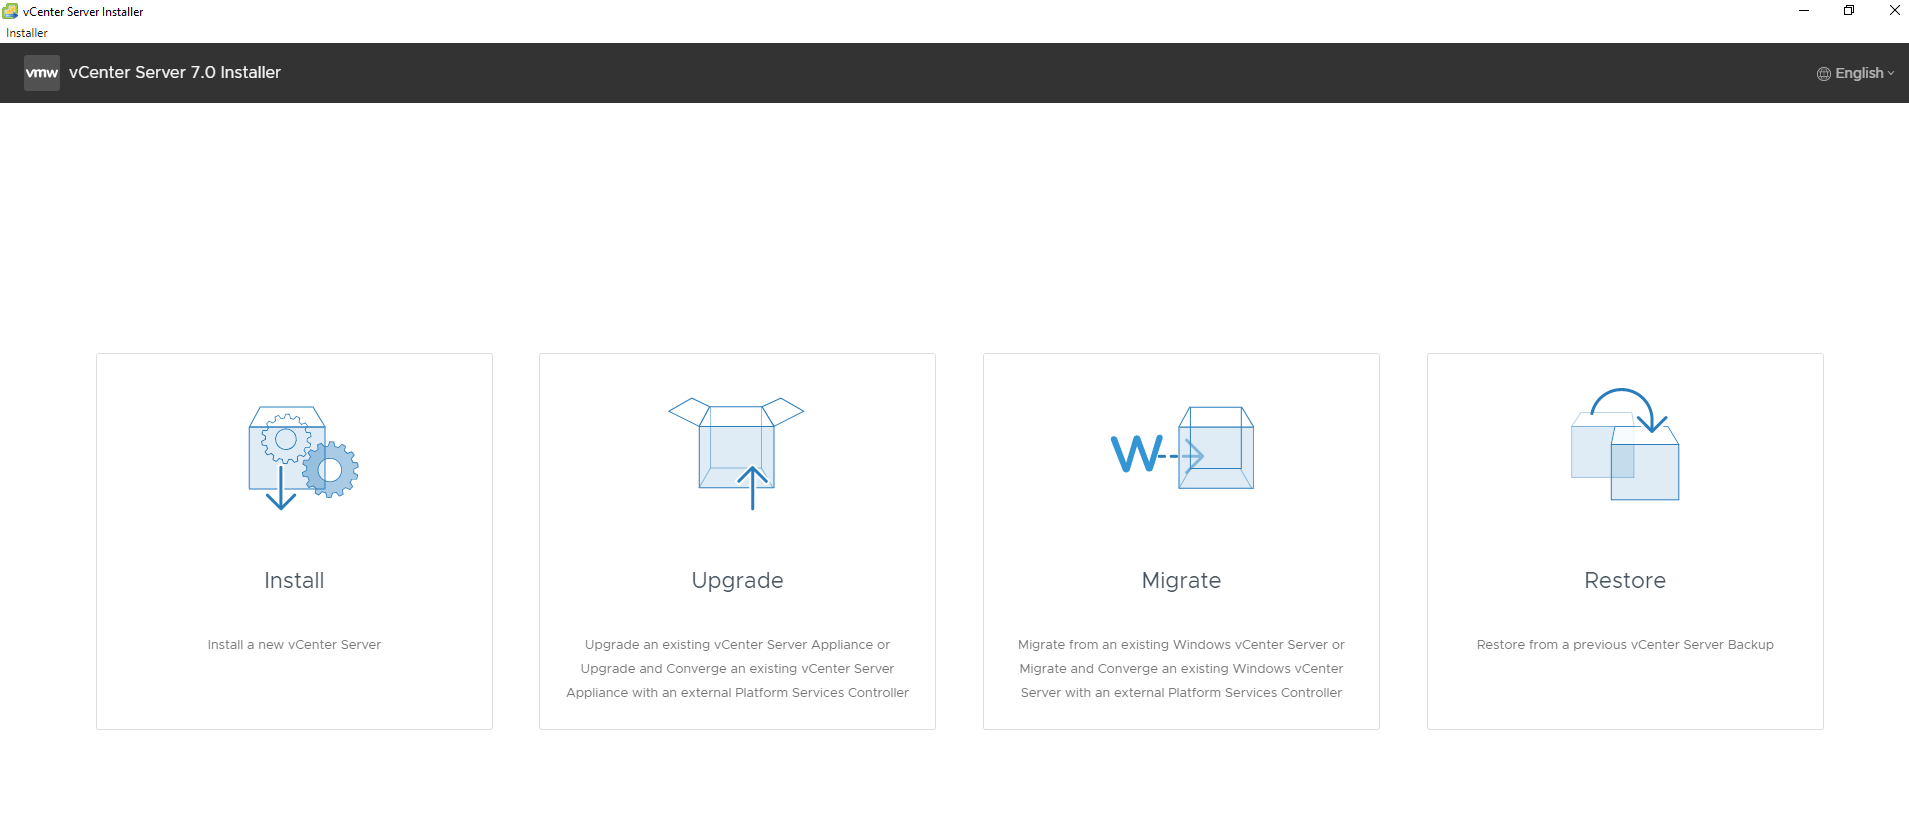
Mount the ISO and use the install wizard to configure vCenter 7
I’m using windows 10, and it was relatively easy to mount the ISO. In Windows explorer, I just navigated over to the downloads directly where the ISO was, and double clicked it. Open the directory vcsa-ui-installer -> win32 -> installer.exe.
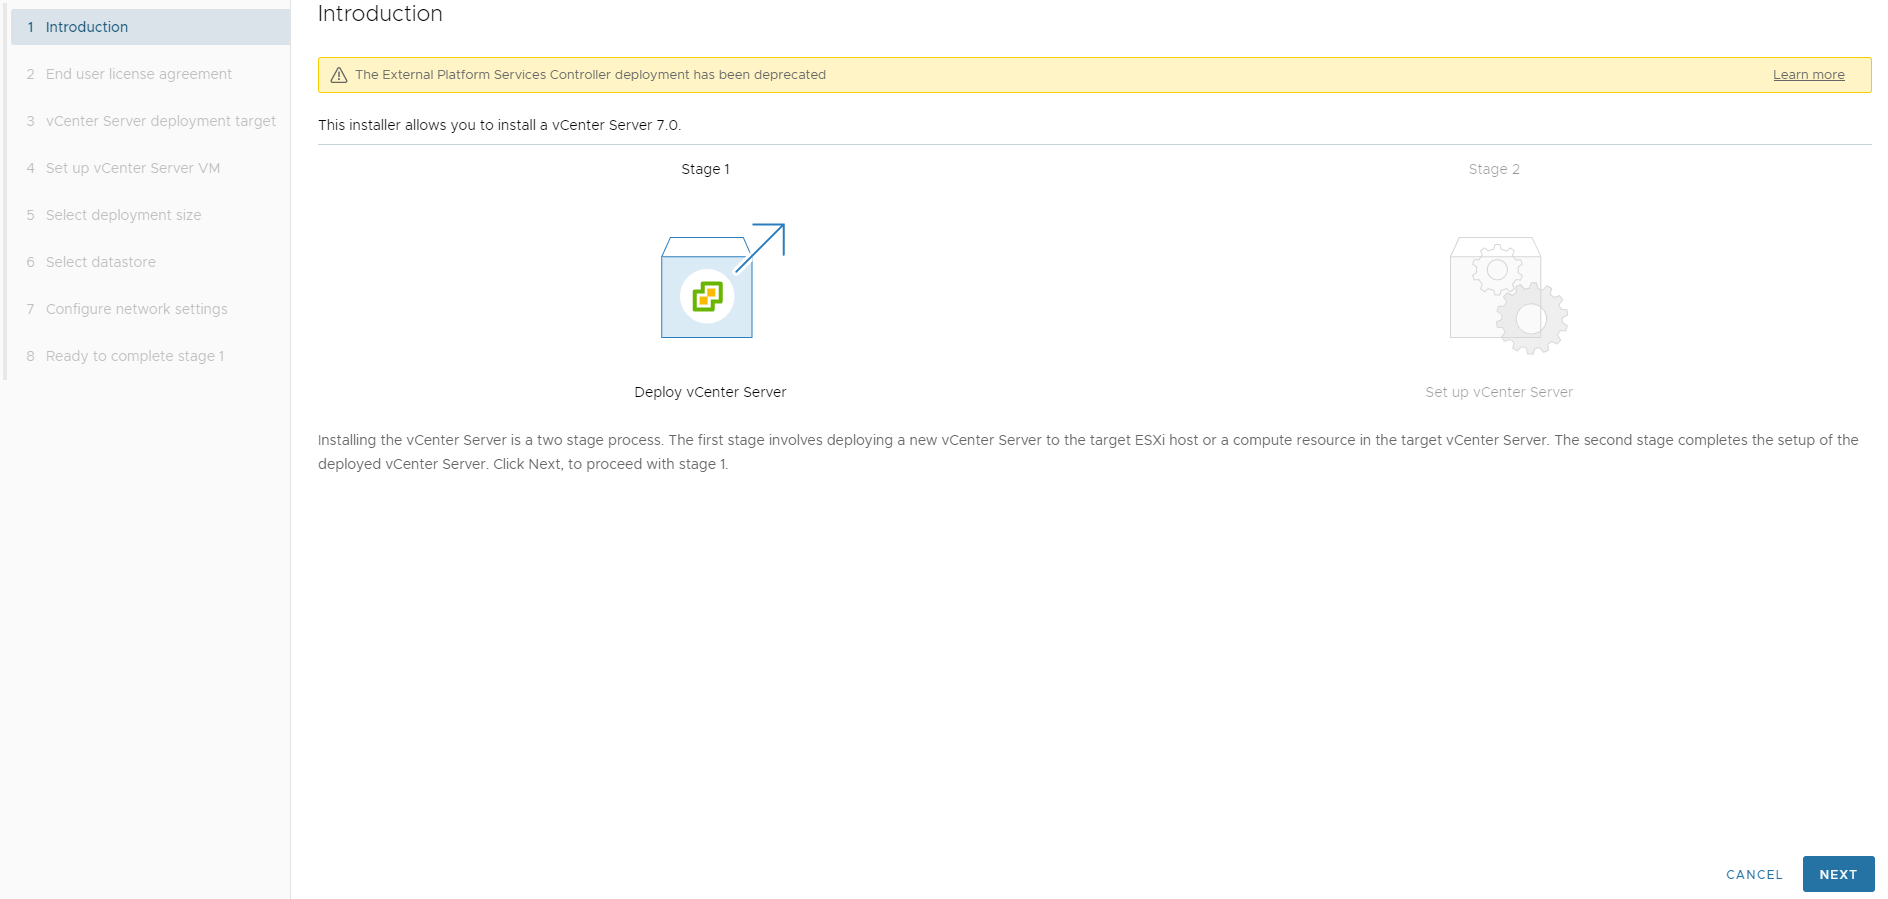
Stage 1
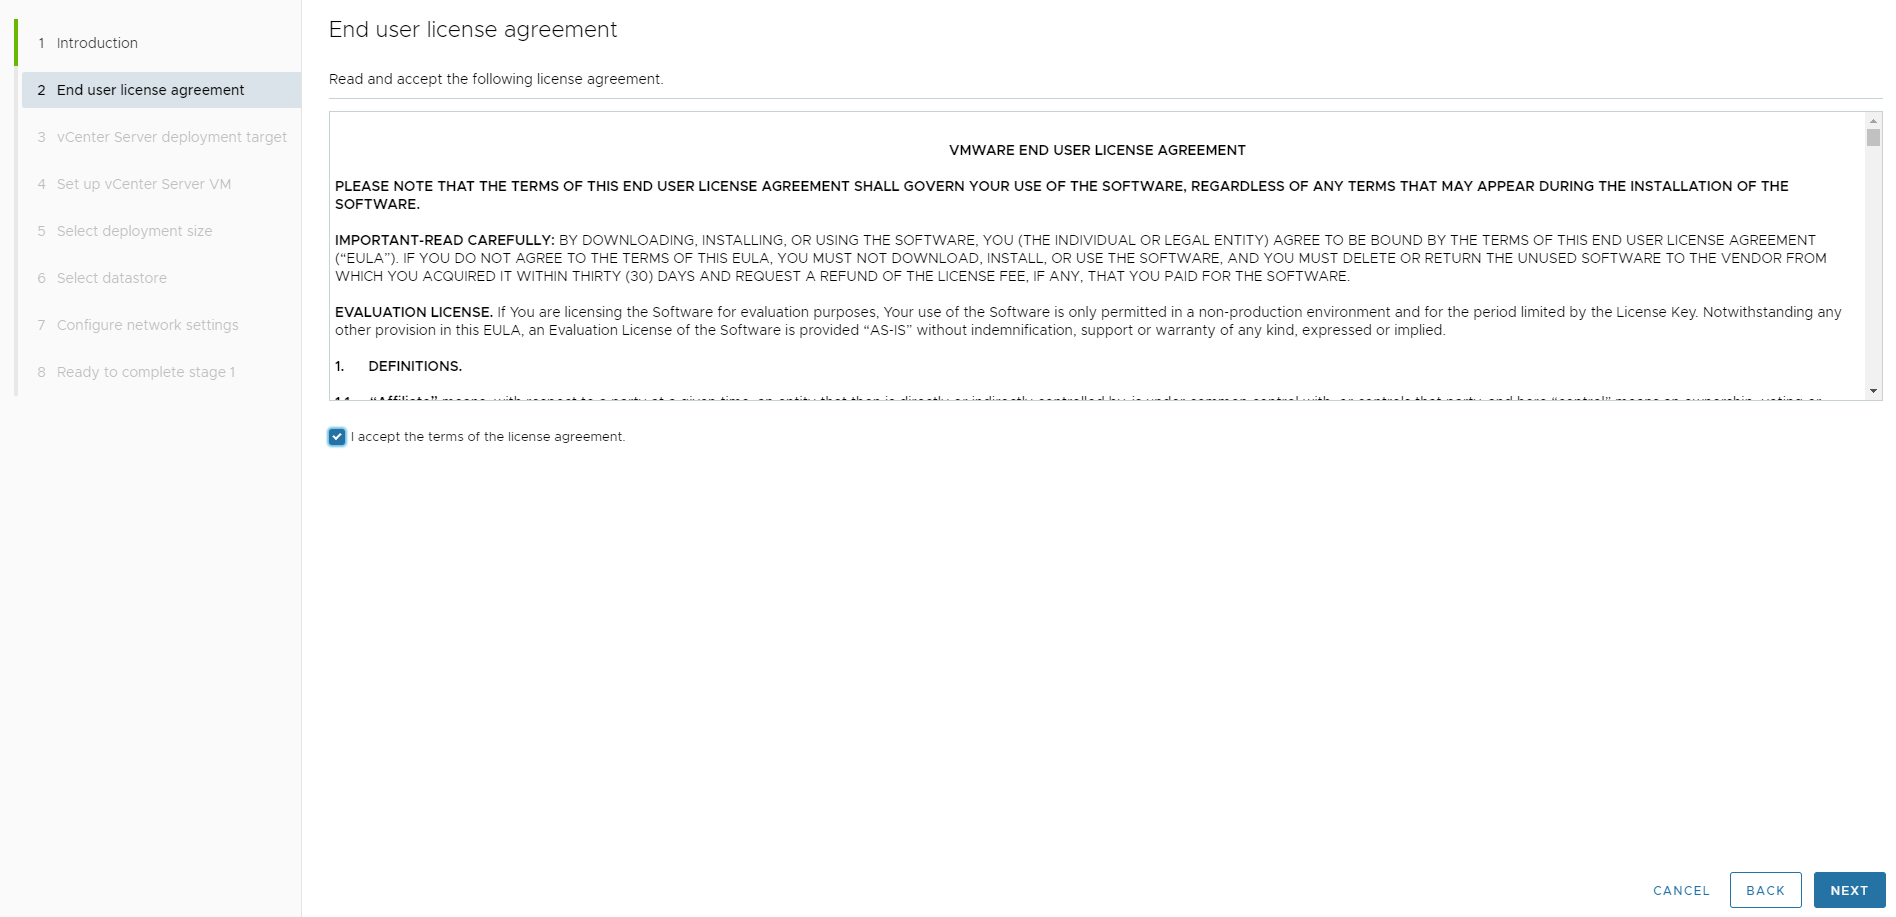
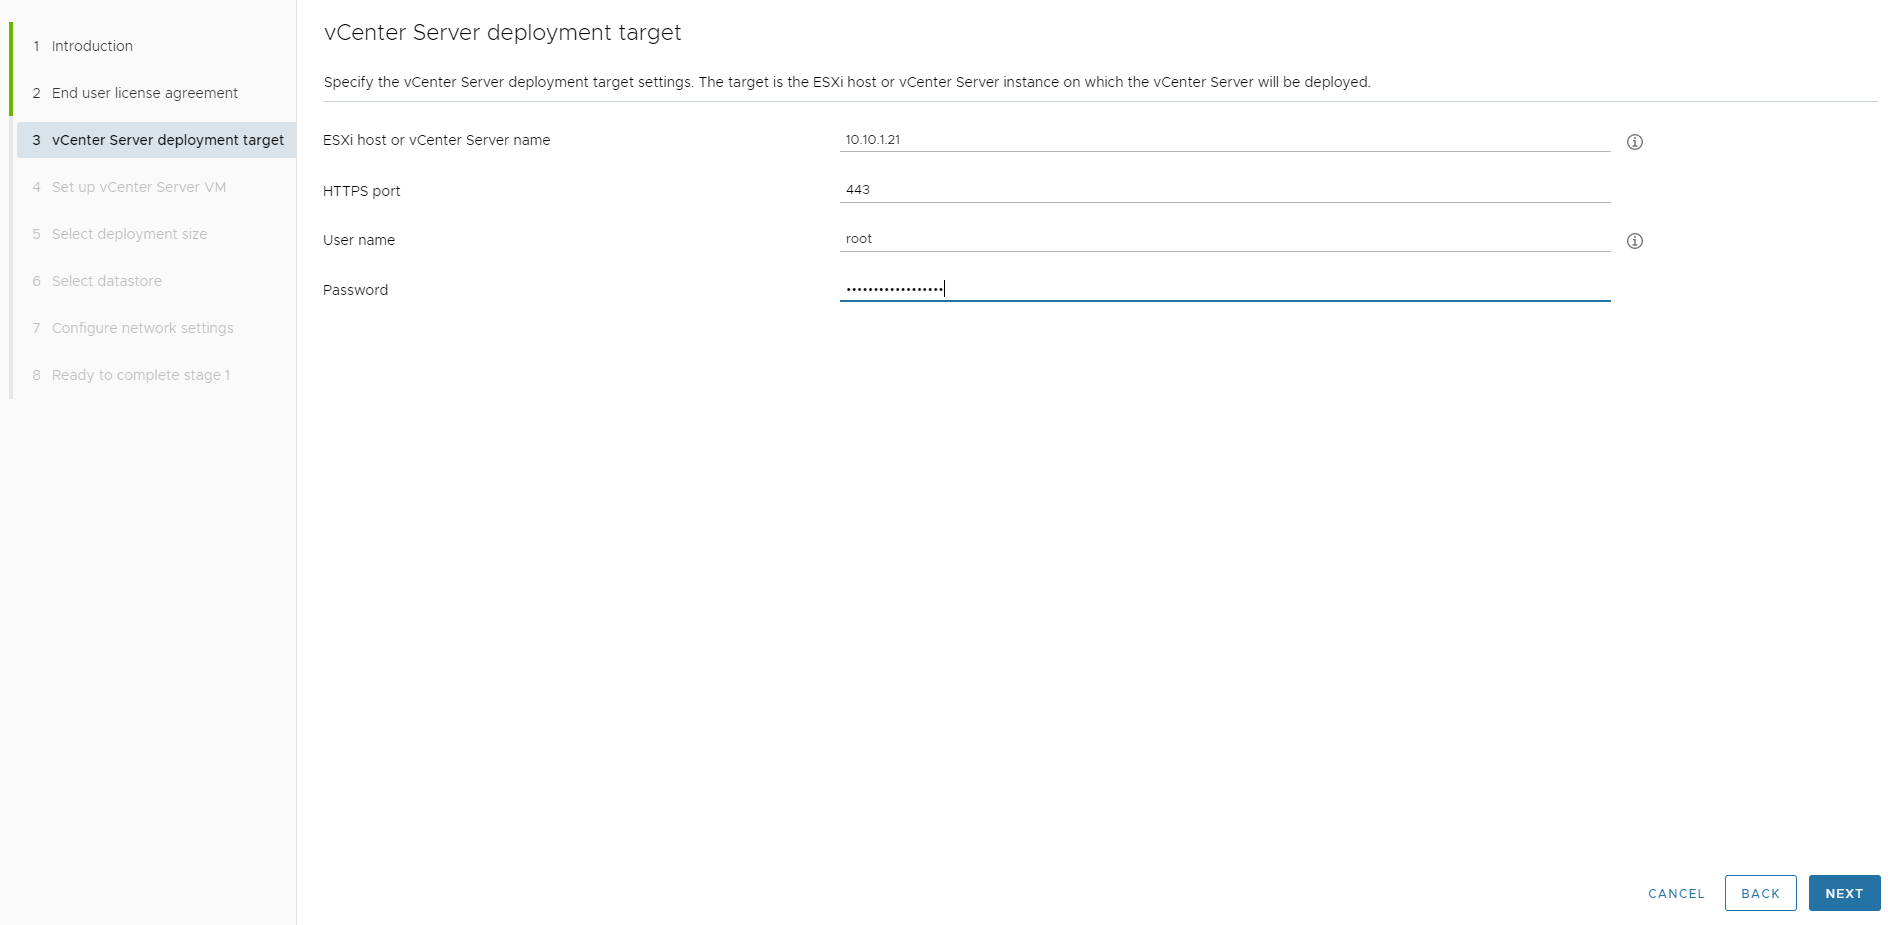
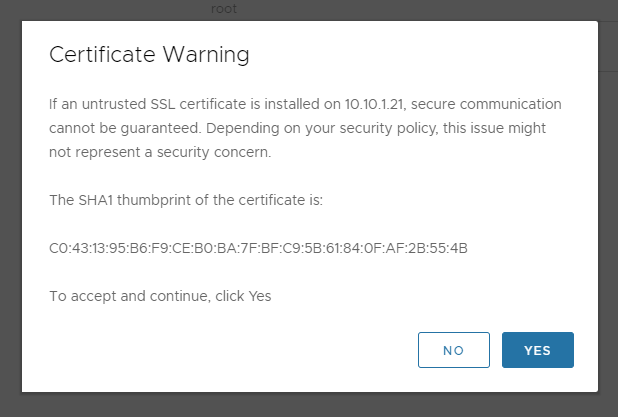
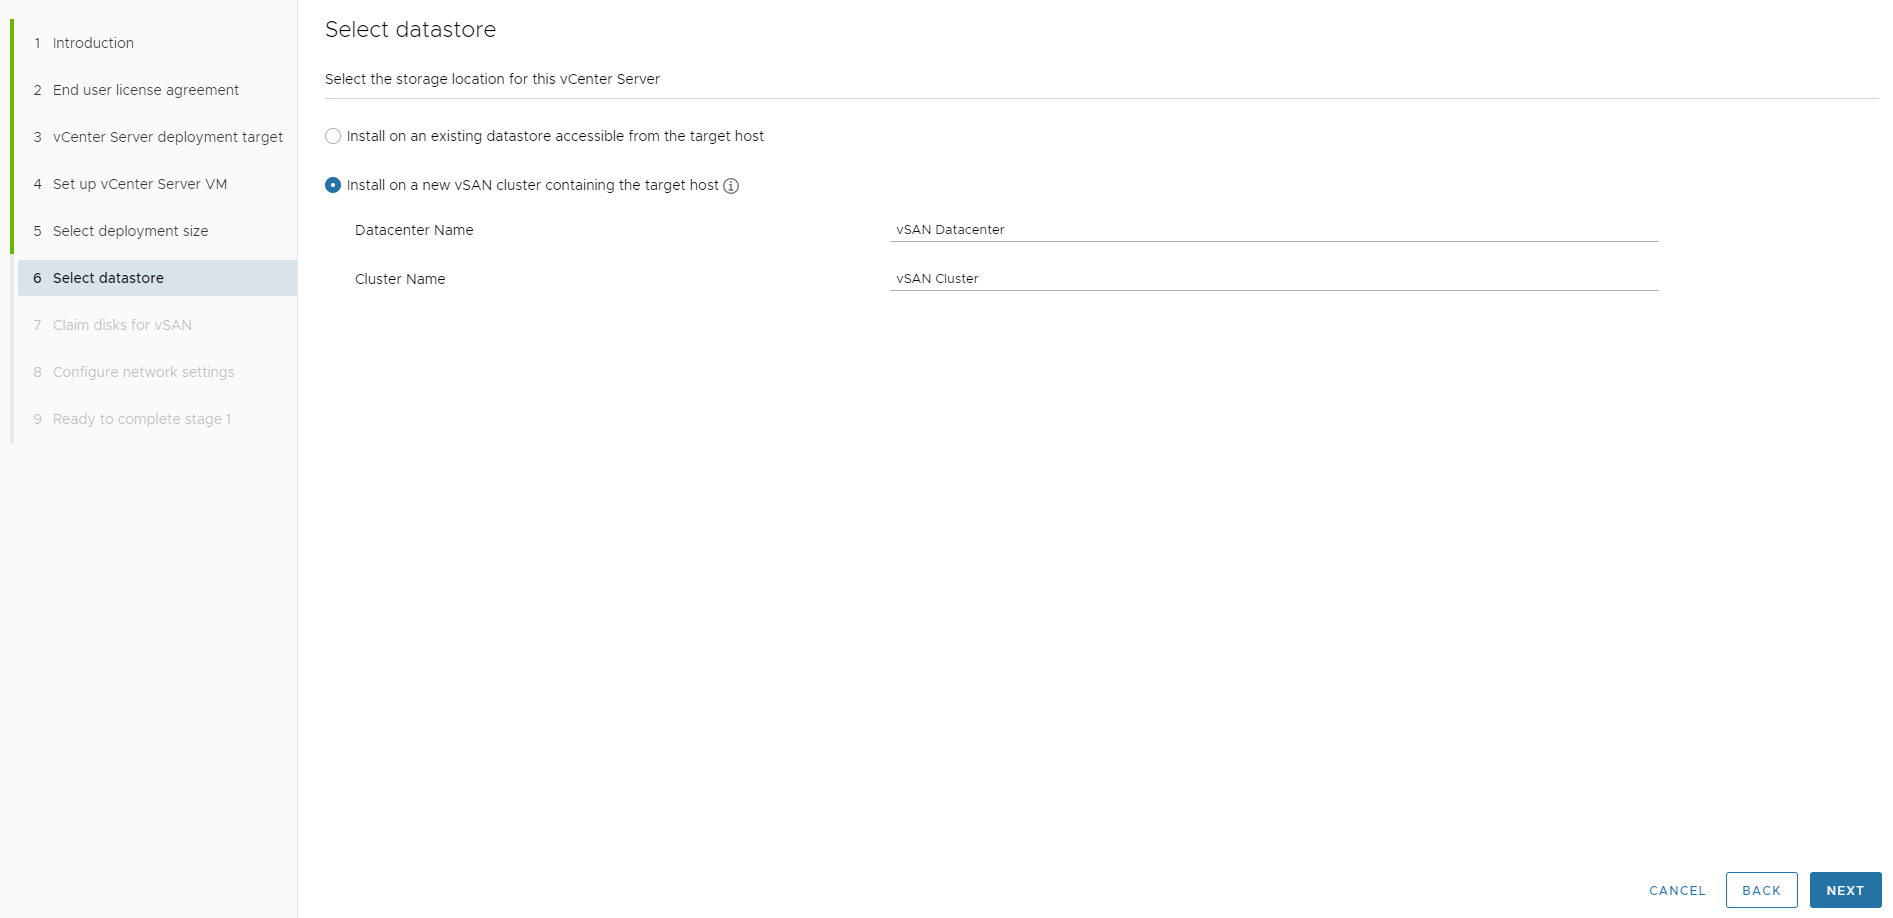
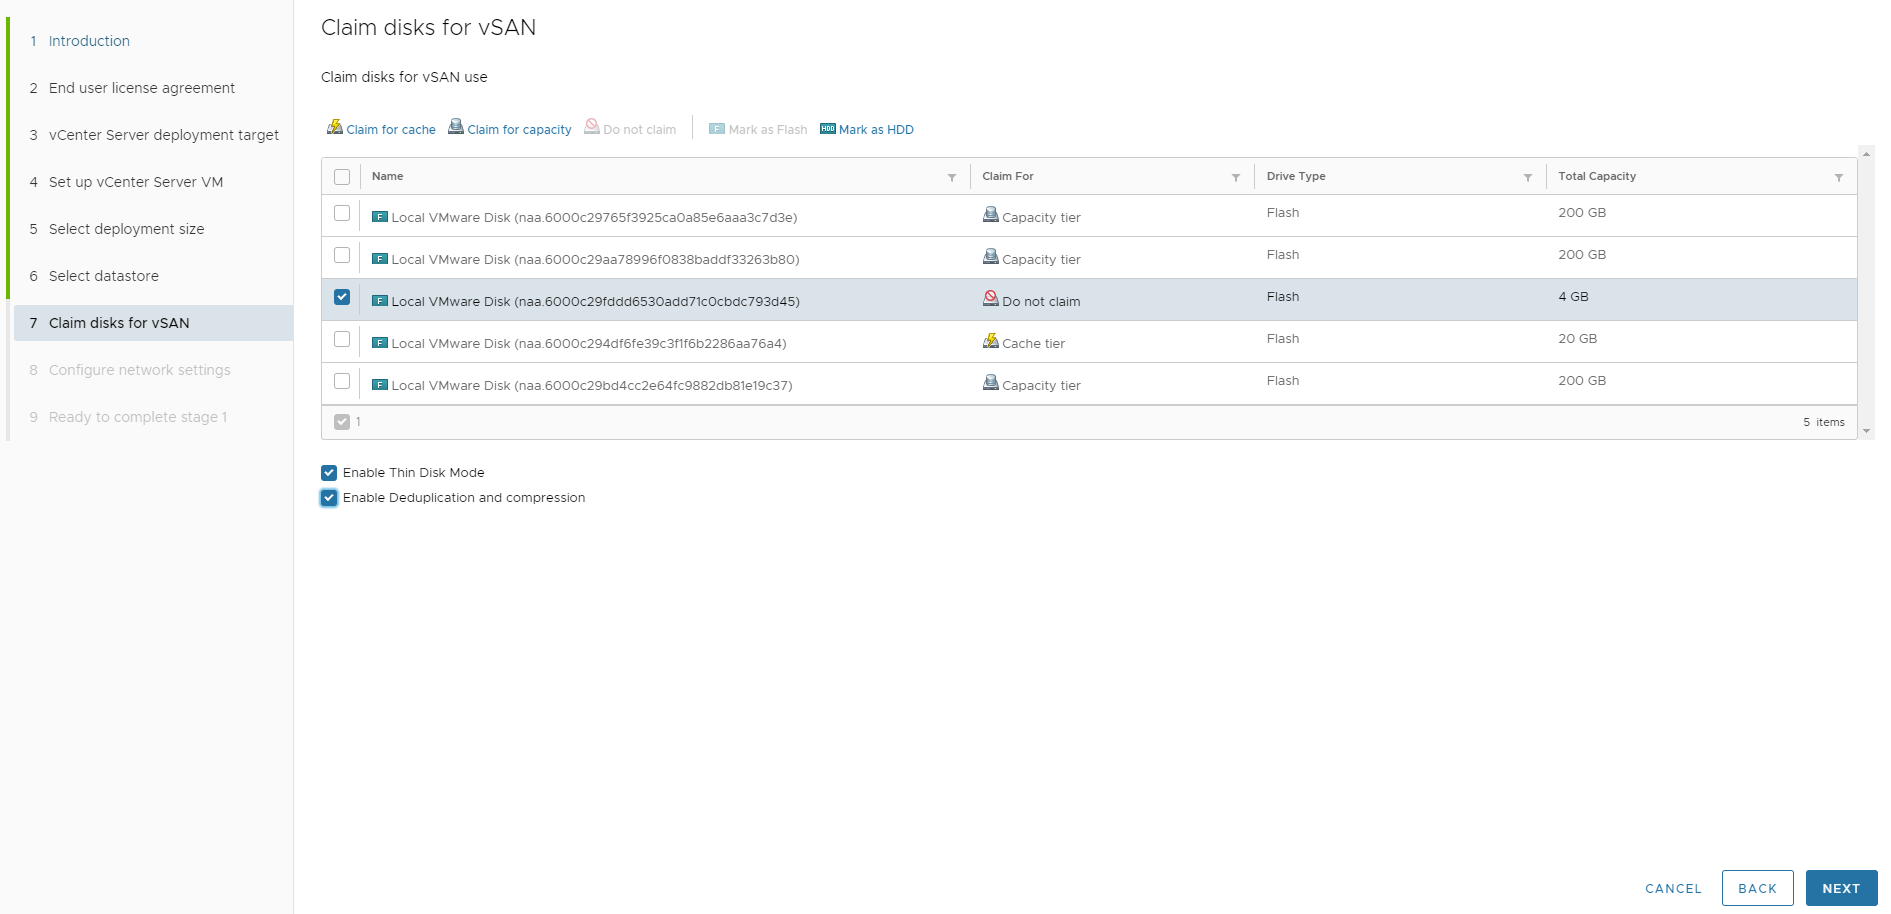
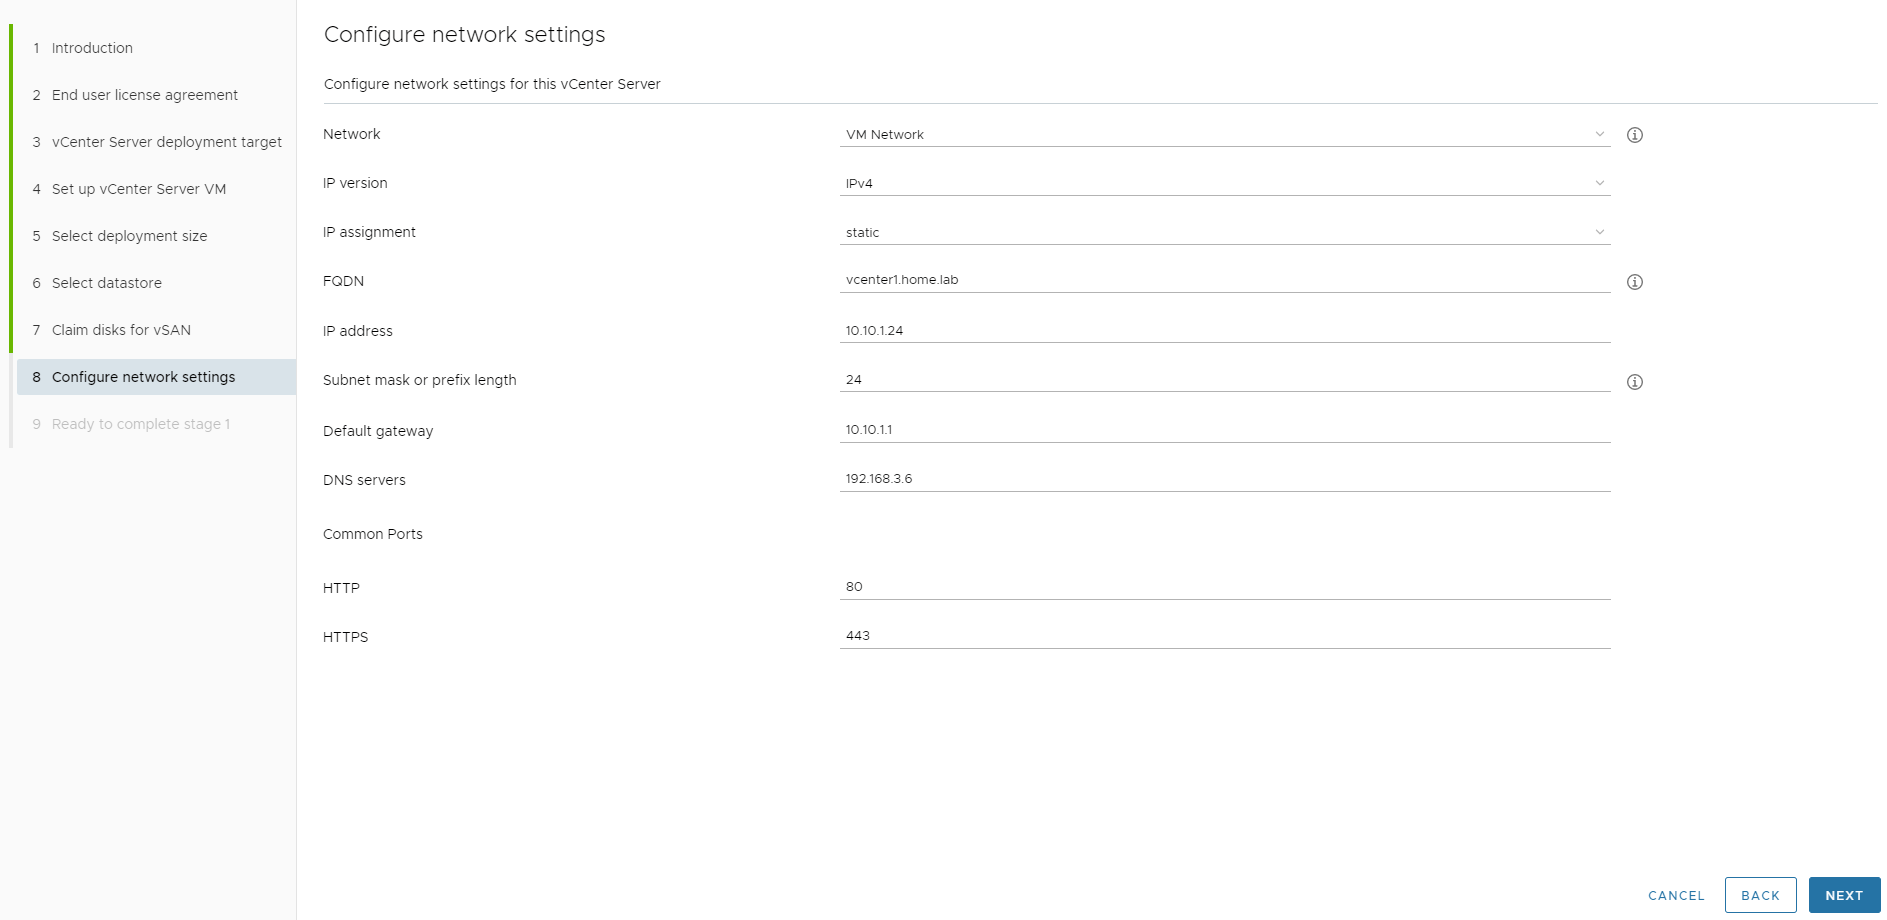
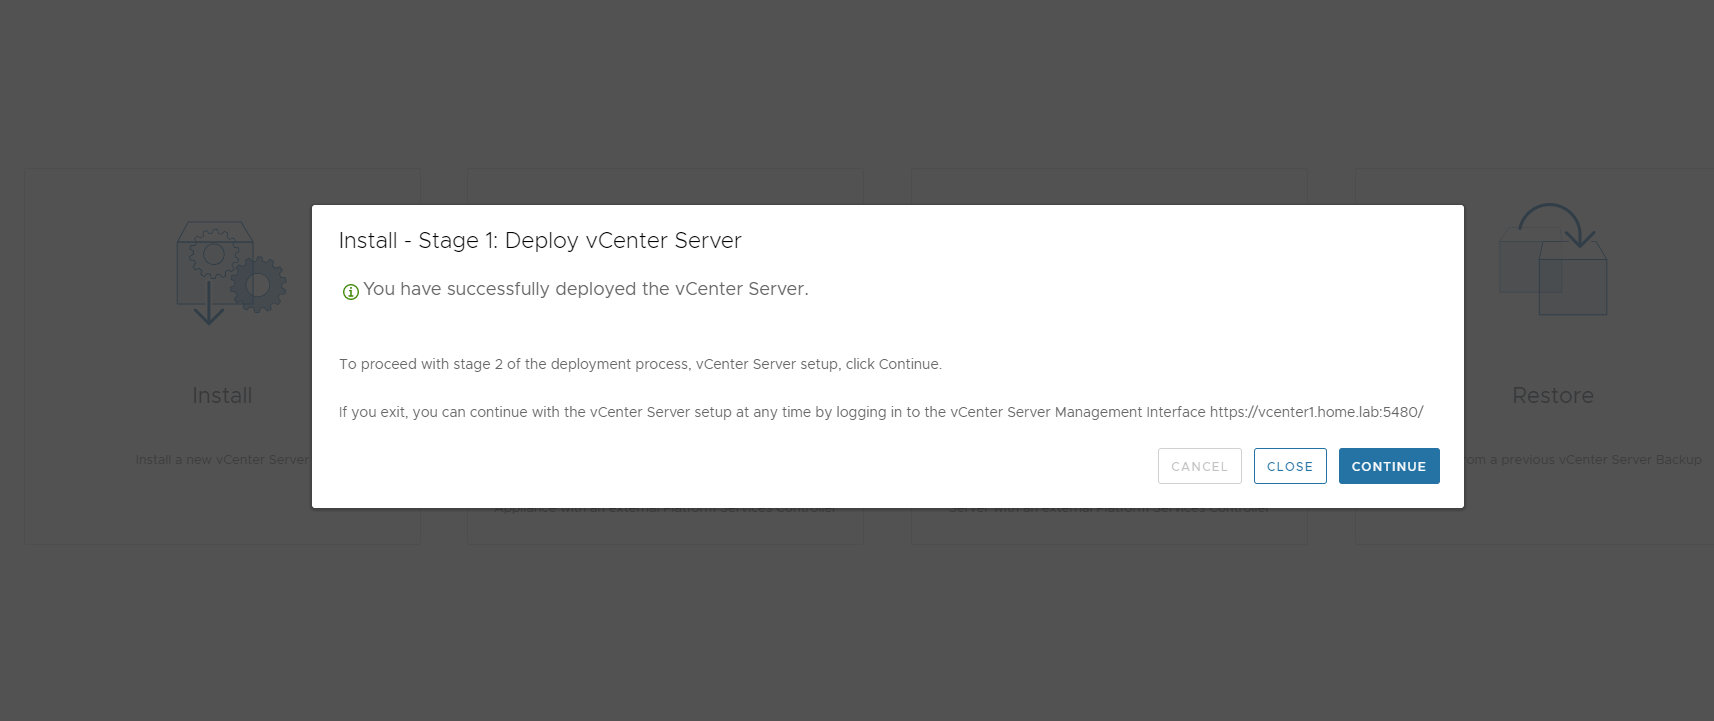
You should see a popup like this. Go ahead and click InstallClick Next to deploy vCenter serverAccept the EUL.Put the IP/fqdn of the first esxi host, and the credentials.Select Yes to accept the warning.Specify a name for the vm, and set the root passwordFor deployment size I chose Tiny since it more than met my needs. If you need more, select Small.Select “Install on a new vSAN cluster containing the target host” Feel free to modify the names.We’re going to claim all the 200GB disks as capacity tier, and the 20GB disk as cache tier. The other disk we will not use. Additionally, I selected “Enable Thin Disk Mode” and “Enable Deduplication and compression” Since it’s a lab, i’m not too worried about a vSAN failure. Worst case, i’ll just rebuild the entire lab and get more practice.Set the fqdn for vcenter, IP address and mask, default gateway, and dns server. vCenter is very picky about dns.. Make sure that the fqdn resolves and the ip address reverse lookup resolves as well.Here’s the summary page. Go ahead and hit Finish then grab some coffee. This step takes a while.Congratulations! It’s installed. Now onto stage 2 for some additional configuration. Click Continue
Stage 2
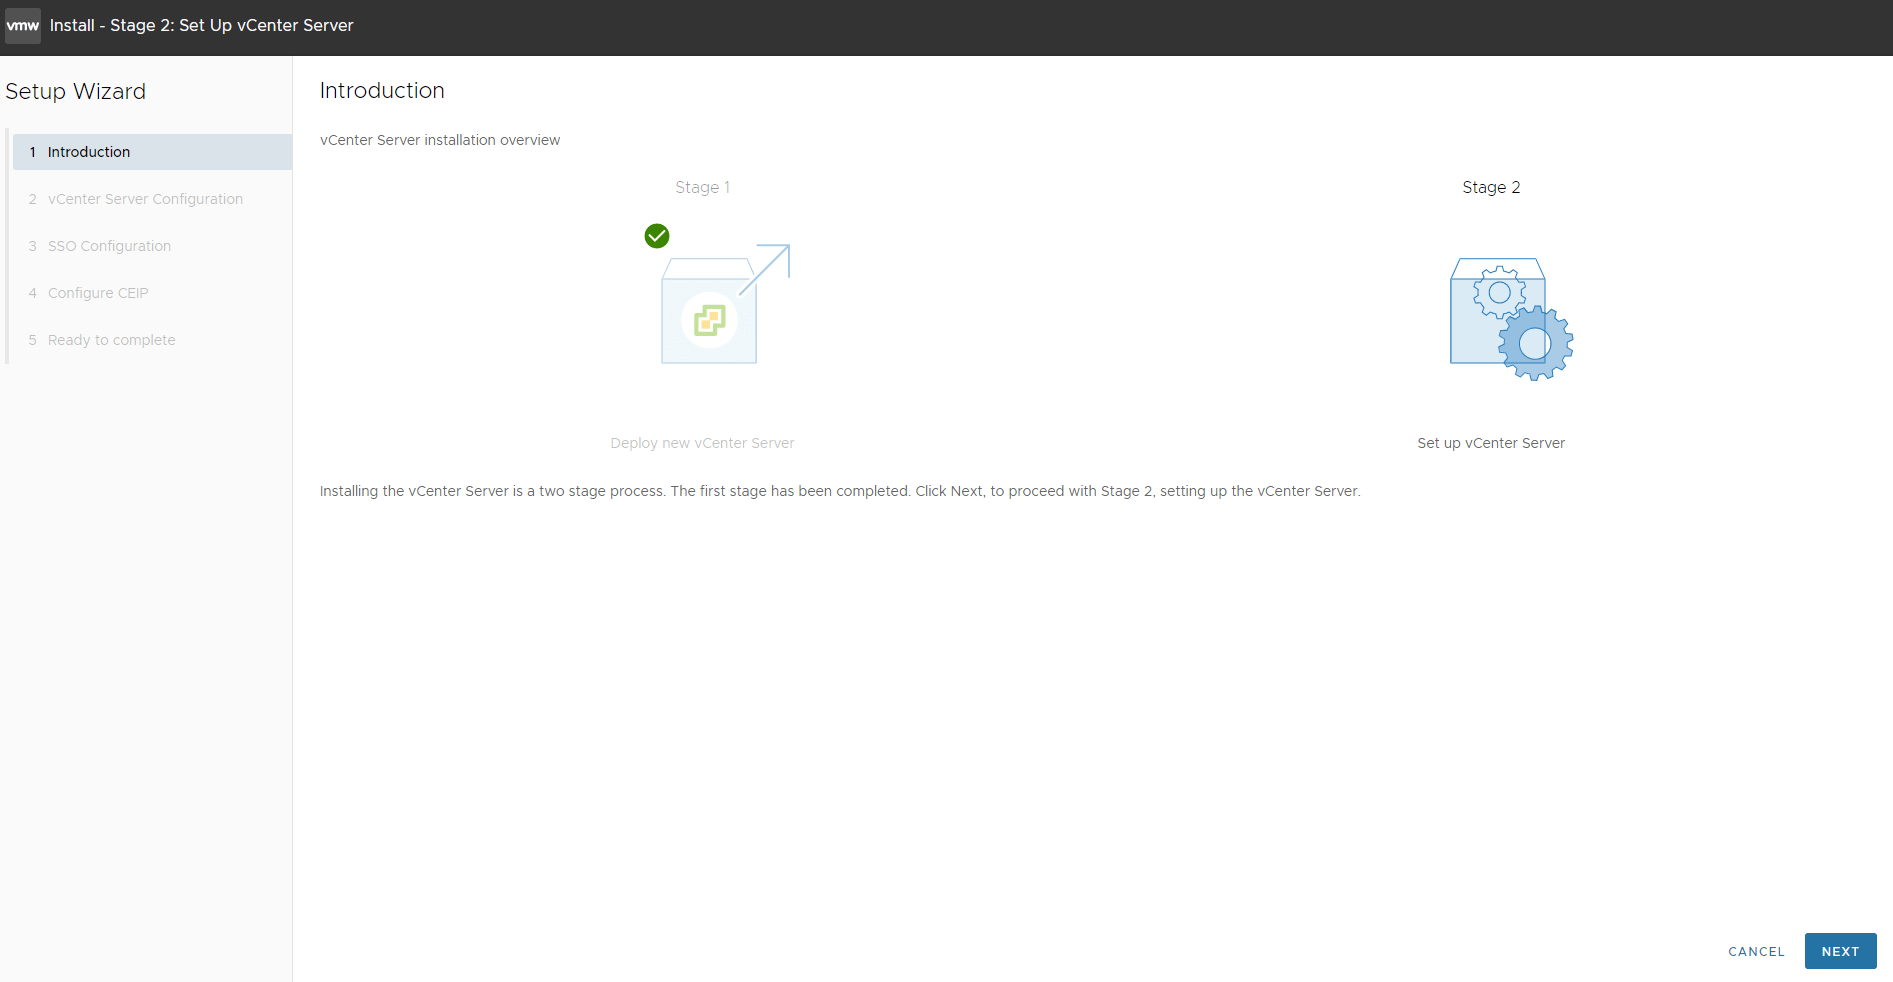
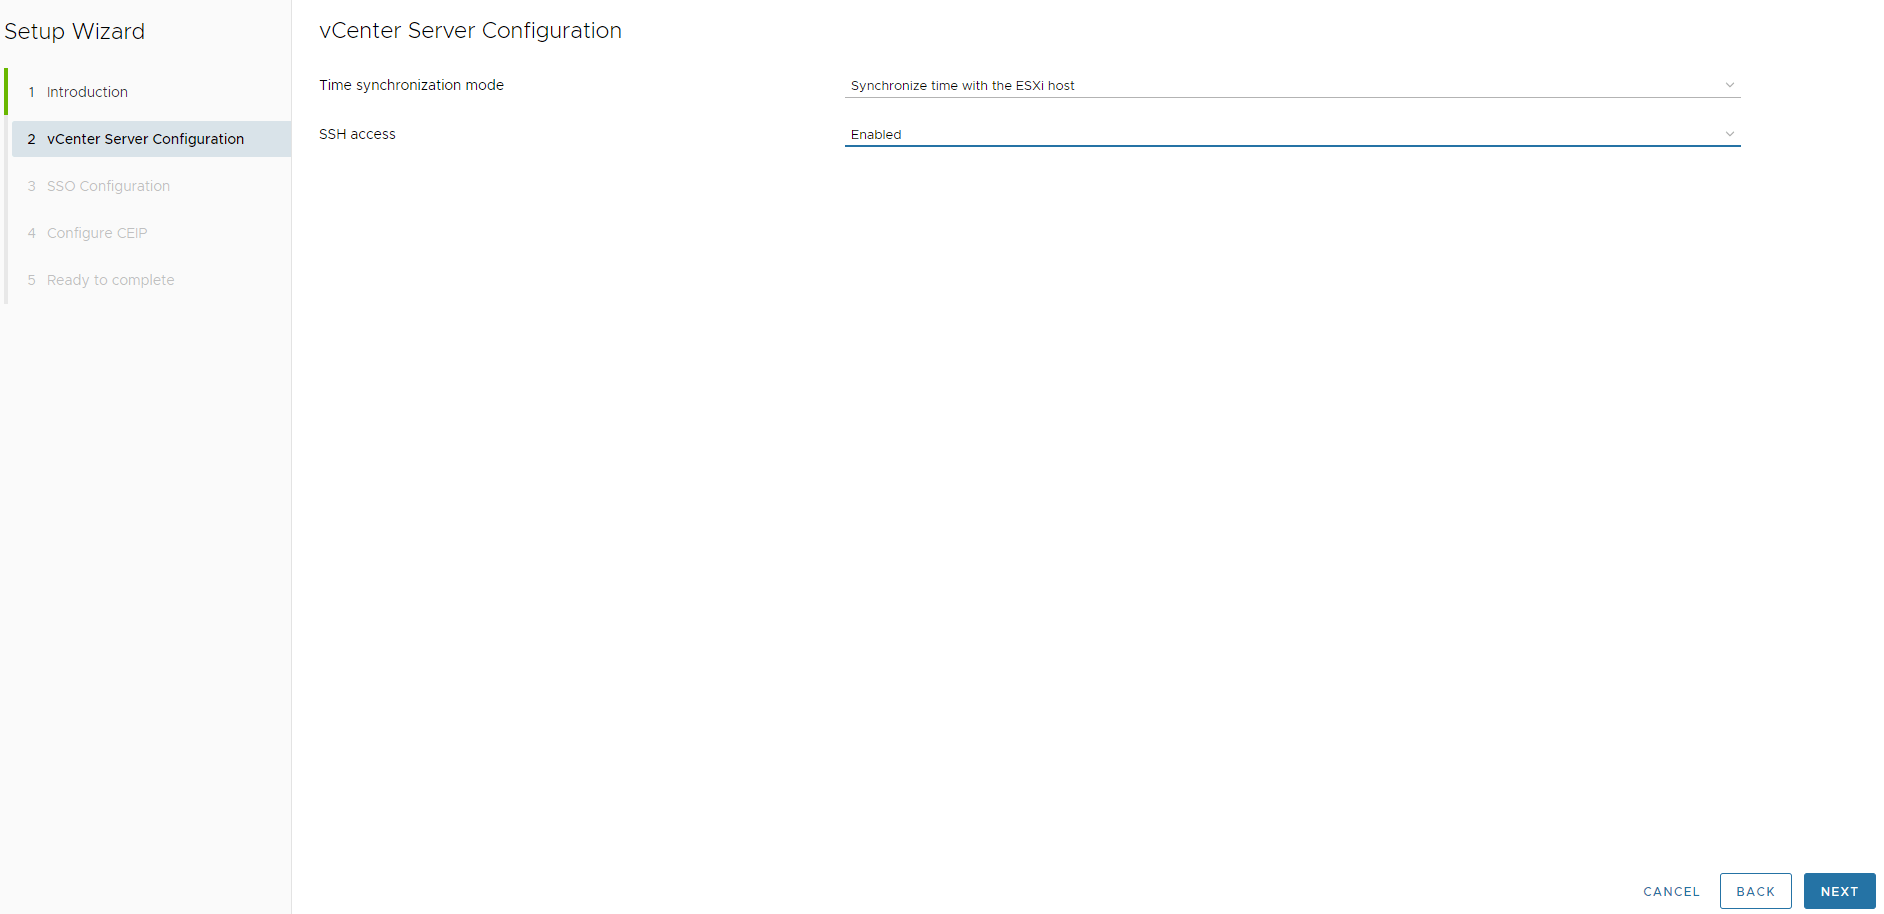
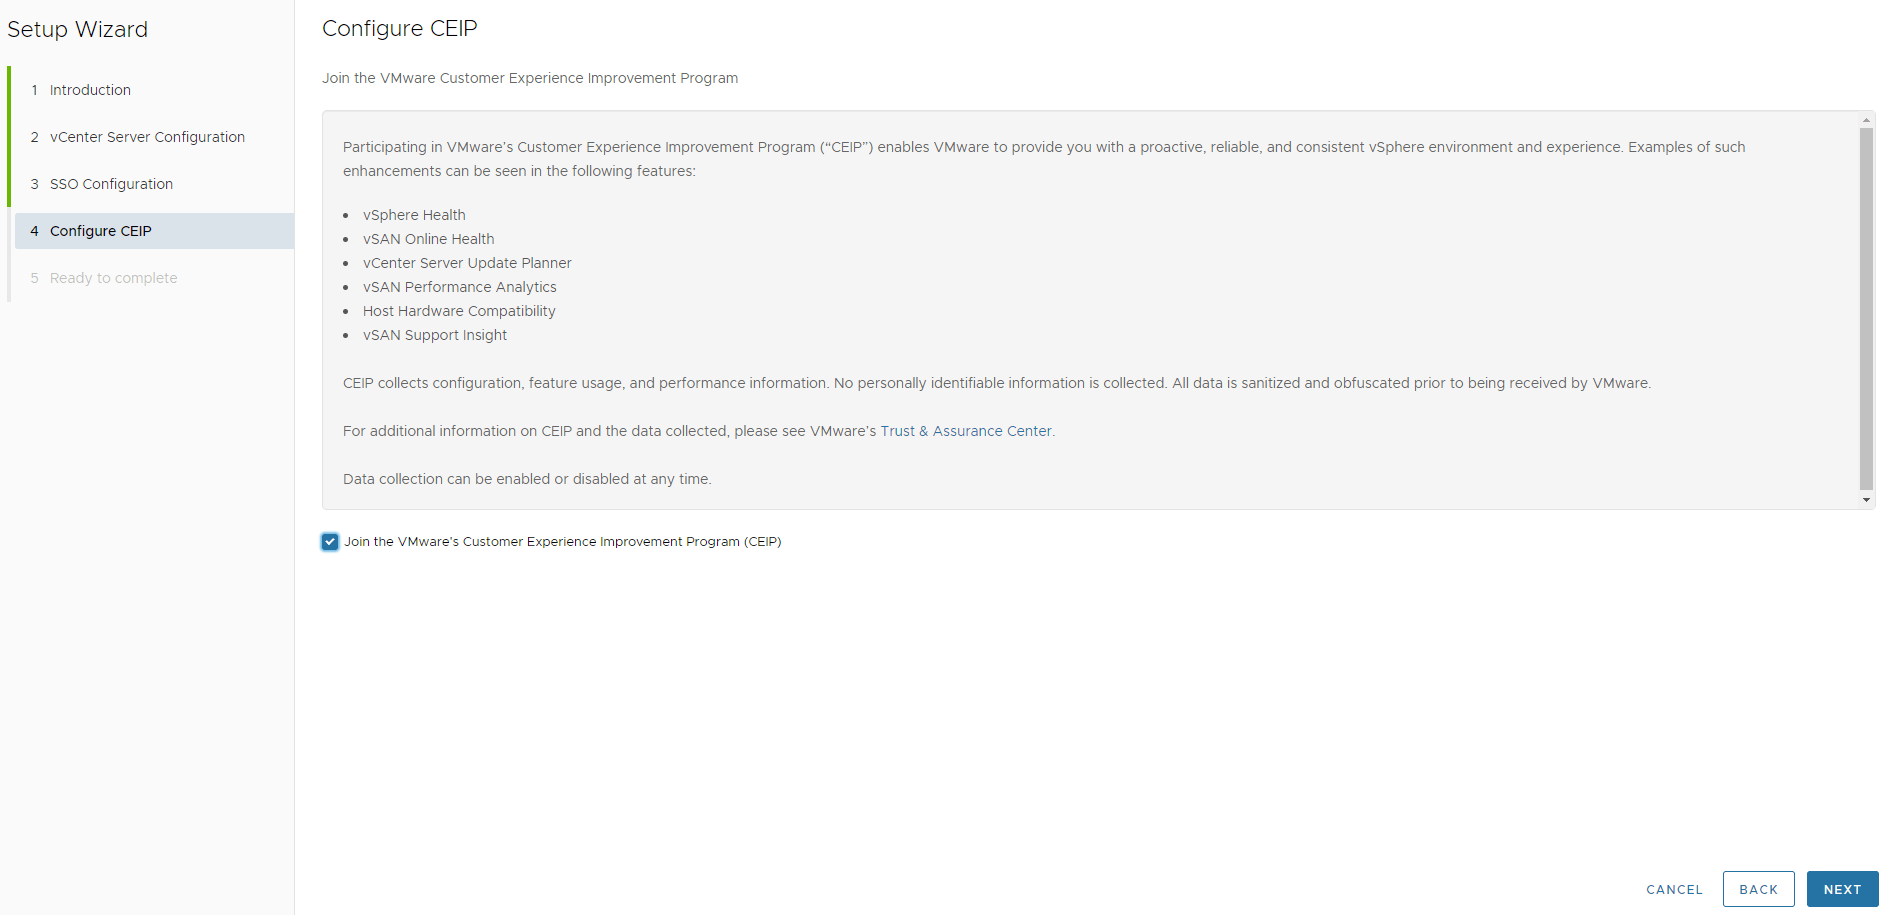
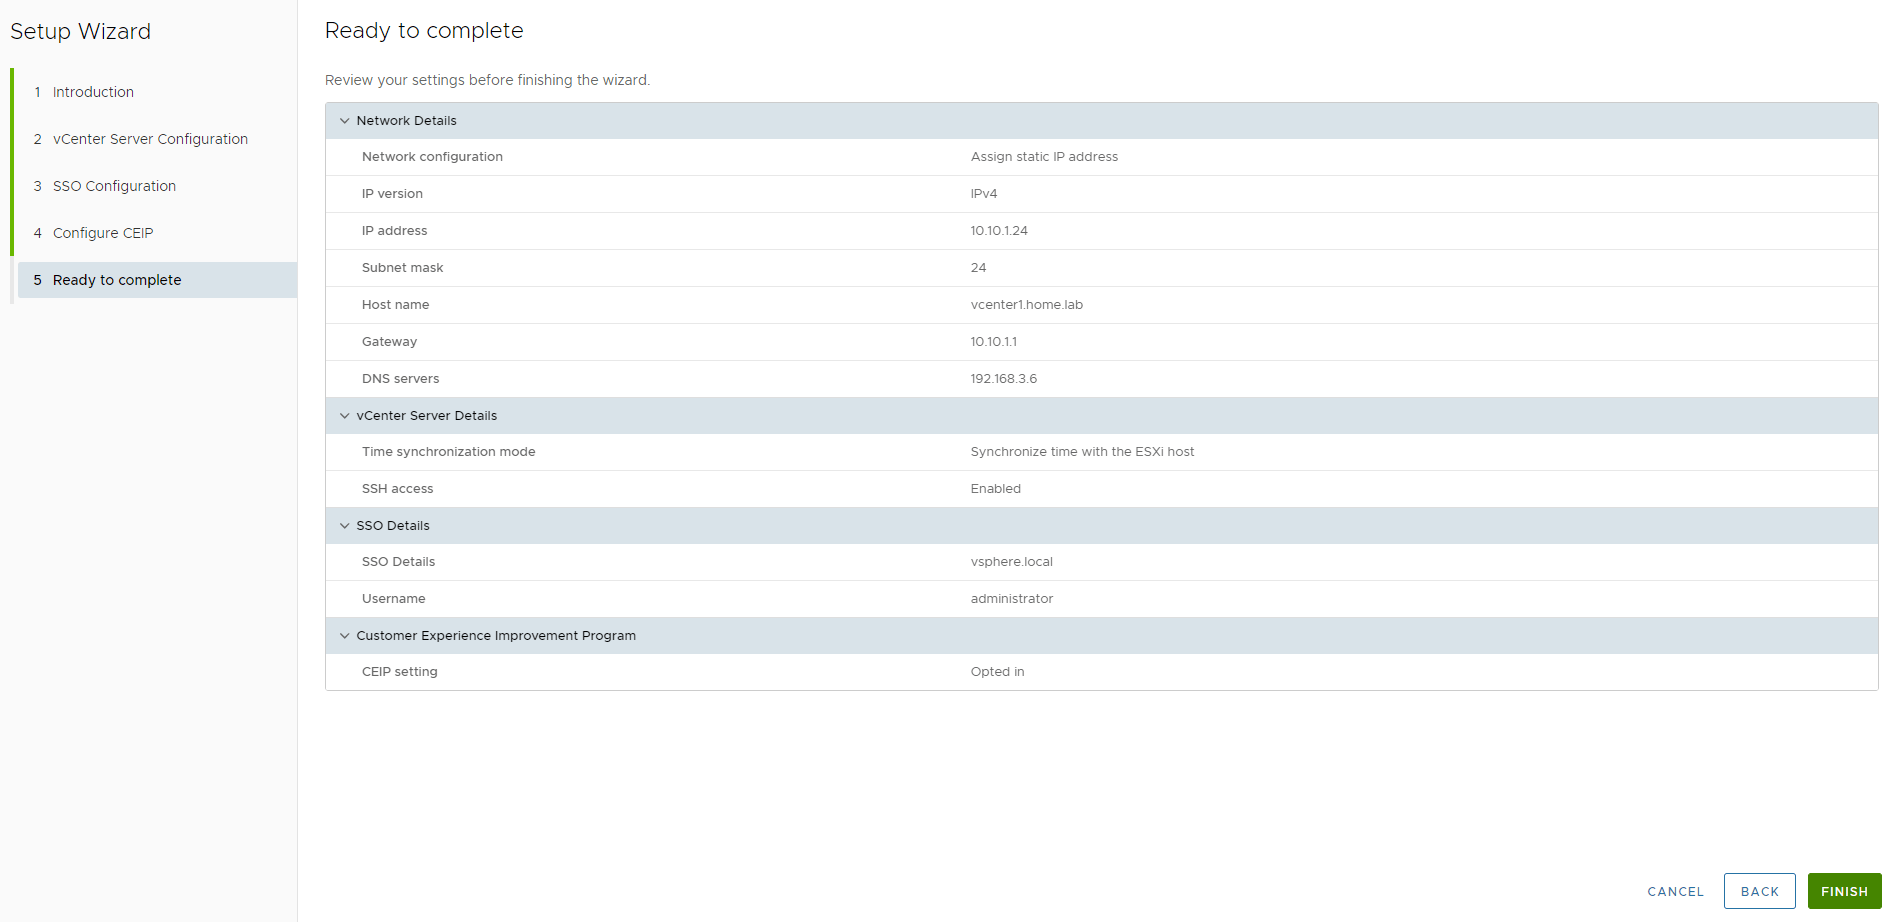
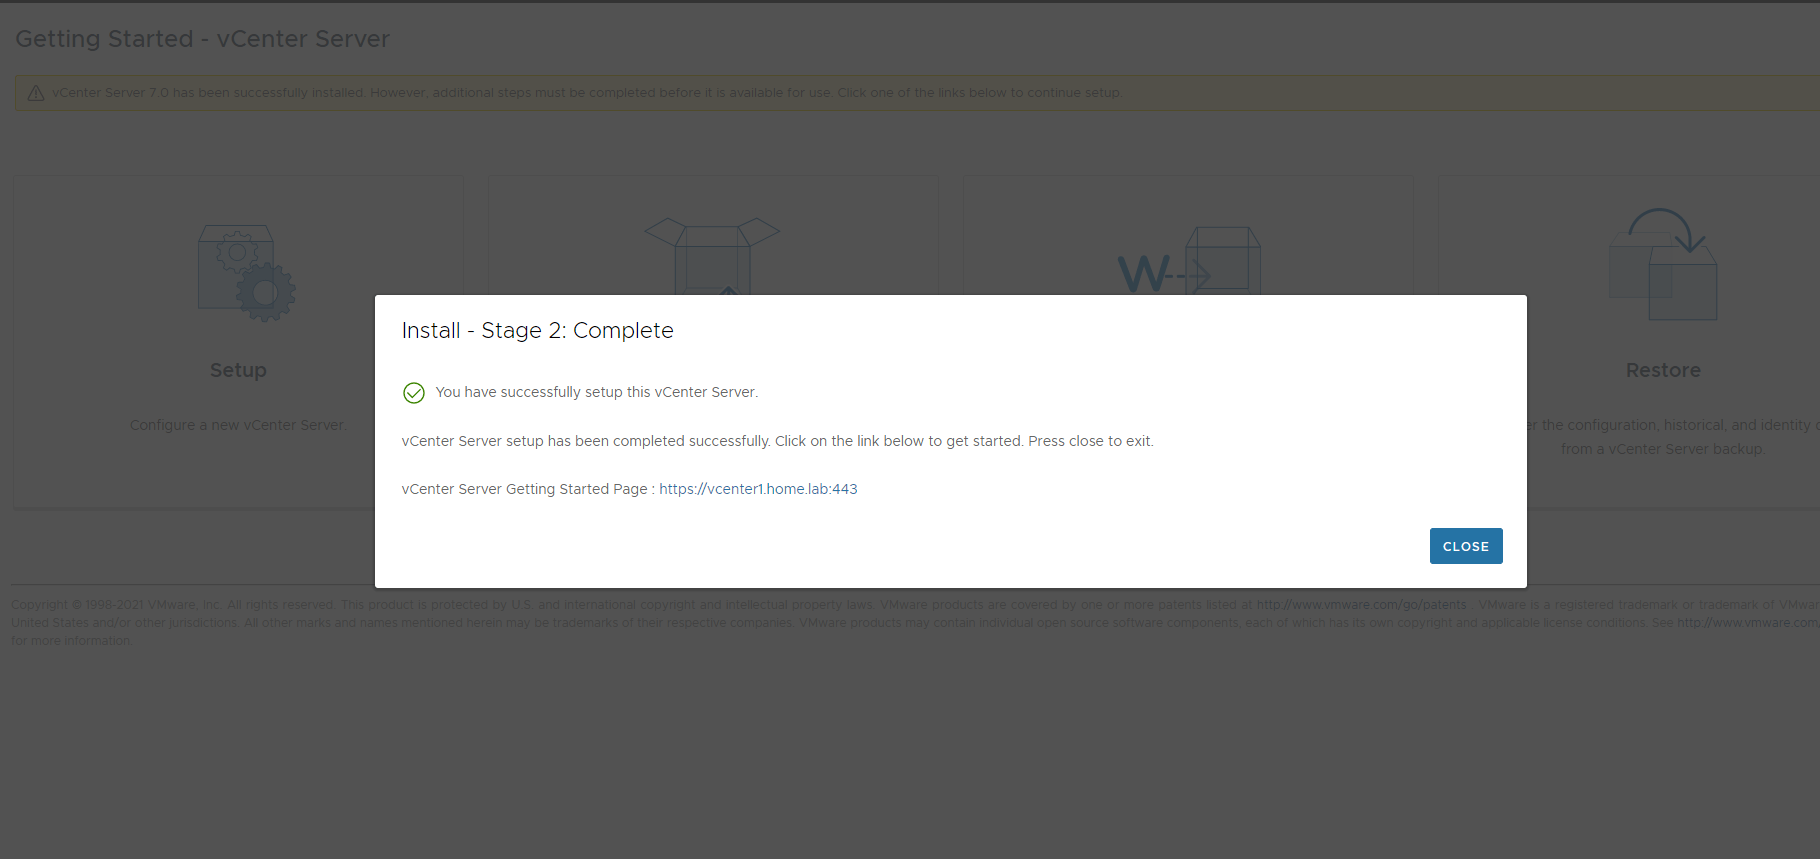
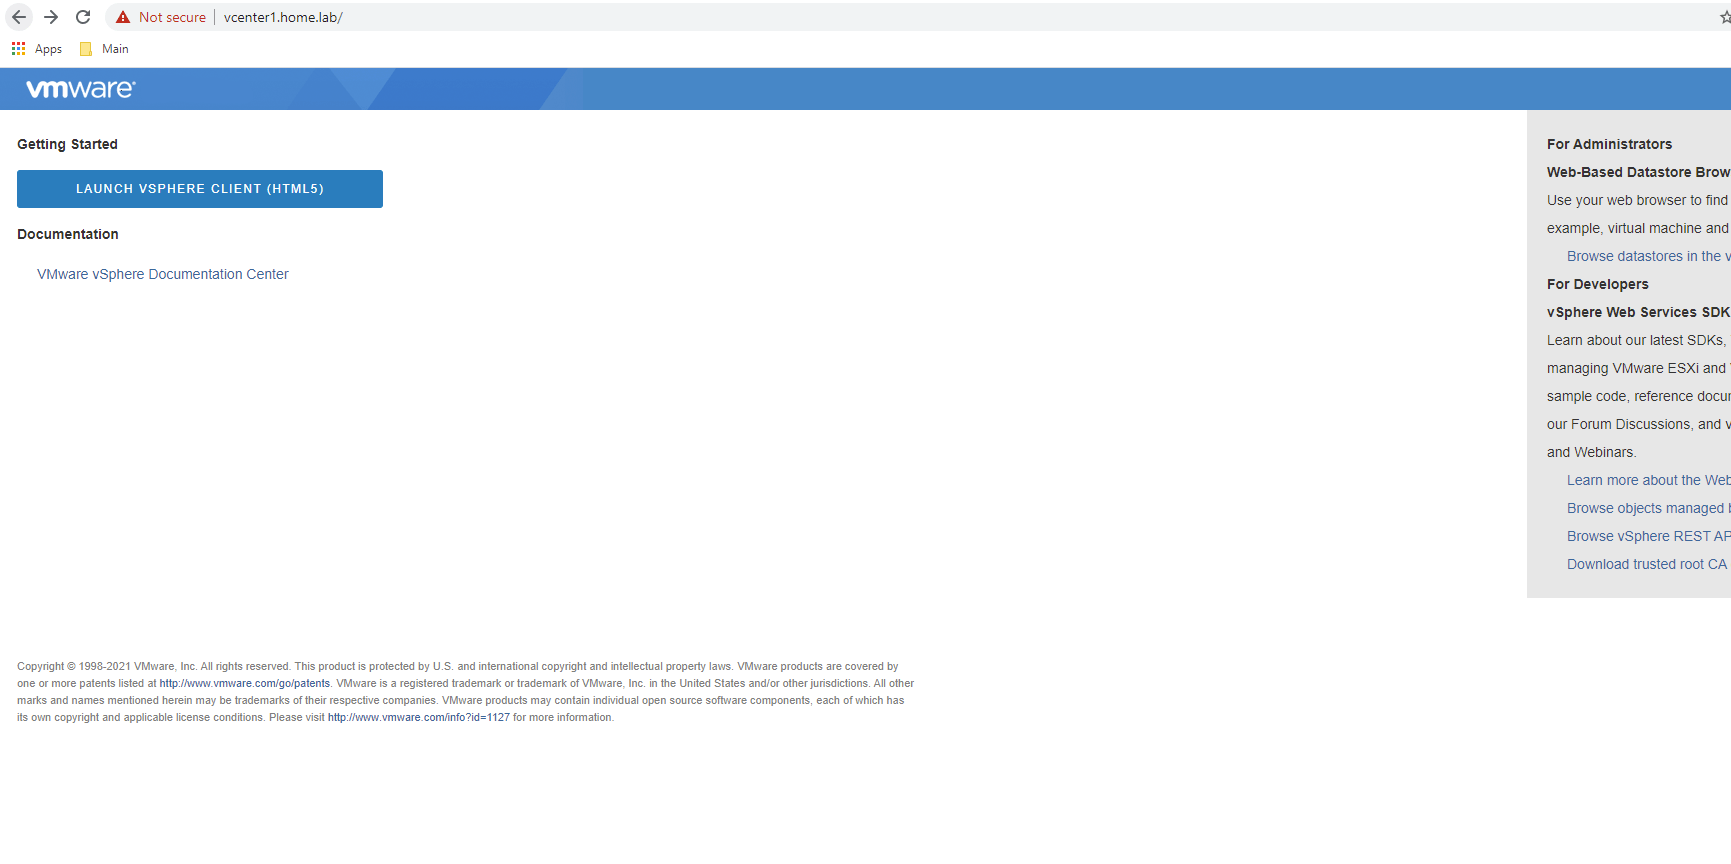
Into the setup wizard for stage 2. Click NextYou’re welcome to sync with a public ntp server (or private), I just selected the host for mine. Additionally, it’s a lab and ssh access to vCenter is very handy when troubleshooting issues later.Set the SSO domain, I chose the default “vsphere.local” and enter your password.Choose whether you want to join the CEIP.Summary page. If all looks right, click Finish.Stage 2 Completed. Vcenter is all setup. You can now access the UI:
vSAN Initial Setup
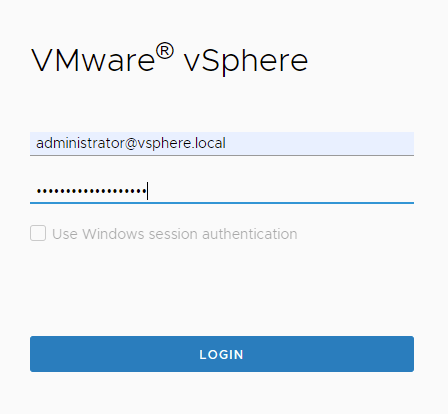
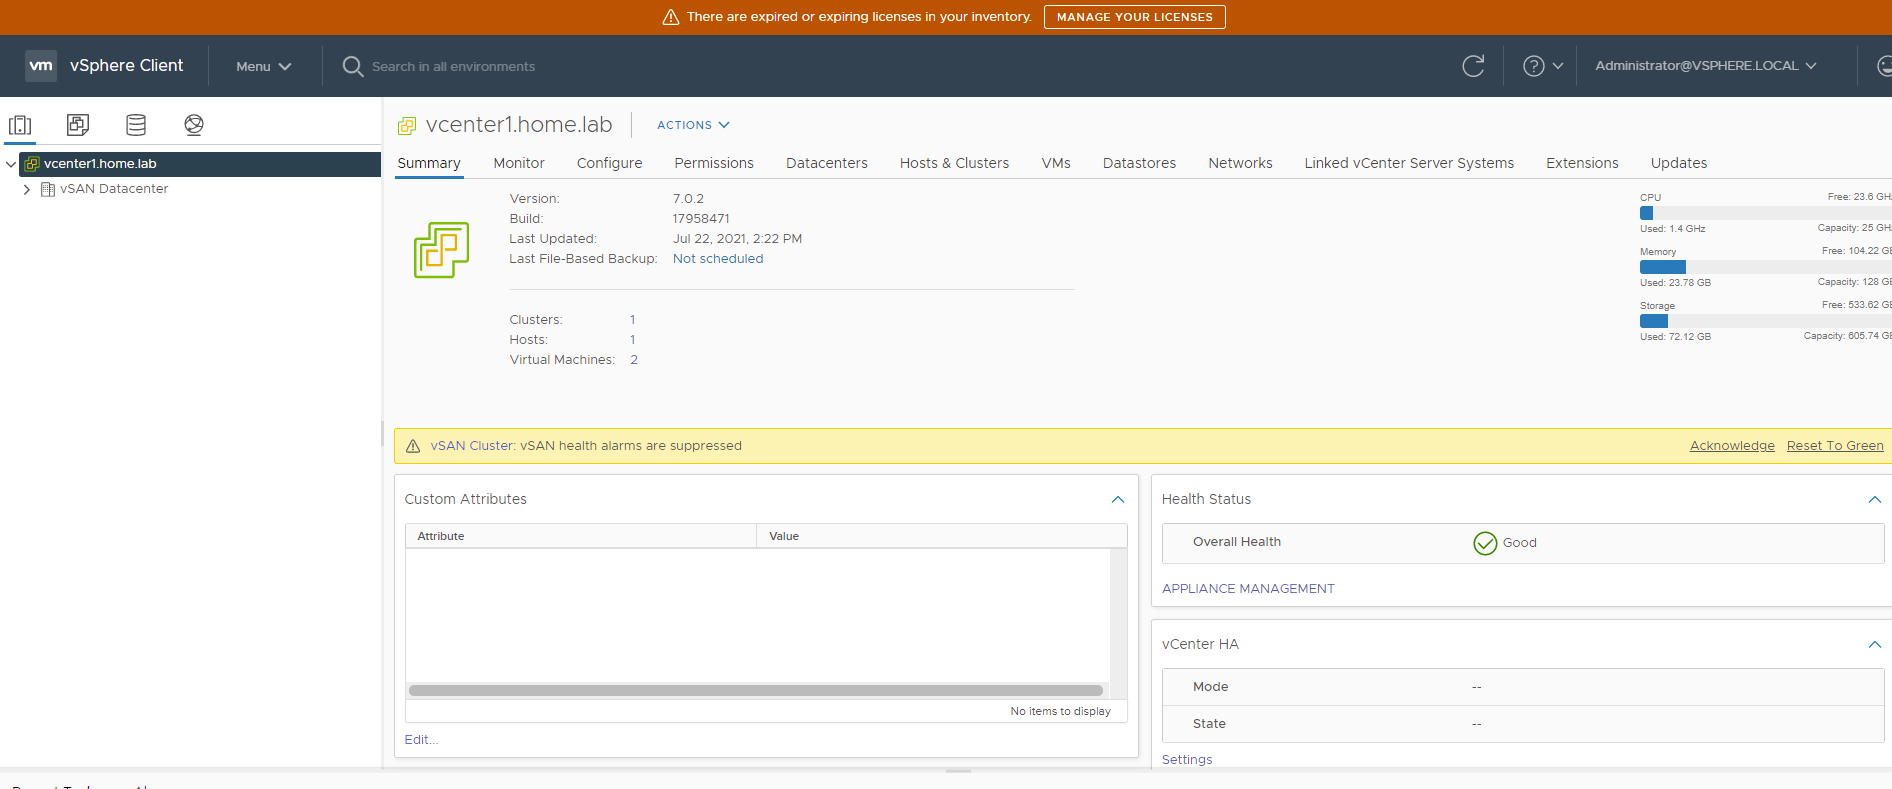
Launch vCenter in the browser.Login with the administrator@vsphere.local account and password.You’re going to see lots of alarms and warnings, don’t worry.. we’re going to fix it all in the next few steps.
Step 1: Cluster Basics
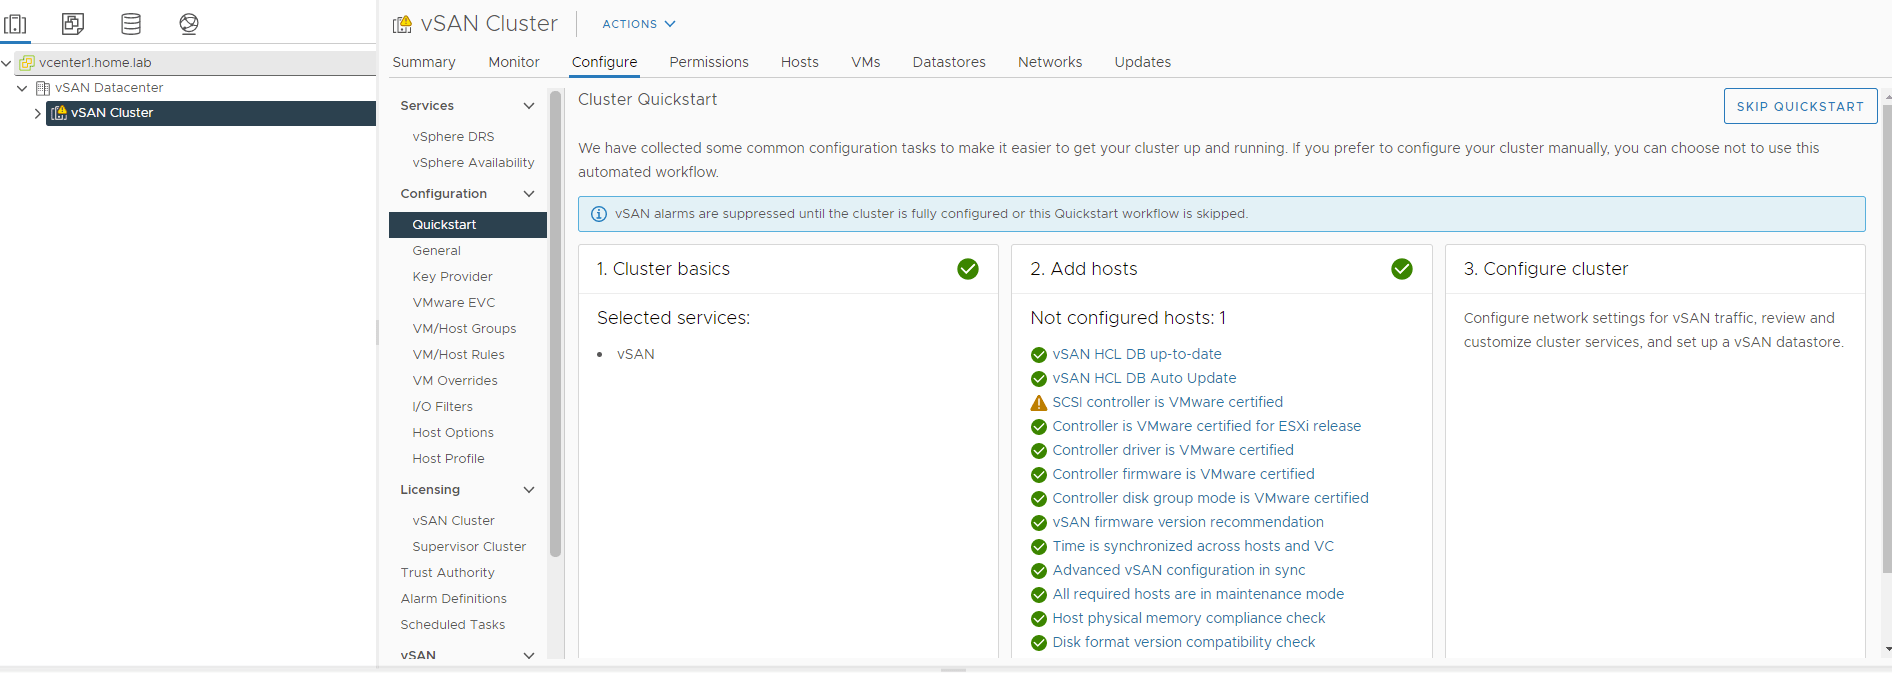
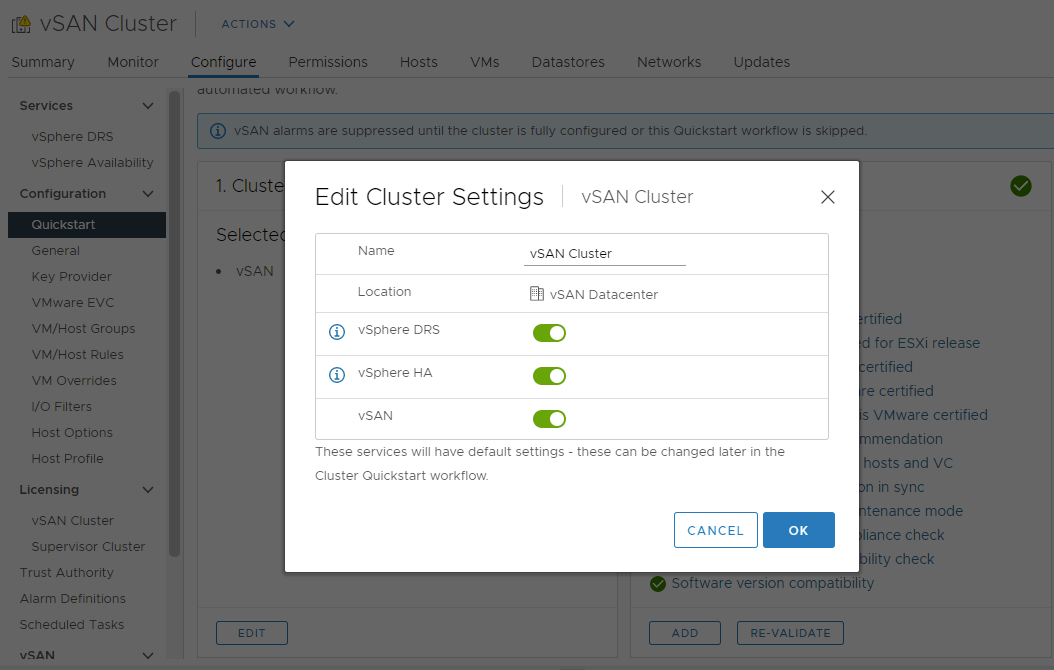
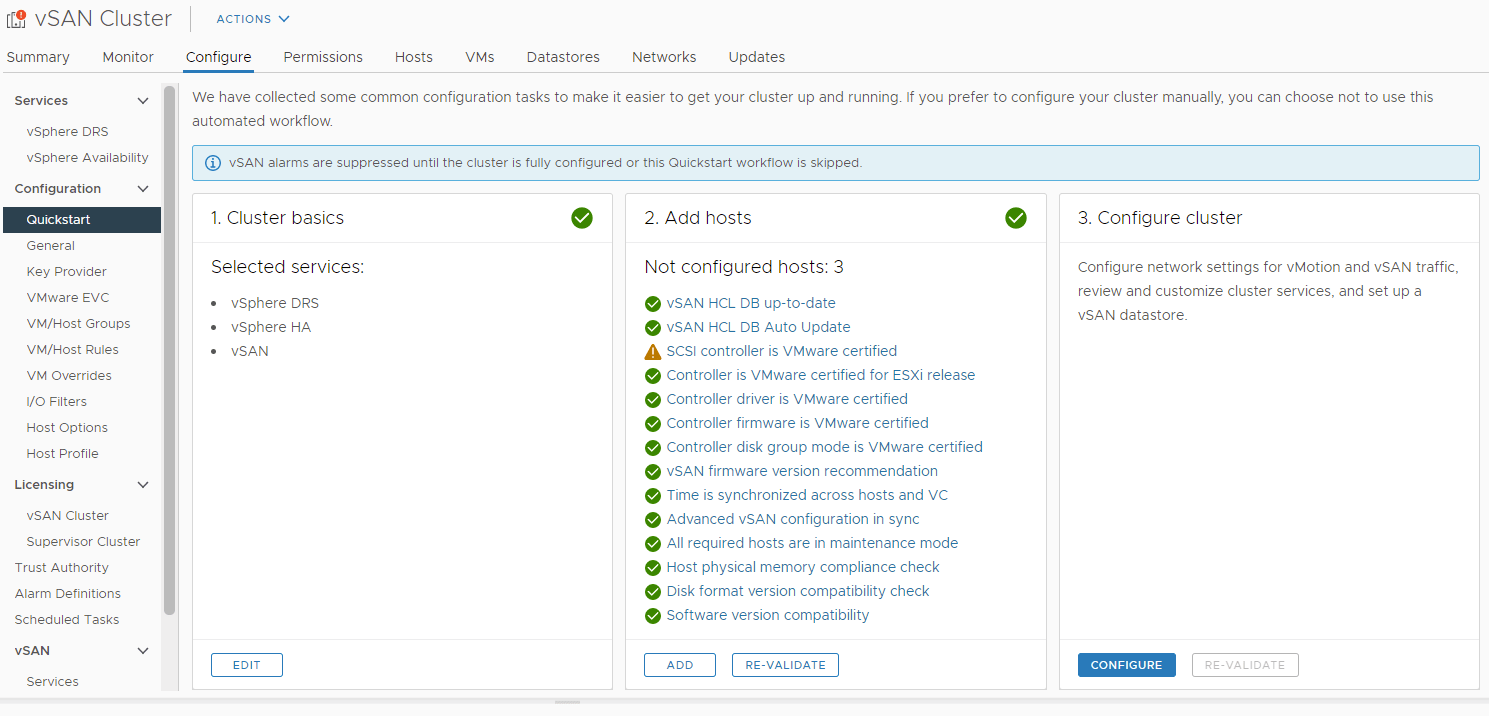
Navigate to the vSAN Cluster and select Configure. Then under Configuration click Quickstart. This provides a easy to use wizard for deploying HA and vSAN.Step 1: Click Edit under Cluster Basics and make sure that all the options are turned on. vSphere DRS, vSphere HA, and vSAN.
Step 2: Add Hosts
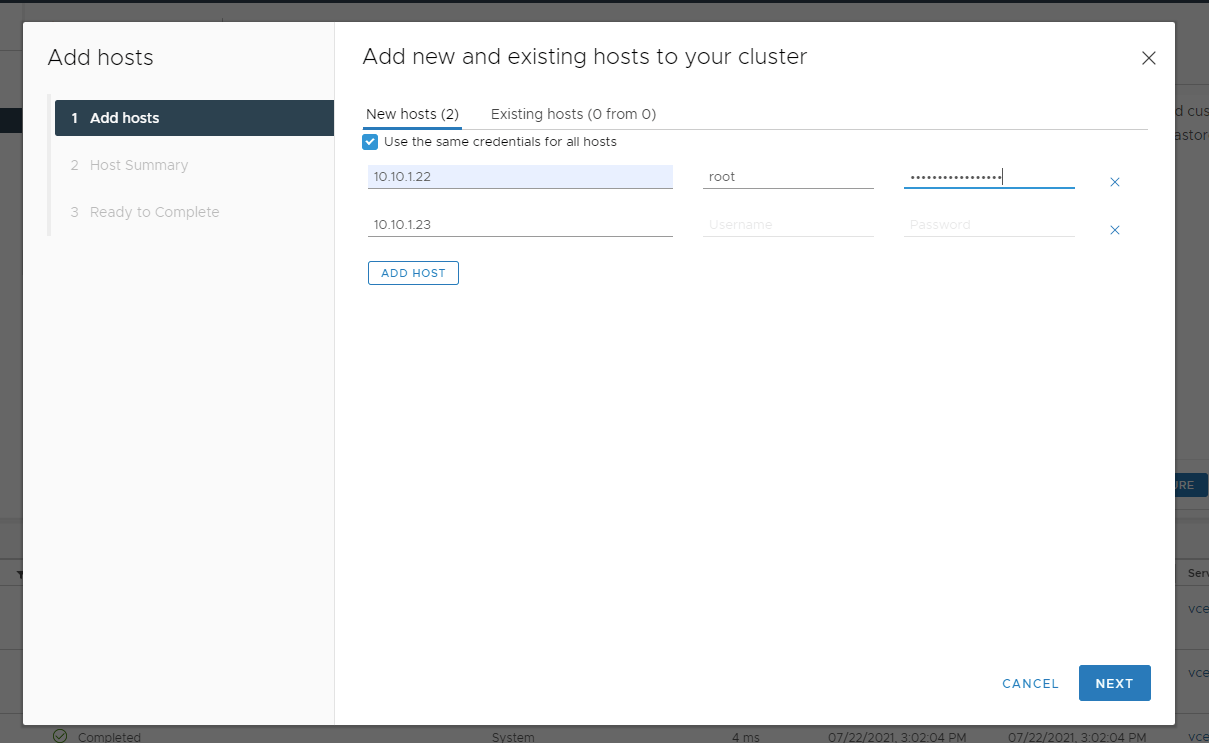
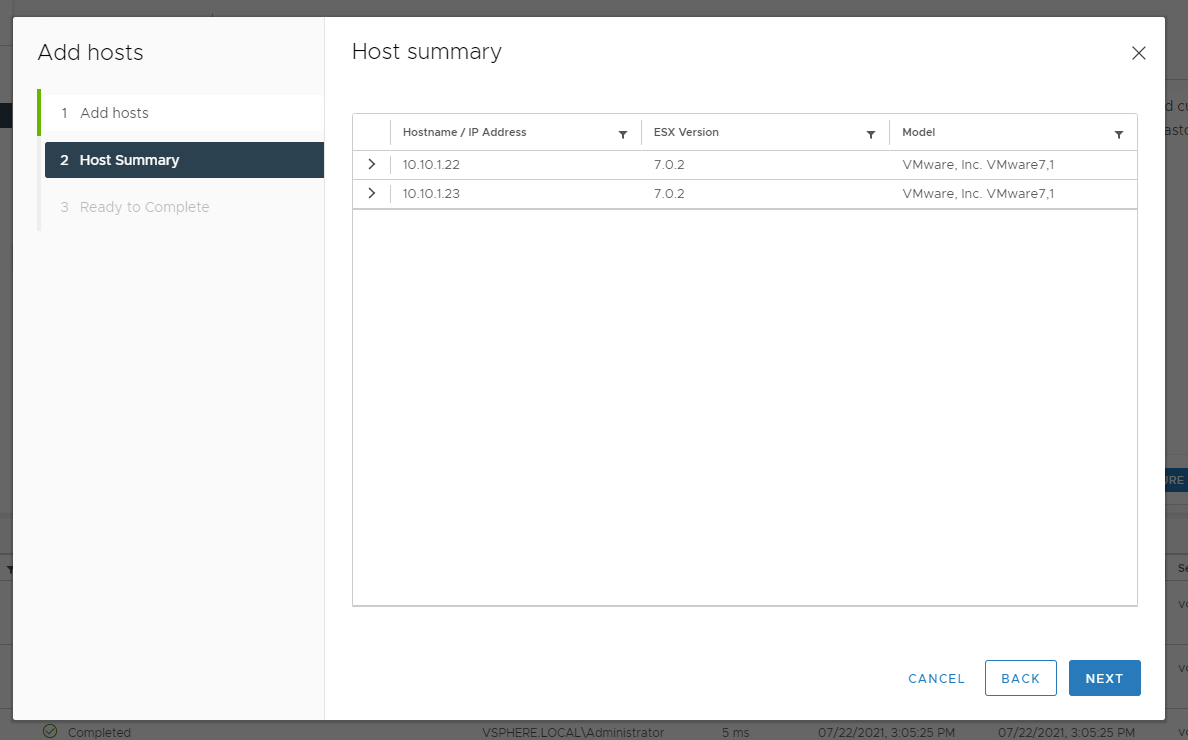
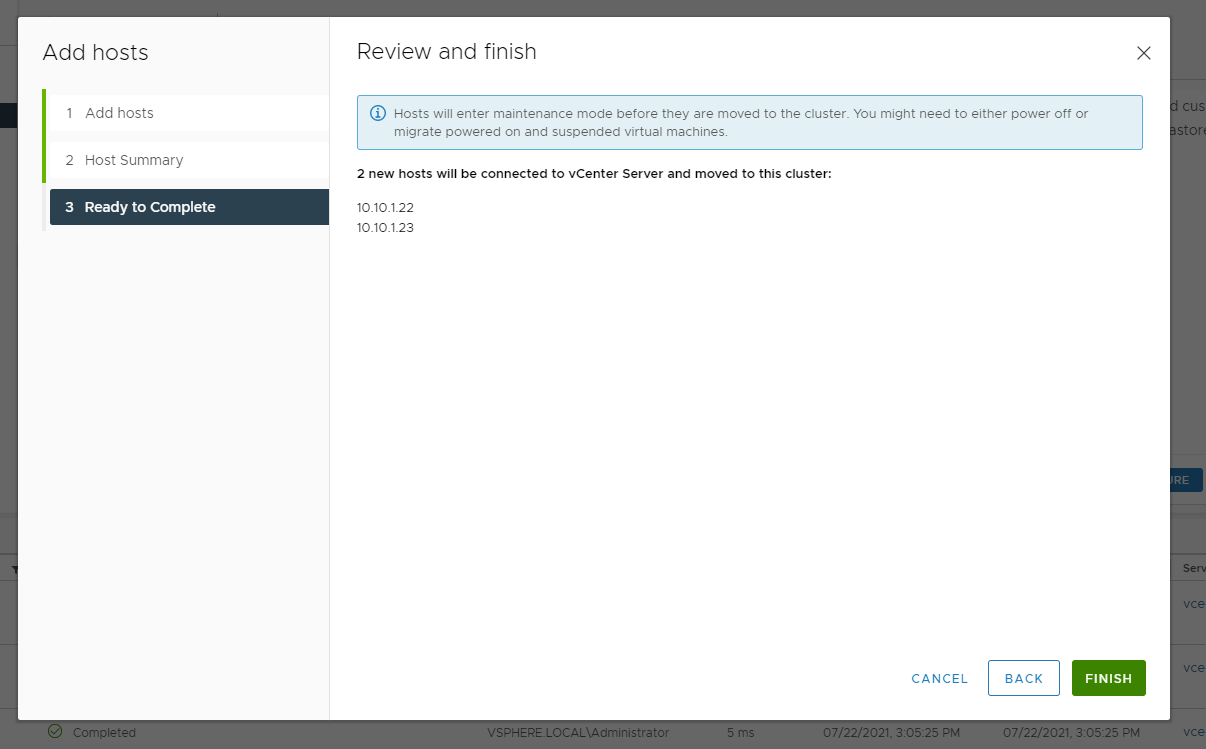
Step 2: Under Add hosts, click ADD. Then add in the IP or fqdn of each of the other 2 esxi hosts. Then the user and passwords for each.Select the hosts and click OK to accept the certificate security warning.Summary of the hosts. Click NextReady to add them, click Finish. After you click finish, this will take some time. Just be patient.Hosts are added, now on to step 3.
Step 3: Configure Hosts
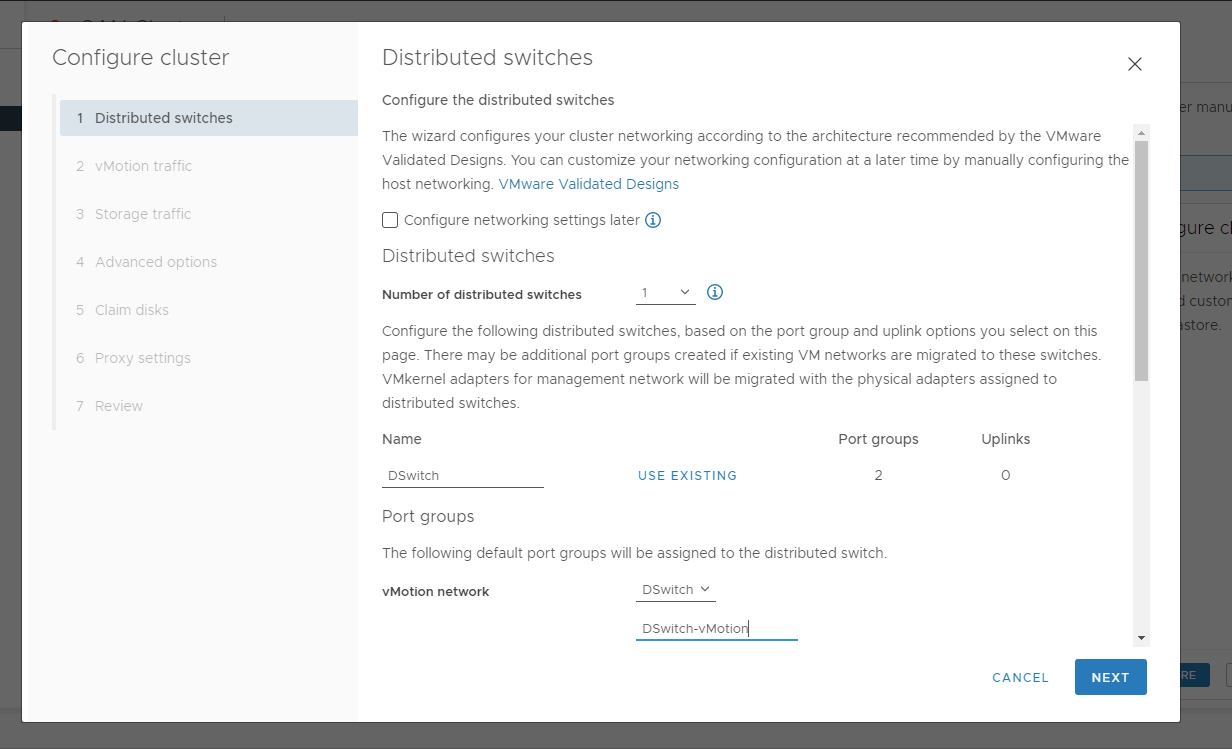
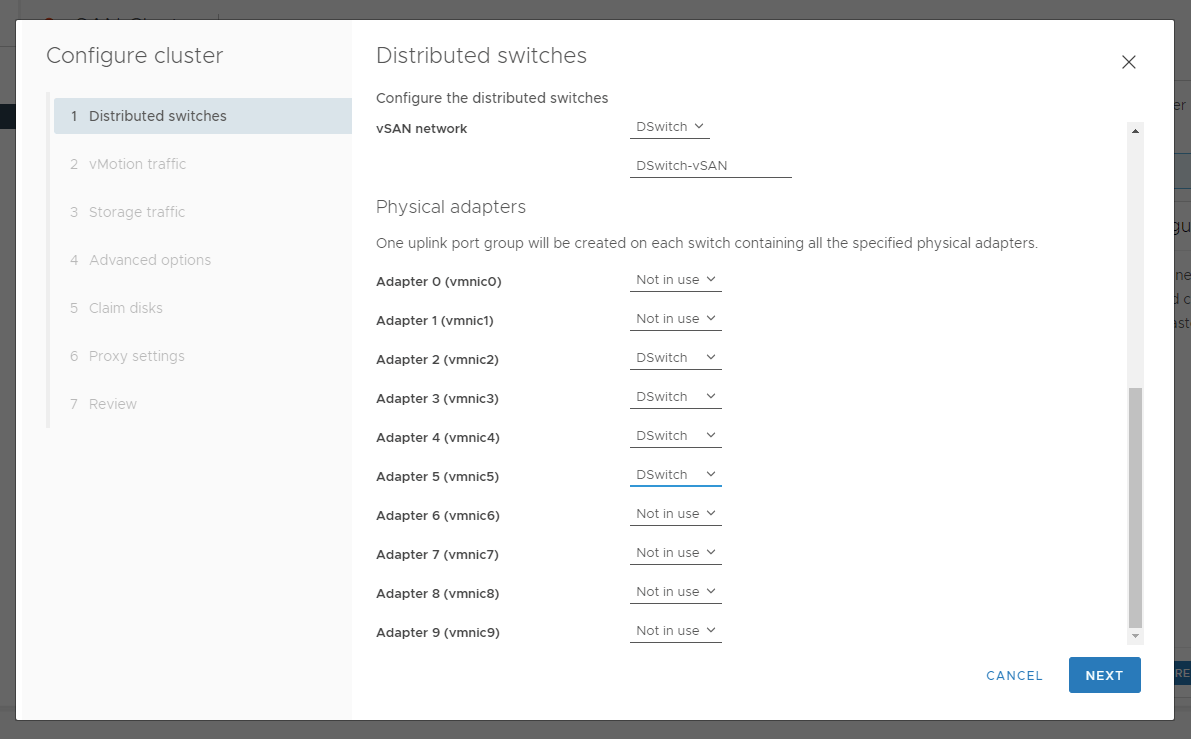
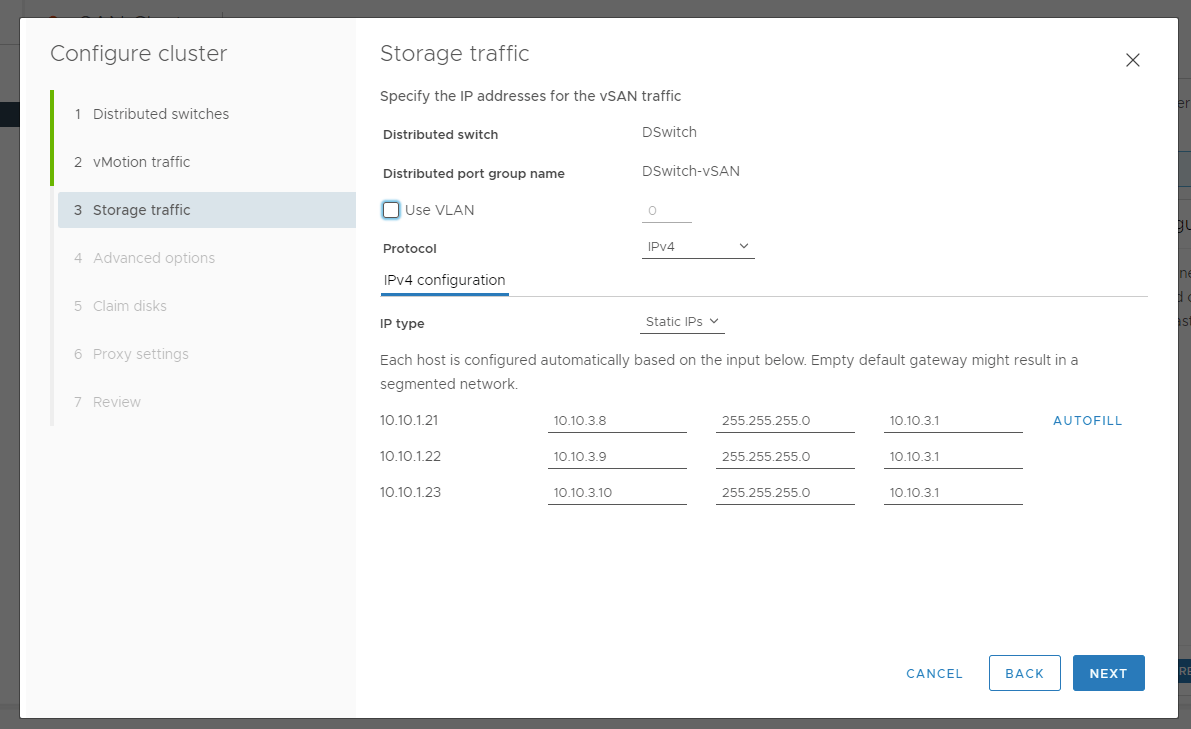
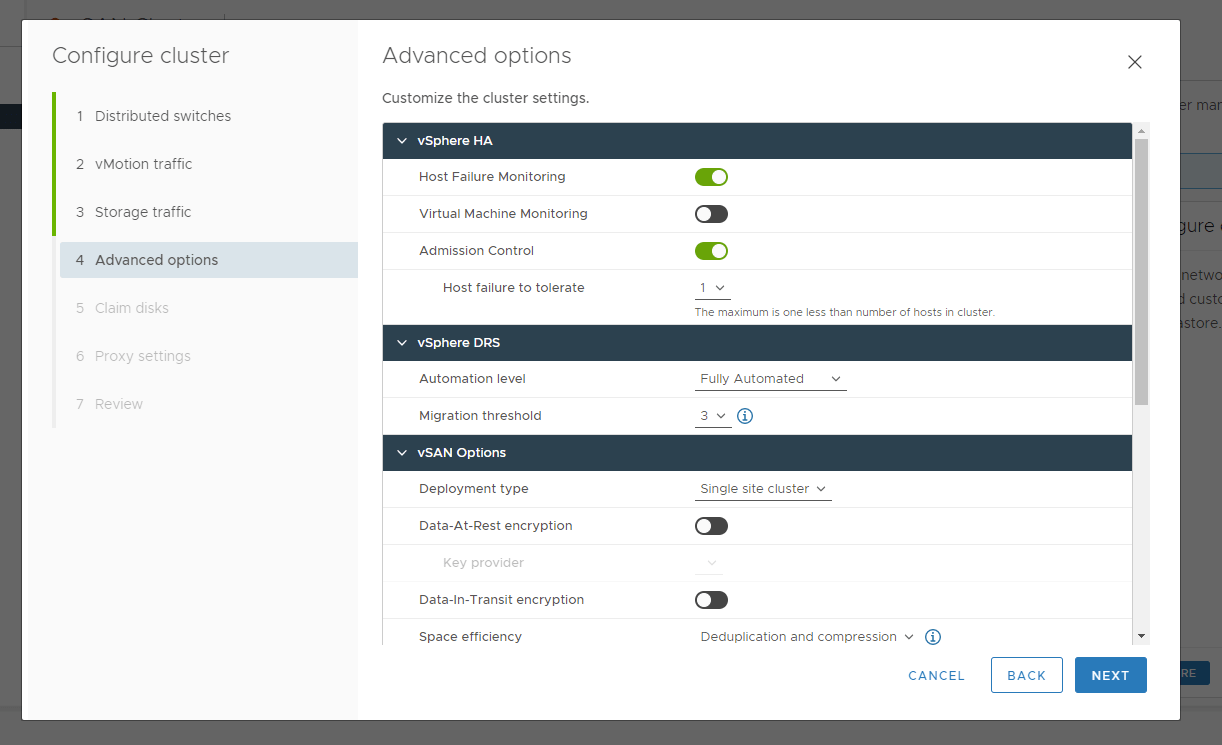
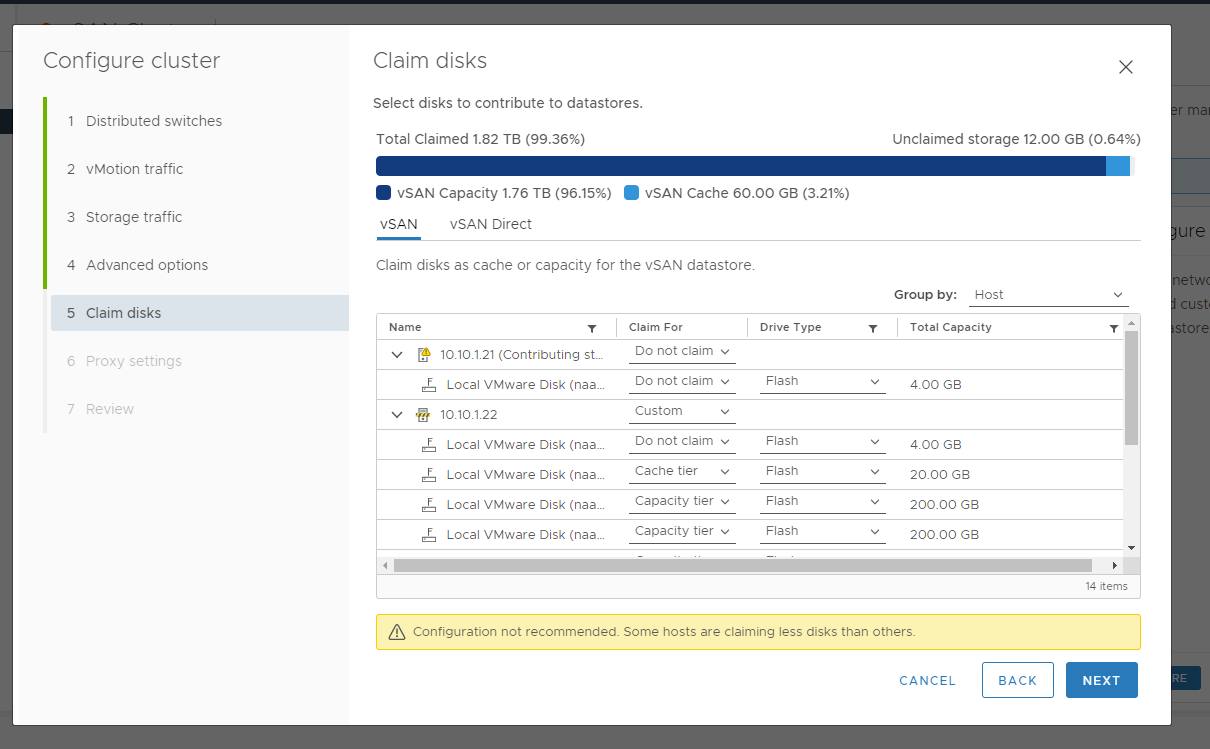
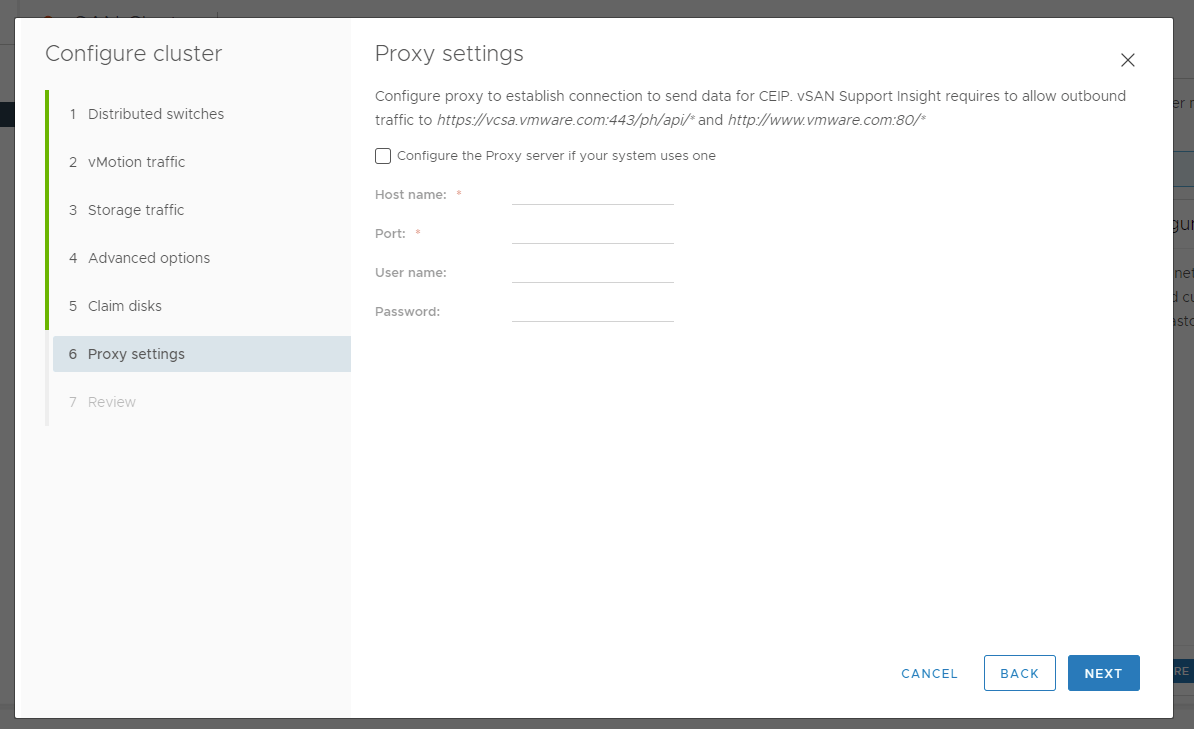
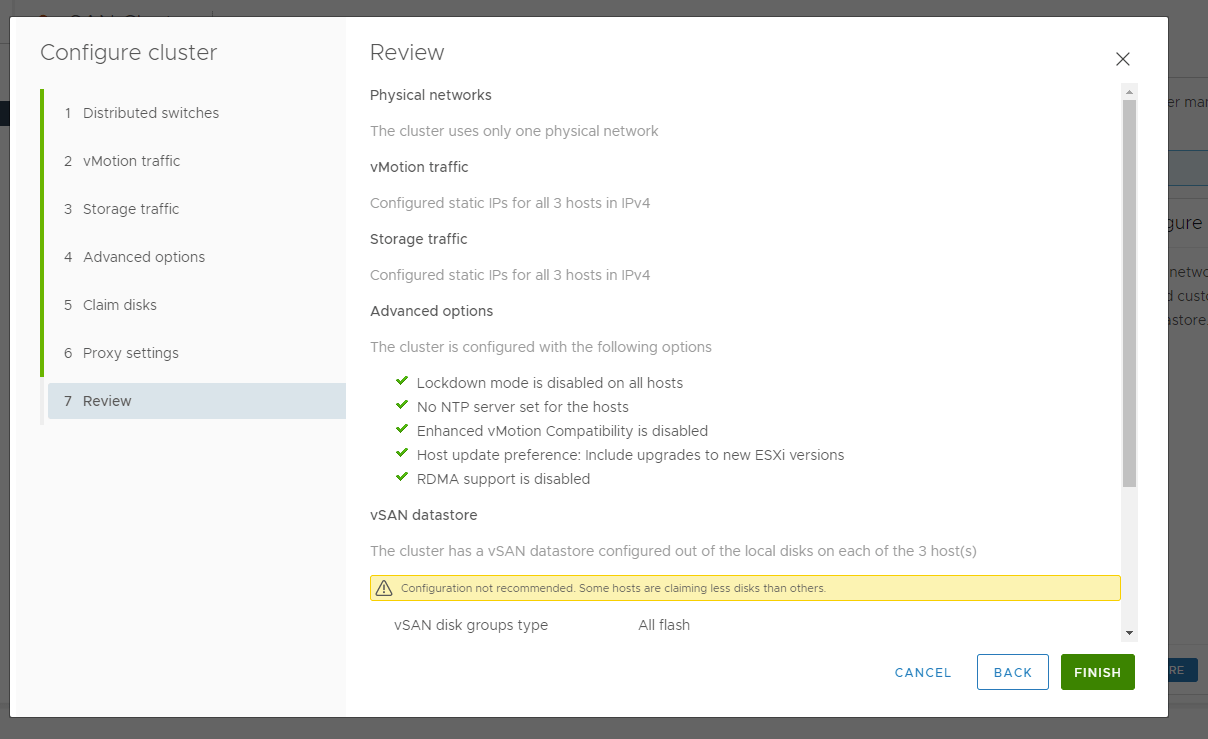
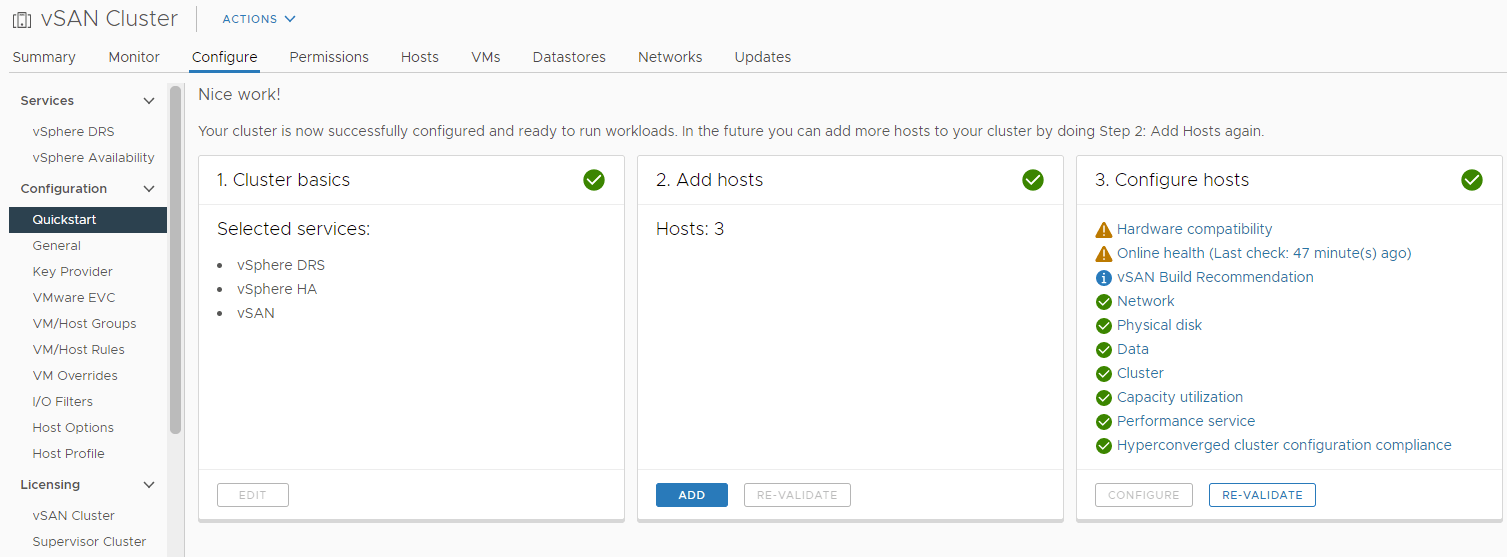
Step 3: Click Configure under Configure cluster. I left all these settings default.Set the vmnics as shown above. We will use this to setup vSAN and vMotion. Click Next.I am using vlan20 (10.10.2.0/24) for my vmotion traffic. So I configured 3 interfaces for this traffic, 1 per esxi in the cluster. Also i’m not using vlans, so I have unchecked that box. Click Next.Similarly, the vSAN vlan is vlan30 (10.10.3.0/24) and I configured 3 IP addresses on this network. Uncheck vlan if not in use. Click Next.I left all of these settings default. You can turn on “Virtual Machine Monitoring” if you want. Everything else is fine as default. Click Next.For the disks, select the “Group by:” as Host, and expand the hosts. You will see all the volumes that we created on the esxi setup.Go through and claim the following: 200GB Claim as capacity tier 20GB Claim as cache tier 4GB do not claim Click Next.Skip this step, since we have already configured internet access.Summary page. Review everything and click Finish. This step takes a while.. be patient.Eventually everything will normalize and look like this. You can ignore those yellow alerts. As long as nothing is red, you will be fine.
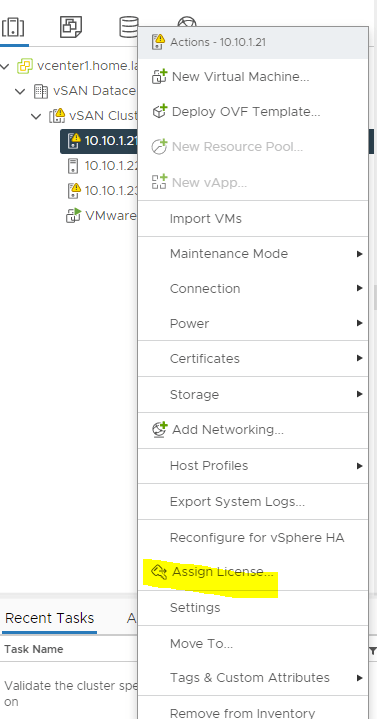
Licensing vCenter
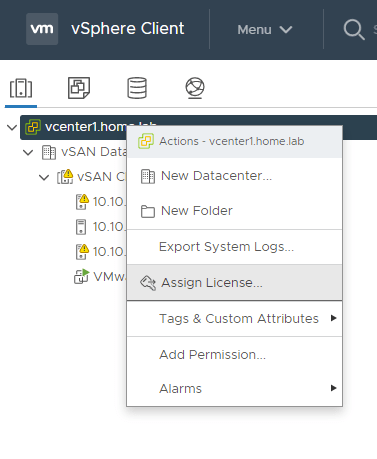
Click the Menu and navigate to Hosts and Clusters. Right click the vcenter1 instance, and select Assign License. Select the appropriate vCenter license and click Ok.
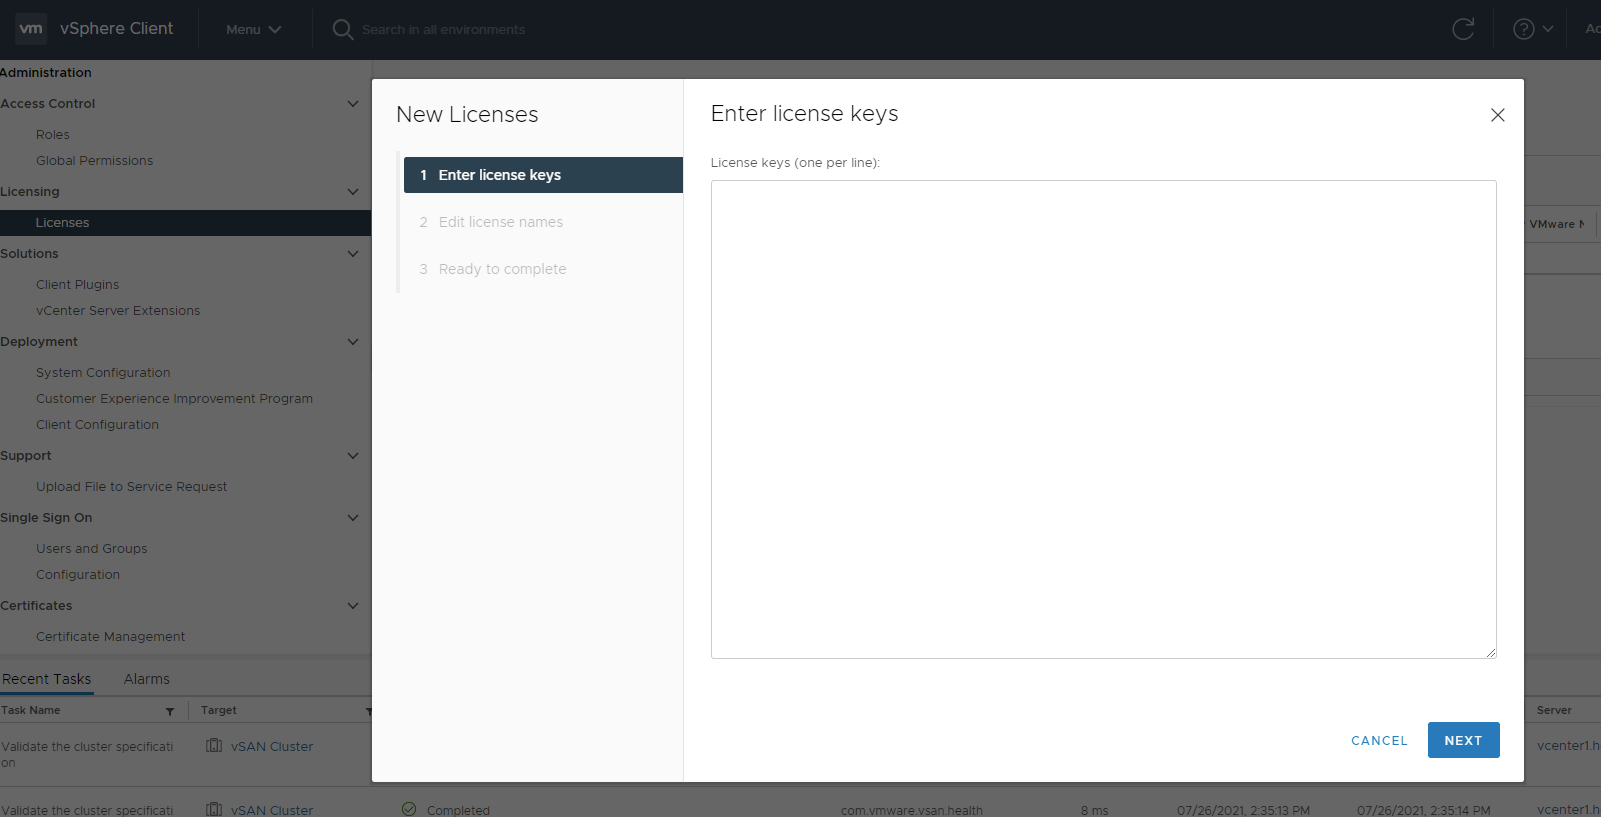
Licensing the ESXi hosts in vSAN cluster
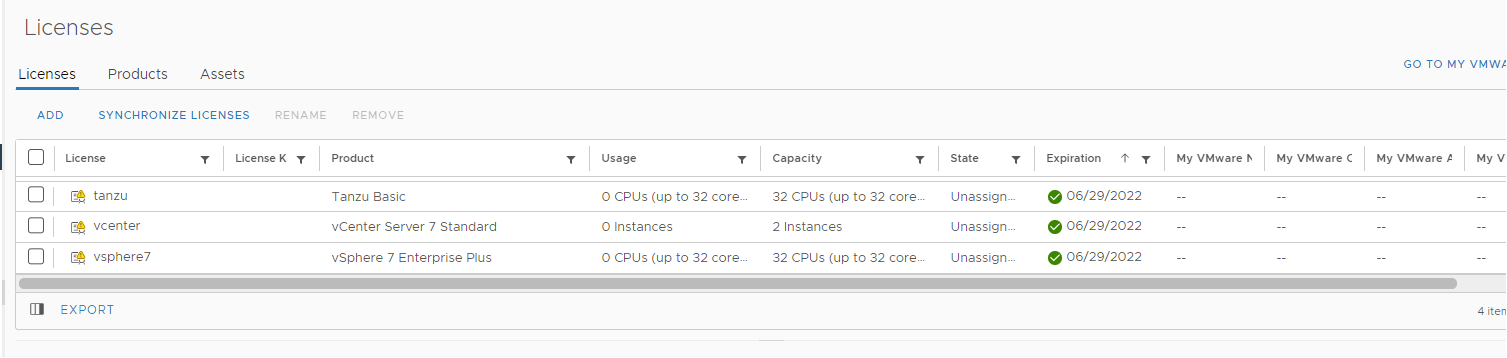
Enter your licenses separated out by a new line. Click Next. Then you have the option to name your licenses, Next. Summary page. Save.After adding the licenses, you will see them available here.Select the Menu at the top and navigate to Hosts and ClustersRight click on one of the ESXi hosts in the vSAN cluster and select Assign License. Then in the popup that will appear, you select the appropriate license. Repeat this steps for the other 2 ESXi hosts.
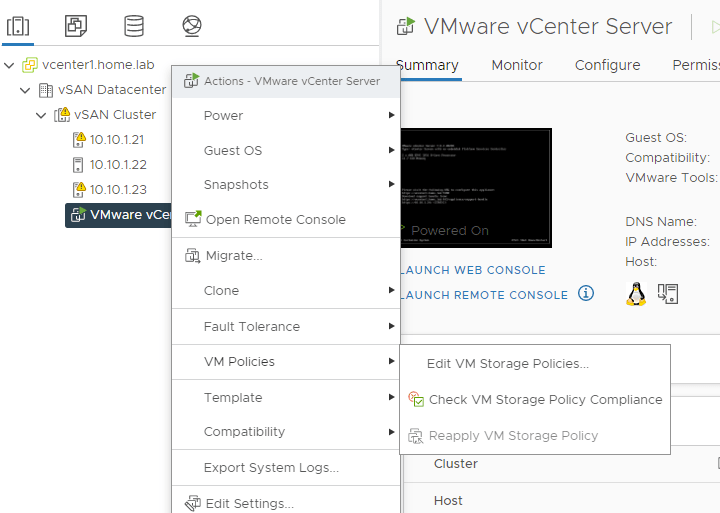
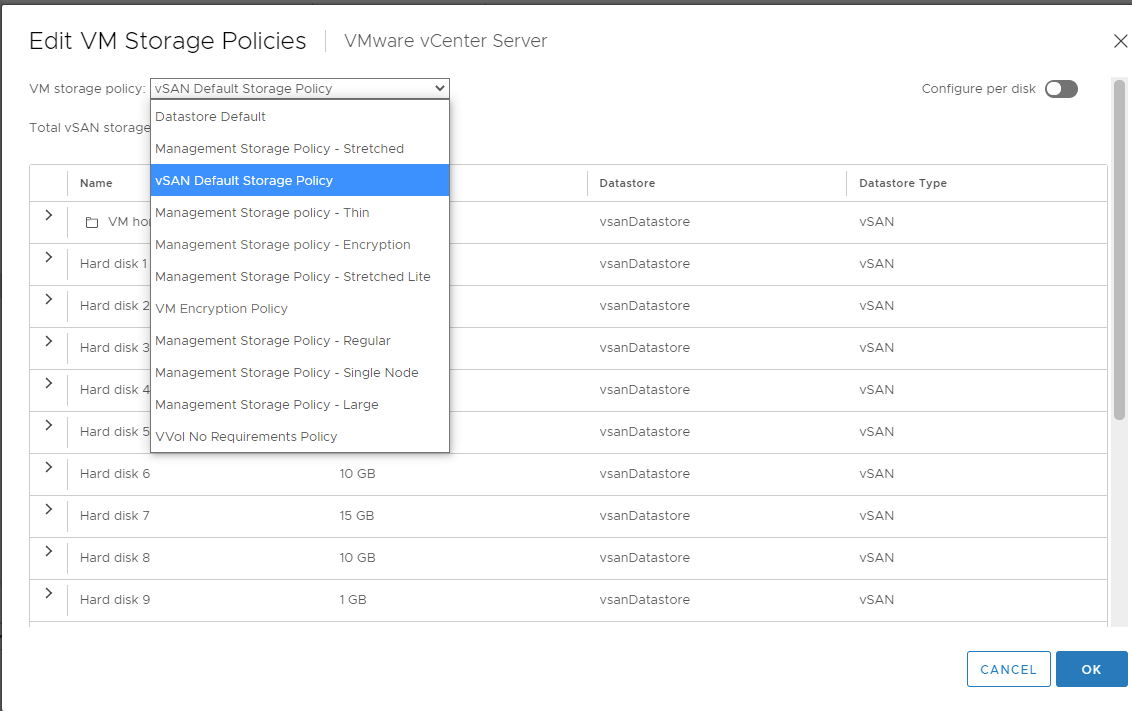
Set vSAN as default storage policy
Right click on the vCenter vm, and navigate to VM Policies, and select Edit VM Storage PoliciesAt the top select vSAN Default Storage Policy from the drop down and click Ok.
18 thoughts on “Home Lab – Deploy vCenter 7 and vSAN on nested ESXi”
thank you for this, its really great. is Production VLAN 5 included in the distribution switch? I followed your instruction and when sniping off new VM’s i get .4 IP address and not .5.
If you’ve configured vlan5 in pfsense you should be able to get DHCP ip addresses. I left it optional since most home labs don’t really need 5 /24s. I ended up configuring it initially in my lab, then removing it later on.
very great tutorial, thank you again.
i think your tutorial is missing a very important part on how to configure networking once all 3 esxi hosts are in a cluster an are managed from vSphere. As it is now if you go to networking there is only one VM network and DSwitch that was configured during vSAN configuration. Suppose i want to set up a Server and have it grab IP from .5 DHCP how can i explicitly tell it to do that? As well as if i want to set up a Workstation that i want to have .4 DHCP address. Right now anything i spin Server or Workstation the only option thats available is VM Network and therefore there is no real control of which ip newly created vm will get. All my port groups that we have created earlier and associated with vSwith1 are on vlan 0, if it makes any difference.
Here’s what I did to improve Matt’s lab build guide:
1. On my physical esxi host, I created a separate vswitch for every “vlan” and then created the “vlan” port group inside each vswitch. For example: port group vlan10-management is assigned to vswitch vlan10-management, port group vlan20-vmotion is assigned to vswitch vlan20-vmotion. This gives you actual logical separation while still not using vlan tagging. If all the port groups are in one vswitch with no vlan tagging, then it’s just one big broadcast domain; hence DHCP being wonky.
2. After setting up vCenter completely, I added a second DSwitch named DSwitch-VM Network, then added all three hosts and added vmnic 6-9 as uplinks 1-4 to provide access to the vm network and pod network I created on my physical esxi host. FYI, there is no need to add vmks (virtual adaptors).
I hope this helps.
Forgot to mention: Create two Distributed port groups within you second Distributed switch for you VMs and Pod. Mine are DSwitch-VM Network-VMs and DSwitch-VM Network-Pod.
Completely agree and that is something I ran into. Ultimately I ended up removing all the extra vlans/portgroups and just used VM Network on a /24 network. It was plenty of IP space for me.
You will need to configure a reservation on your DHCP server. Most DHCP servers provide this functionality. You’ll need the MAC address off the NIC card of your host in order to do so.
ughhh, this is so frustrating. i am still not able to achieve what i want even with Rick suggestions. i know i am missing something simple, but i just can’t figure out what ;(
i am even willing to do a teamviewer session, if some one wants to help.
Hey Eugene, sure I can meetup and help you. Are you free tomorrow?
Hey Matt, Once again this is an awesome collection of documents and it seems that lots of us are finding it super helpful. I have a very humble suggestion… if you moved the docs to github, we could all contribute to the minor modifications needed (mostly around networking).
Totally up to you. But more than anything…. Thanks again!! this is all really helpful to me.
Mike
Ahh yes github is probably the BEST place for these, but then who would goto my blog lol
“This host does not support intel VT-x ”
error while installing vcenter on nested esxi on VMware Workstation
Hi Matt, thanks for great tutorial!
While configuring my 3 nested esxi hosts as vSAN cluster, I’m keep getting the following error and failing to create VMs:
‘Cannot complete file creation operation. There are currently 1 usable fault domains. The operation requires 2 more usable fault domains. Failed to create object’
Since this is nested environment and not using physical racks or anything, shouldn’t all those standalone esxi hosts be a fault domain by itself?
I’m not sure I understand that one Jane. Are you creating the 3 nested esxi hosts in your lab? It should be no problem to create those VMs. And one you have vcenter installed on one of the nested ESXis, you can add the other 2 to the vcenter and form the full vSAN cluster. Requires minimum of 3 esxis.
Oh, sorry that I made it unclear. I already created 3 node vSAN cluster using nested ESXi VMs and registered them as a host in nested vCenter(total 4 nested VMs: 3 ESXi and 1 vCenter), which it was not possible to create new VMs on nested ESXi host. I have now resolved the fault domain error I mentioned – it was because I used VLANs and did not check the VLAN checkbox in Storage traffic configuration so vmks were not able to ping each other…
so for those who are using VLAN trunk ports in physical env’s vDS like me, please be sure to set VLANs as well as correct static IP assignment!
Ah thank you for the clarification Jane! Best of luck with the lab.
Just about got there in the end with a bit of fixing (of my own mistakes).
Still a little fiddling to do as my 1st (v)esxi host seems to think I have an issue with networking….
Thanks for the guide!


thank you for this, its really great. is Production VLAN 5 included in the distribution switch? I followed your instruction and when sniping off new VM’s i get .4 IP address and not .5.
If you’ve configured vlan5 in pfsense you should be able to get DHCP ip addresses. I left it optional since most home labs don’t really need 5 /24s. I ended up configuring it initially in my lab, then removing it later on.
very great tutorial, thank you again.
i think your tutorial is missing a very important part on how to configure networking once all 3 esxi hosts are in a cluster an are managed from vSphere. As it is now if you go to networking there is only one VM network and DSwitch that was configured during vSAN configuration. Suppose i want to set up a Server and have it grab IP from .5 DHCP how can i explicitly tell it to do that? As well as if i want to set up a Workstation that i want to have .4 DHCP address. Right now anything i spin Server or Workstation the only option thats available is VM Network and therefore there is no real control of which ip newly created vm will get. All my port groups that we have created earlier and associated with vSwith1 are on vlan 0, if it makes any difference.
Here’s what I did to improve Matt’s lab build guide:
1. On my physical esxi host, I created a separate vswitch for every “vlan” and then created the “vlan” port group inside each vswitch. For example: port group vlan10-management is assigned to vswitch vlan10-management, port group vlan20-vmotion is assigned to vswitch vlan20-vmotion. This gives you actual logical separation while still not using vlan tagging. If all the port groups are in one vswitch with no vlan tagging, then it’s just one big broadcast domain; hence DHCP being wonky.
2. After setting up vCenter completely, I added a second DSwitch named DSwitch-VM Network, then added all three hosts and added vmnic 6-9 as uplinks 1-4 to provide access to the vm network and pod network I created on my physical esxi host. FYI, there is no need to add vmks (virtual adaptors).
I hope this helps.
Forgot to mention: Create two Distributed port groups within you second Distributed switch for you VMs and Pod. Mine are DSwitch-VM Network-VMs and DSwitch-VM Network-Pod.
Completely agree and that is something I ran into. Ultimately I ended up removing all the extra vlans/portgroups and just used VM Network on a /24 network. It was plenty of IP space for me.
You will need to configure a reservation on your DHCP server. Most DHCP servers provide this functionality. You’ll need the MAC address off the NIC card of your host in order to do so.
ughhh, this is so frustrating. i am still not able to achieve what i want even with Rick suggestions. i know i am missing something simple, but i just can’t figure out what ;(
i am even willing to do a teamviewer session, if some one wants to help.
Hey Eugene, sure I can meetup and help you. Are you free tomorrow?
Hey Matt, Once again this is an awesome collection of documents and it seems that lots of us are finding it super helpful. I have a very humble suggestion… if you moved the docs to github, we could all contribute to the minor modifications needed (mostly around networking).
Totally up to you. But more than anything…. Thanks again!! this is all really helpful to me.
Mike
Ahh yes github is probably the BEST place for these, but then who would goto my blog lol

“This host does not support intel VT-x ”
error while installing vcenter on nested esxi on VMware Workstation
Hi Matt, thanks for great tutorial!
While configuring my 3 nested esxi hosts as vSAN cluster, I’m keep getting the following error and failing to create VMs:
‘Cannot complete file creation operation. There are currently 1 usable fault domains. The operation requires 2 more usable fault domains. Failed to create object’
Since this is nested environment and not using physical racks or anything, shouldn’t all those standalone esxi hosts be a fault domain by itself?
I’m not sure I understand that one Jane. Are you creating the 3 nested esxi hosts in your lab? It should be no problem to create those VMs. And one you have vcenter installed on one of the nested ESXis, you can add the other 2 to the vcenter and form the full vSAN cluster. Requires minimum of 3 esxis.
Oh, sorry that I made it unclear. I already created 3 node vSAN cluster using nested ESXi VMs and registered them as a host in nested vCenter(total 4 nested VMs: 3 ESXi and 1 vCenter), which it was not possible to create new VMs on nested ESXi host. I have now resolved the fault domain error I mentioned – it was because I used VLANs and did not check the VLAN checkbox in Storage traffic configuration so vmks were not able to ping each other…
so for those who are using VLAN trunk ports in physical env’s vDS like me, please be sure to set VLANs as well as correct static IP assignment!
Ah thank you for the clarification Jane! Best of luck with the lab.
Just about got there in the end with a bit of fixing (of my own mistakes).
Still a little fiddling to do as my 1st (v)esxi host seems to think I have an issue with networking….
Thanks for the guide!