
Have you ever wished you had more control over your code, privacy for your projects, or just to know how things work behind the scenes? Then, creating your own space to store and organize code could be your next project. Having your own Git server at home may seem like something only geeks can accomplish, but it’s something many hobbyists and developers are doing, even from a laptop or Raspberry Pi.
So, what does all of that mean? And why would anyone want to branch off from servers such as GitHub or GitLab? Let’s break it down step by step and see the process through which you can replicate this setup in your living room.
Why Host Your Own Git Server?
Before we get into how to do it, let’s discuss why you should bother at all.
When you host projects such as on GitHub, your code resides on their servers. That is okay for most users. But suppose you wish to have your projects secret, have costs low, or stay away from the vagaries or whims of a corporation’s rules?
By hosting your own Git server in your own home, you’re the administrator. You get to decide who gets to see your code, how you store your projects, and when the updates occur. And, it can be a fun learning experience, especially if you’re one of those kinds of people who love to tinker with tech or you’re setting up a home lab.
Aren’t you imagining something slightly more thrilling than merely clicking “push” to some cloud server that you really don’t have in your hands?
What You’ll Need
You don’t have to have much money or expensive equipment to host your own code. You will need only:
- A computer that is always on (even a vintage one will work)
- A steady internet connection
- Limited exposure to command-line programs
- Git is installed on your computer as well as the server computer.
It’s also a good idea to have a basic understanding of SSH (Secure Shell), by which you can remotely connect to your server securely from another machine.
Option 1: The Bare Git Repository Method
This method is best suited for those who enjoy working with the command line and prefer to keep things very lightweight.
Step 1: Installing Git on Your Server
If you are on Linux, it is straightforward:
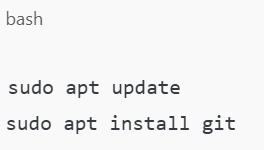
Ensure that Git is also installed on your local machine.
Step 2: Make a Git User
It is best not to use your main system account for all activities. Create a user specifically for version control operations:
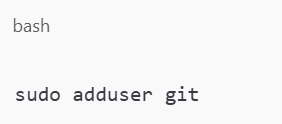
Follow the guide to generate a password and basic information.
Step 3: Initialize a New Bare Repository
A bare repository contains no working files — it’s simply the Git history. It’s useful for sharing between machines.

You now have a place to push your code from your local machine.
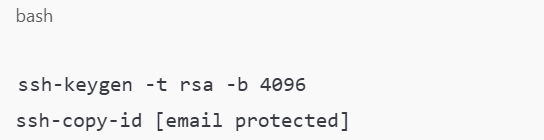
Step 4: Connecting via SSH
On your local machine, set SSH to connect to the Git server:
You can clone the project currently with:

And there you have it. You’re off and running with your own Git server at home.
Need Something More Visual? Use Gitea
If command lines are not really your thing and you’d prefer to have a web front, Gitea is the ticket. It’s your own personal GitHub, but you host it yourself.
Step 1: Install and Download Gitea
Visit the Gitea website and download the version for your environment. After downloading, execute it as demonstrated below:
It will open a page on your local network — usually at http://localhost:3000.
Step 2: Proceed with the Web Setup
When you click on that link, you’ll find step-by-step instructions. You’ll:
- Choose where your repositories live.
- Choose a database (you can use SQLite if you prefer something simple)
- Create the first admin user.
- It’s designed to be beginner-friendly.
Step 3: Start Developing Projects
Once your setup is all set, you can create a new repository, invite team members, and control it all from your browser. And don’t worry — it still gets along with your favorite tools like VS Code, Terminal, or SourceTree.
Keeping Your Server Secure and Up and Running
Now that you’ve learned how to start hosting your own Git server at home, it’s time to talk about keeping things in working order.
Here are some brief tips:
- Use SSH for secure connections: It is more secure than passwords.
- Back up your code: Either to another server or an external hard drive, don’t lose your hard work.
- Keep your system updated: Always install software updates to safeguard your configuration from bugs and hackers.
- Monitor your storage and performance: As your business expands, your projects could consume more storage and memory space.
Is It Worth It?
If you’re a frequent builder, a learning enthusiast, or simply want more control, creating your own environment for code is worth the hassle. Having your own Git server at home not only assists you in building your skills but also provides you with a deeper understanding of how development tools really function.
And in addition, you don’t have to worry about limits, ads, or paying extra to go private.
Aren’t you happy your work remains where you prefer it, not out there in the cloud?
Wrapping Up
We’ve discussed two ways of getting started: the basic command-line way and the simpler way using Gitea. Either way, having your own Git server at home gives you total control of your coding life. Regardless of whether you are a lone developer, a student, or a small team, this setup gives you the privacy, independence, and learning space that big platforms cannot offer.
So, do you want to begin building your own version control system in your own chair? Check out additional self-hosting tutorials and tech tips at mattadam.com and start owning your tools, project by project.