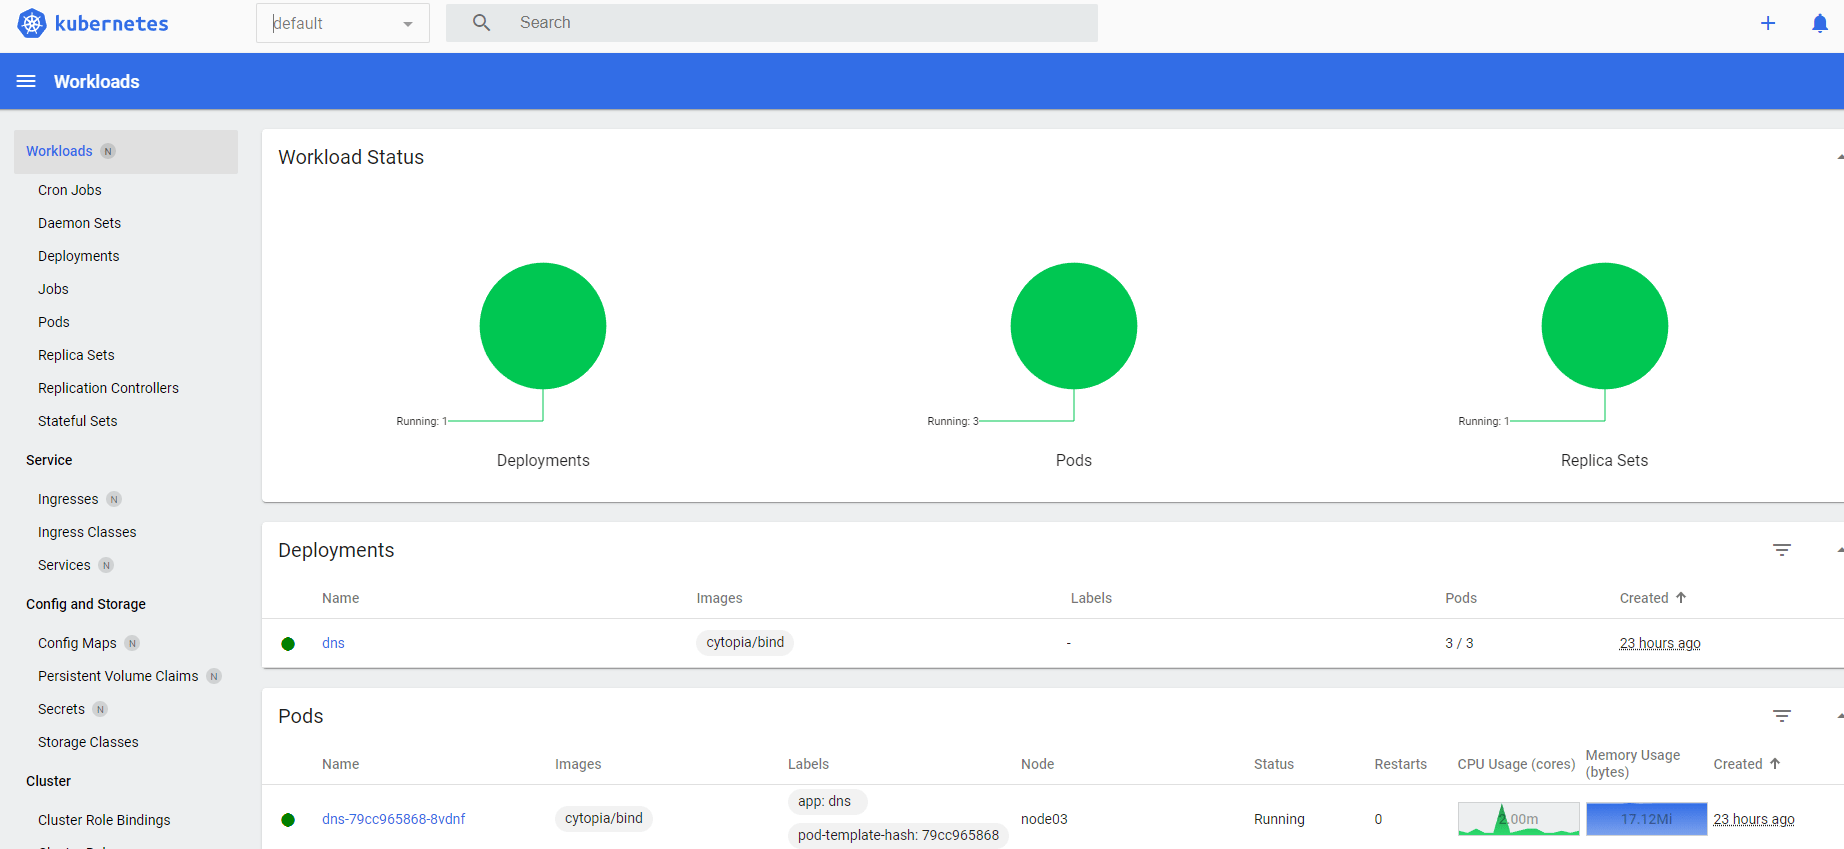
It’s nice to be able to see the Kubernetes objects in a nice graphical interface.
Setup the Dashboard
There’s only a few steps required to deploy the dashboard into your kubernetes cluster.
The following commands will set the latest released version to a variable and download and apply the kubernetes objects.
Apply the Kubernetes Dashboard Config
GITHUB_URL=https://github.com/kubernetes/dashboard/releases
VERSION_KUBE_DASHBOARD=$(curl -w '%{url_effective}' -I -L -s -S ${GITHUB_URL}/latest -o /dev/null | sed -e 's|.*/||')
sudo k3s kubectl create -f https://raw.githubusercontent.com/kubernetes/dashboard/${VERSION_KUBE_DASHBOARD}/aio/deploy/recommended.yaml
Expose the Dashboard with NodePort
By default the K8s service is set to ClusterIP. So unless you have static routes pointing to your node network, you’ll never be able to reach the service IPs. You can either use the kube proxy, or you can change the service to NodePort.
kubectl -n kubernetes-dashboard edit service kubernetes-dashboard

# Change
  type: ClusterIP
# To
  type: NodePort
Creating a user for accessing the dashboard
By default the Dashboard will not be accessible until you create a user, and get the token.
Create the following k3s-dashboard.yaml file
---
apiVersion: v1
kind: ServiceAccount
metadata:
  name: admin-user
  namespace: kubernetes-dashboard

---
apiVersion: rbac.authorization.k8s.io/v1
kind: ClusterRoleBinding
metadata:
  name: admin-user
roleRef:
  apiGroup: rbac.authorization.k8s.io
  kind: ClusterRole
  name: cluster-admin
subjects:
- kind: ServiceAccount
  name: admin-user
  namespace: kubernetes-dashboard
kubectl apply -f k3s-dashboard.yaml

Access the Dashboard
Now that the Kubernetes dashboard is setup, and we’ve exposed it via Nodeport, we should be able to access it externally. Run the following command to find the correct nodeport:
kubectl get service -n kubernetes-dashboard

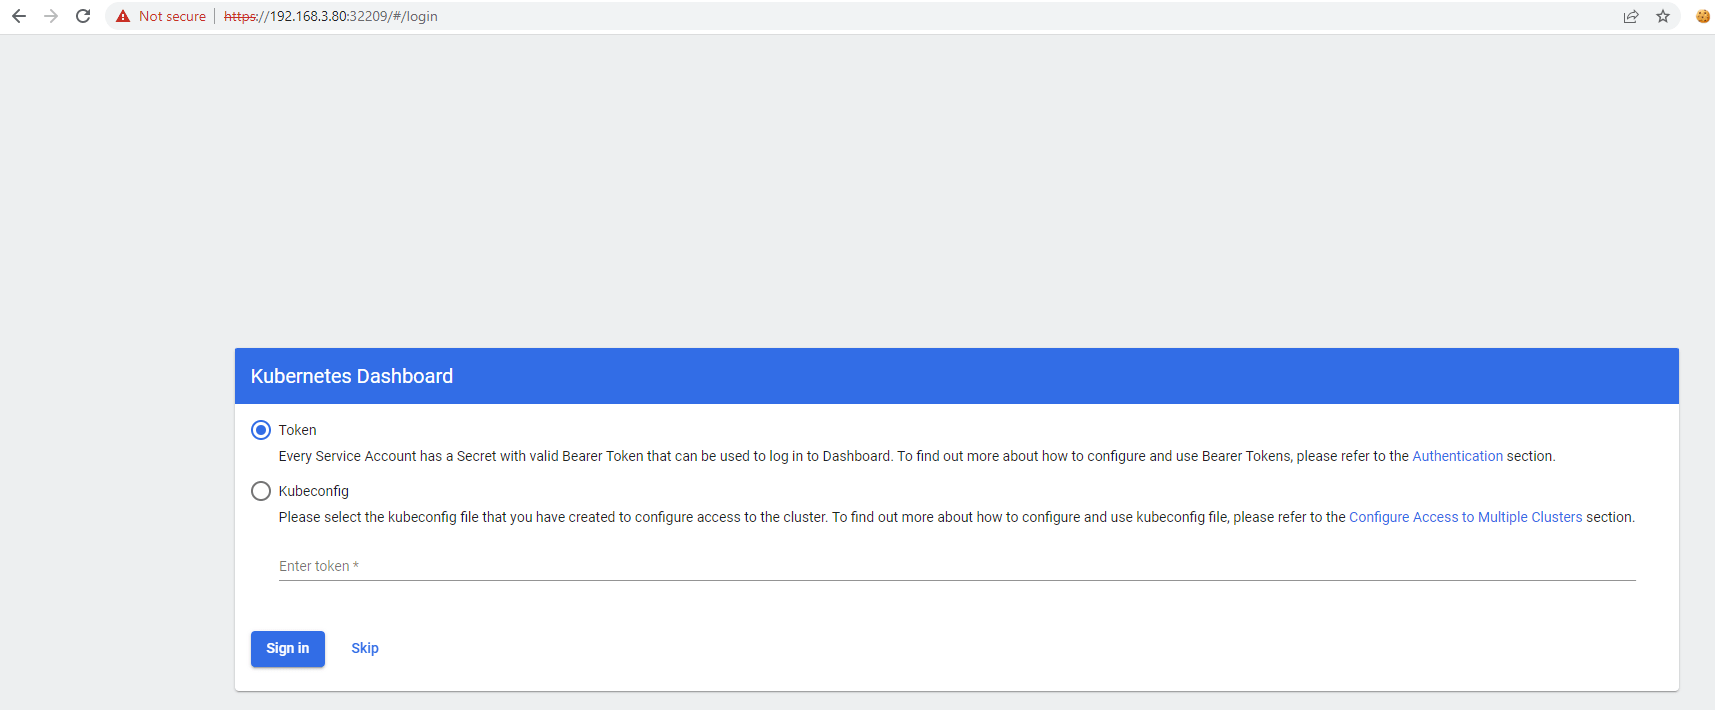
You likely won’t see the Skip button, we’ll talk about that in a later step.
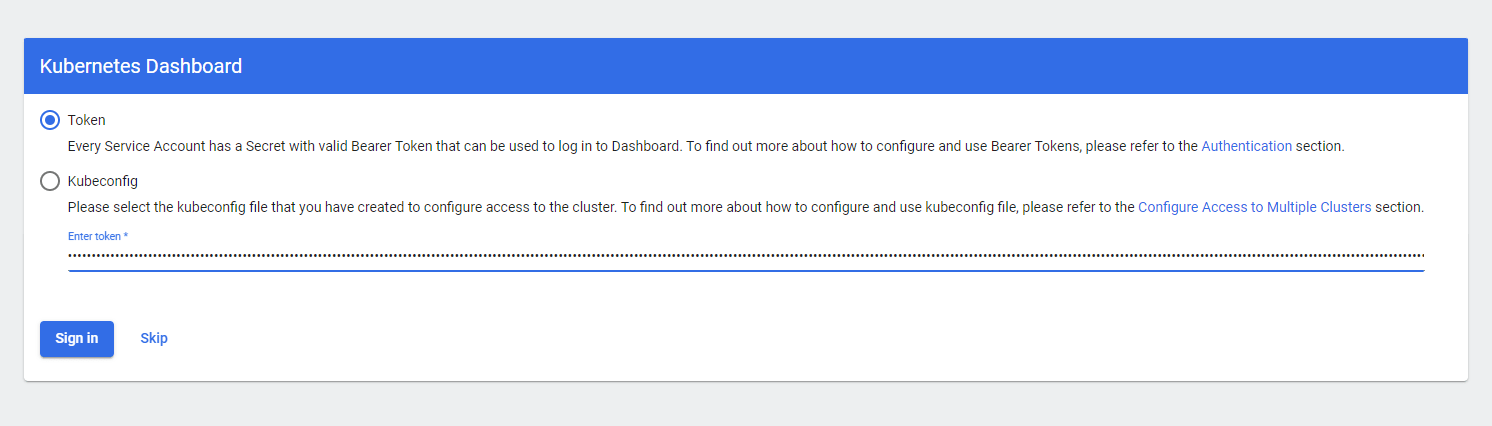
Generate a token for admin-user
In order to login via a token, you will need to run a command to generate a token. These seem to expire pretty frequently. I’ll show you how to bypass the login altogether, at the end.
sudo k3s kubectl -n kubernetes-dashboard create token admin-user

Bypassing the Sign in
I don’t have time to go generate a new token every time I want to login to my kubernetes dashboard. I wanted a simple dashboard that I can access from any computer in my house, to see the cluster status. This is a dev server in my home lab, not production.
Having said that, the following steps can be used to remove the Sign In requirement, and provide full access to your dashboard by just hitting the nodeIP and the port.
Edit the Dashboard Deployment
kubectl edit deployment/kubernetes-dashboard -n kubernetes-dashboard
# Find
    spec:
      containers:
      - args:
        - --auto-generate-certificates
        - --namespace=kubernetes-dashboard
        - --enable-skip-login # Add this line
Adding in this line will force the pod to redeploy using these new settings. That extra flag will allow you to see a Skip button when hitting the dashboard UI.
Fix ClusterRoleBindings
When the objects for Kubernetes-Dashboard are first deployed, a service account called kubernetes-dashboard is created. That SA is assigned to a role “kubernetes-dashboard”, via the ClusterRoleBinding.
So we need to remove that ClusterRoleBinding, and reapply it with the correct role “cluster-admin”
Add the following lines to your k3s-dashboard.yaml file
---
apiVersion: v1
kind: ServiceAccount
metadata:
  name: admin-user
  namespace: kubernetes-dashboard

---
apiVersion: rbac.authorization.k8s.io/v1
kind: ClusterRoleBinding
metadata:
  name: admin-user
roleRef:
  apiGroup: rbac.authorization.k8s.io
  kind: ClusterRole
  name: cluster-admin
subjects:
- kind: ServiceAccount
  name: admin-user
  namespace: kubernetes-dashboard

#####################
### Add the following
#####################
---
apiVersion: rbac.authorization.k8s.io/v1
kind: ClusterRoleBinding
metadata:
  name: kubernetes-dashboard
roleRef:
  apiGroup: rbac.authorization.k8s.io
  kind: ClusterRole
  name: cluster-admin
subjects:
- kind: ServiceAccount
  name: kubernetes-dashboard
  namespace: kubernetes-dashboard
kubectl delete ClusterRoleBinding/kubernetes-dashboard
kubectl apply -f k3s-dashboard.yaml

There’s some objects in K8s that you cannot modify, instead you have to delete and recreate. ClusterRoleBinding is one of them. The above commands will delete the ClusterRoleBinding and reapply the correct one.
Skip the Sign In
Now you should be able to skip the sign in process and view all the dashboards without issue.

can you do the needful updated 2024 version for kubernetes dashboard v7? I was able to get it to load using the helm install I just cant get the login skip to work.