I spent quite a bit of time researching solutions for virtual routers. I’m definitely not a r/s expert, so I wanted something that was easy to setup, and still provided lots of tools for troubleshooting. Initially I setup the lab using vyos router, and it met my needs. But I since switched to pfsense, and it’s absolutely amazing. Plus it comes with a pretty sweet firewall. So my guide here, will be a tutorial on how to deploy pfsense and configure it for home lab purposes. If you already have a router in mind, or a physical router, feel free to skip these steps.
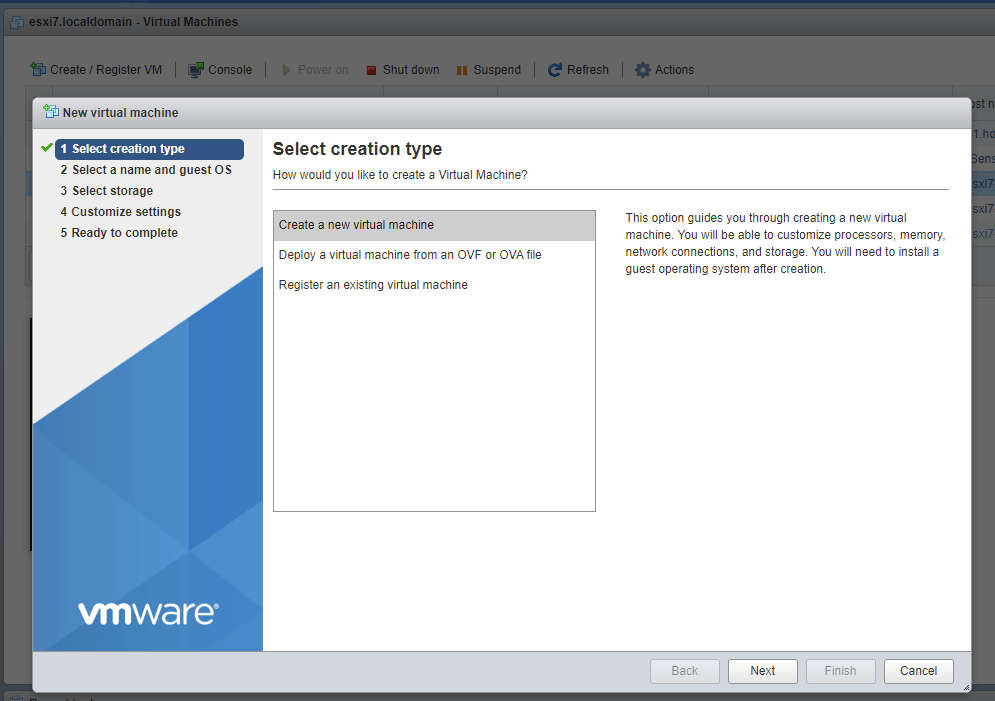
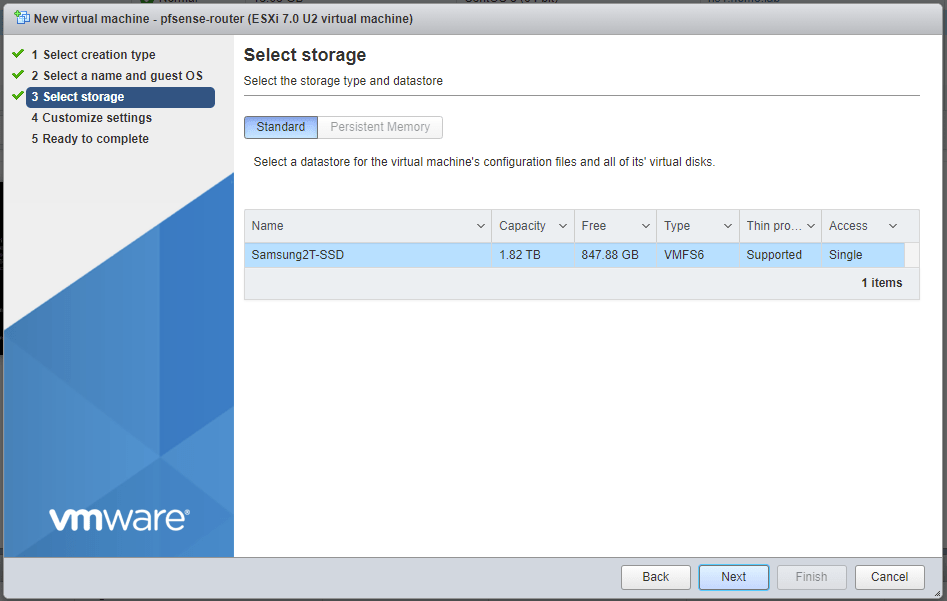
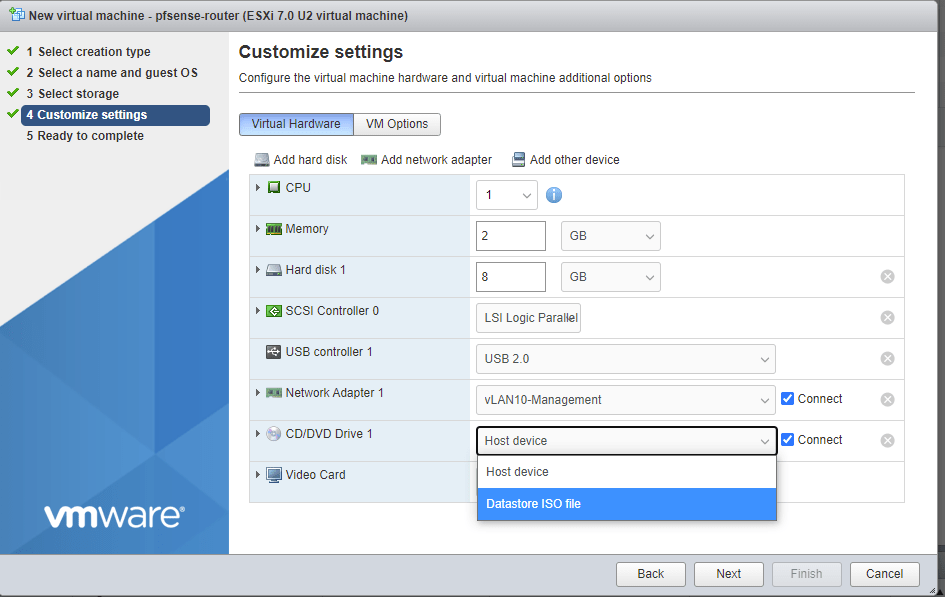
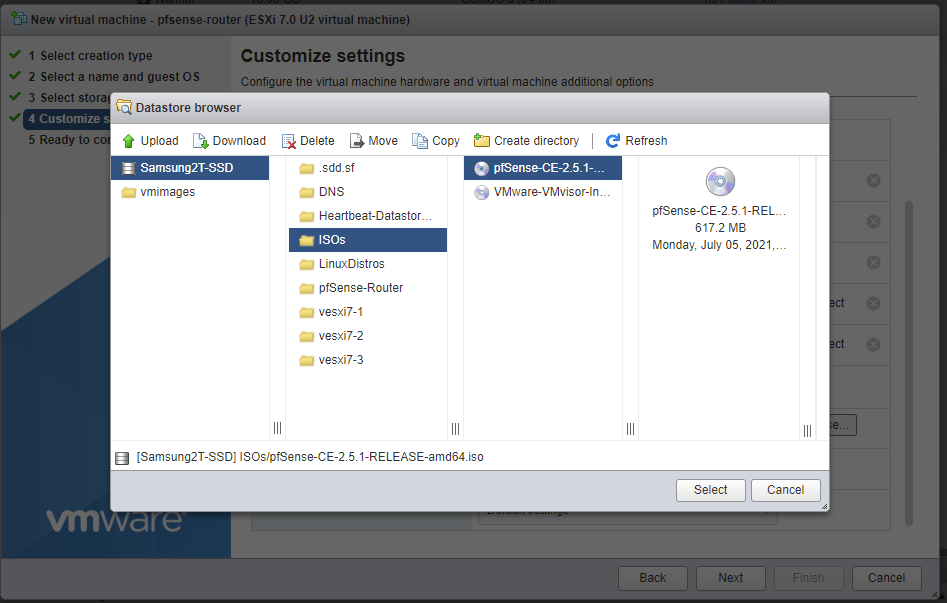
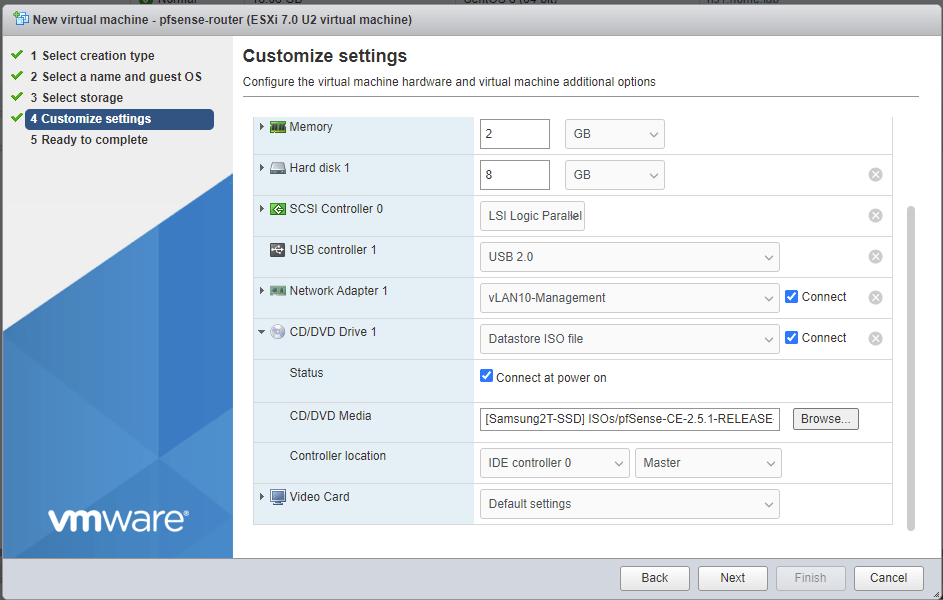
Load the UI of your baremetal esxi7 and under Virtual Machines select “Create / Register VM”. Then select Next.Name the vm “pfsense-router” and select the options as listed above.Select the SSD1 CPU should be fine, but feel free to make it 2 if you want. 2GB memory and 8GB HD is fine (Thin provisioned)Select the CD/DVD Drive 1 and the dropdown to Datastore ISO fileNavigate the datastore to find the pfsense ISO file. If you haven’t uploaded it yet, then upload it to a directory (I created a directory called ISOs)Setup should look like this. Click Next.Summary, click Finish.Power on the VM
Installing pfsense
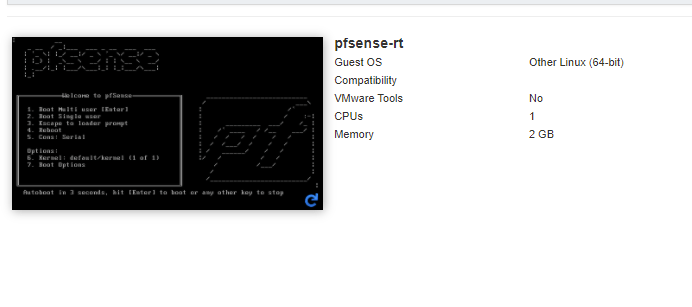
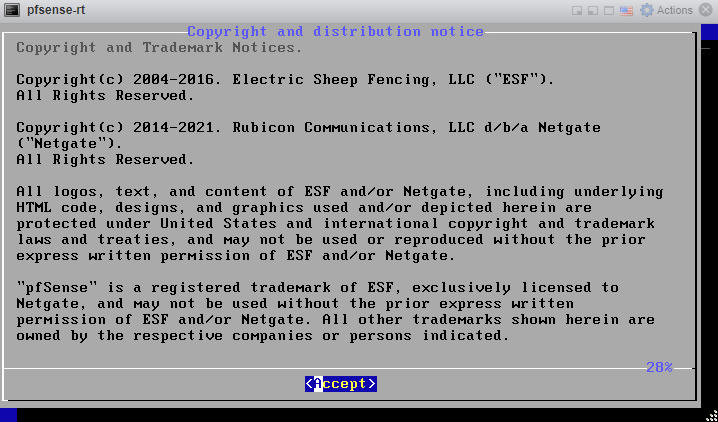
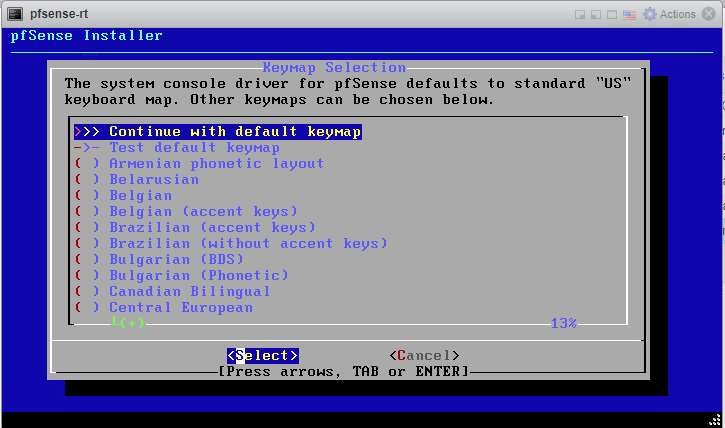
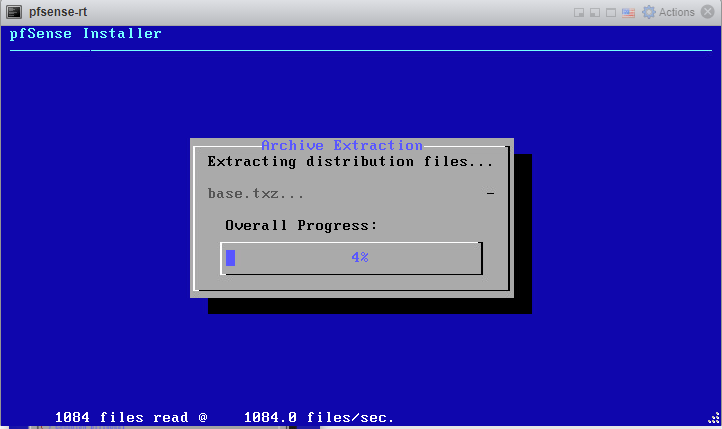
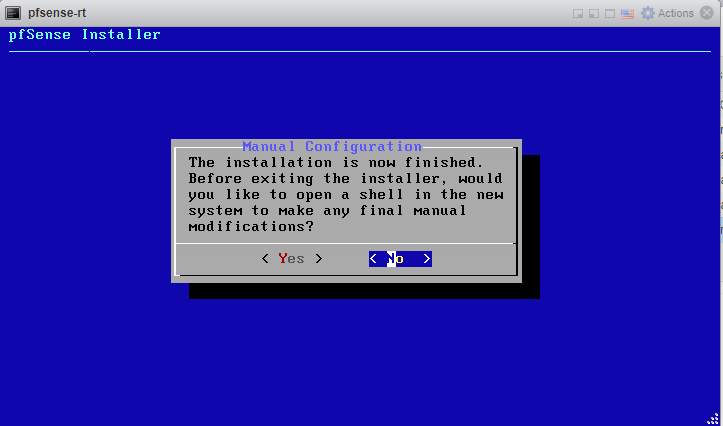
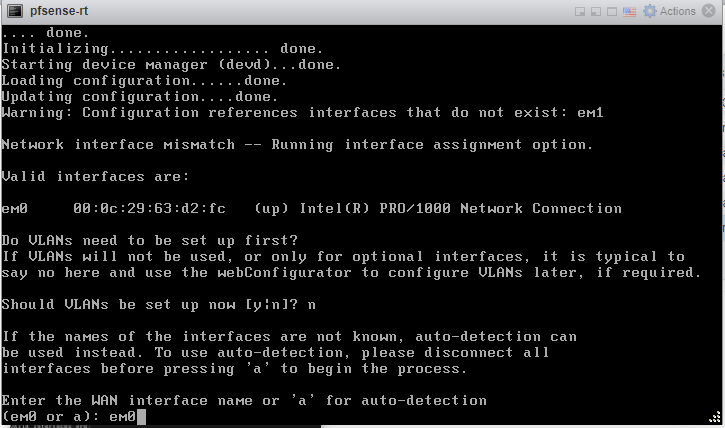
Power on the VM and select the black GUI window, it will open the console window for this vmAccept the agreement.InstallConfigure with default keymapAuto (UFS) BIOS – Guided Disk Setup using BIOS boot methodNow let the installer run, should be fast, 1-2min tops.Select NoReboot, then exit the console. We need to add the networks to the vm.
Adding networks to pfsense vm
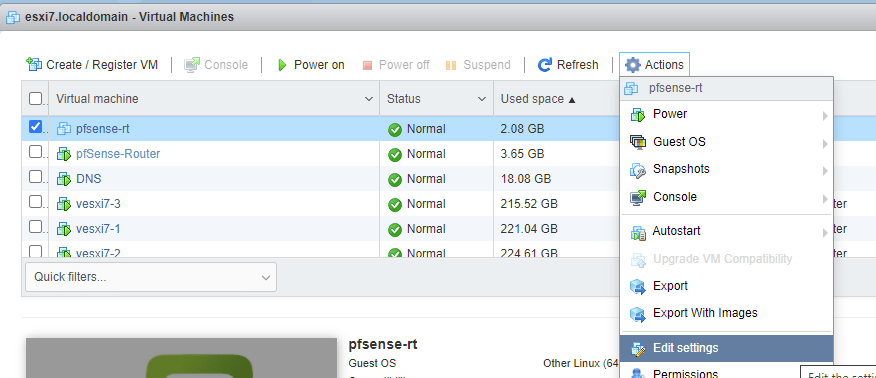
Click the vm and select Actions in the menu above, then “Edit settings”Add 5 more network adapters and configure them as follows. Click Save and power on the VM
Initial config and disable firewall in pfsense cli
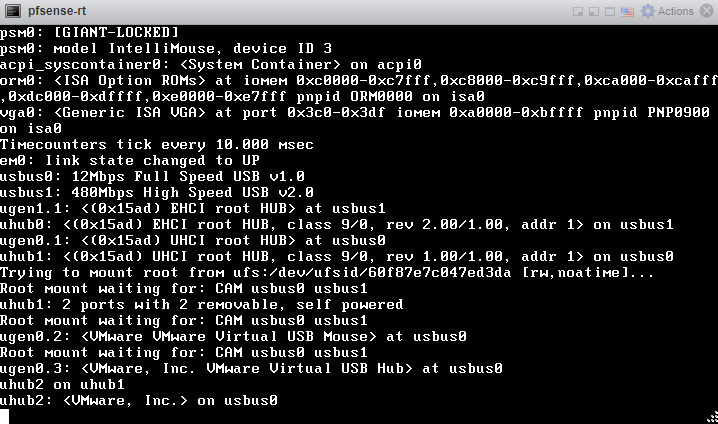
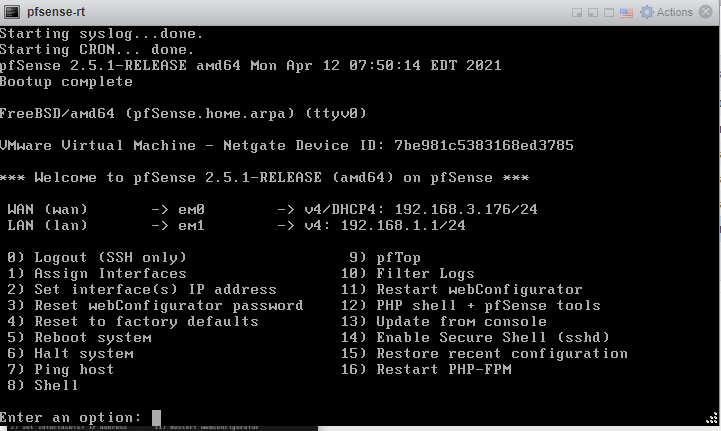
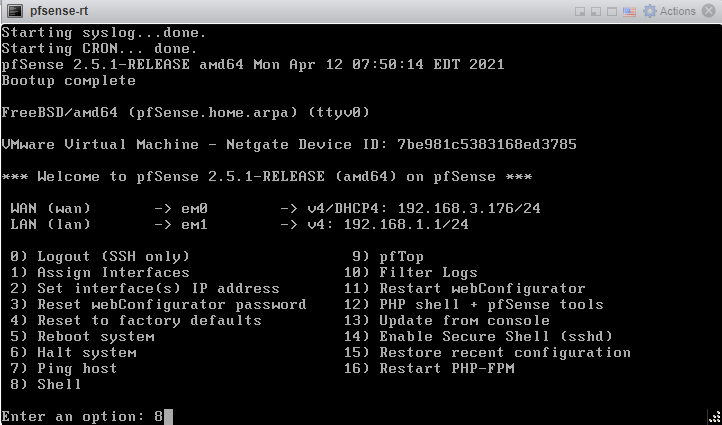
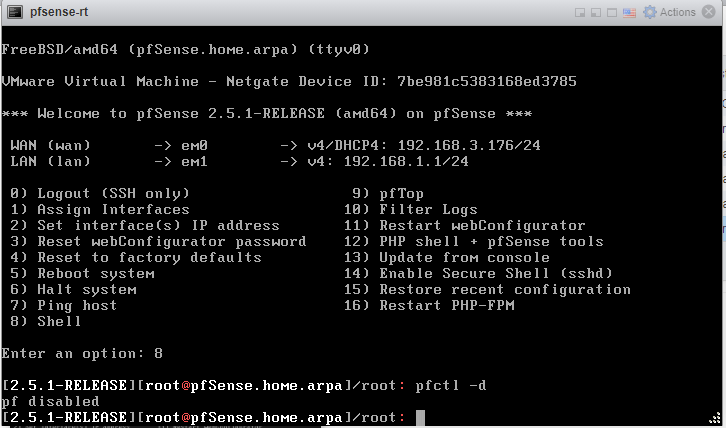
Back in the console, and you can see it is still rebooting…After it has booted you will see this first time setup wizard. Select no for vlans.Enter em0 for the WAN (If you don’t see this screen, don’t worry)Leave this blank (If you don’t see this screen, don’t worry)Ok, setup is complete and now we need to disable the firewall so we can continue setup in the GUIType 8 and press enterRun the command: pfctl -d By default the firewall is very restrictive so you won’t be able to access the GUI. We will reenable it later, after we’ve opened up the correct firewall rules 🙂
GUI configuration of pfsense – Initial config of firewall
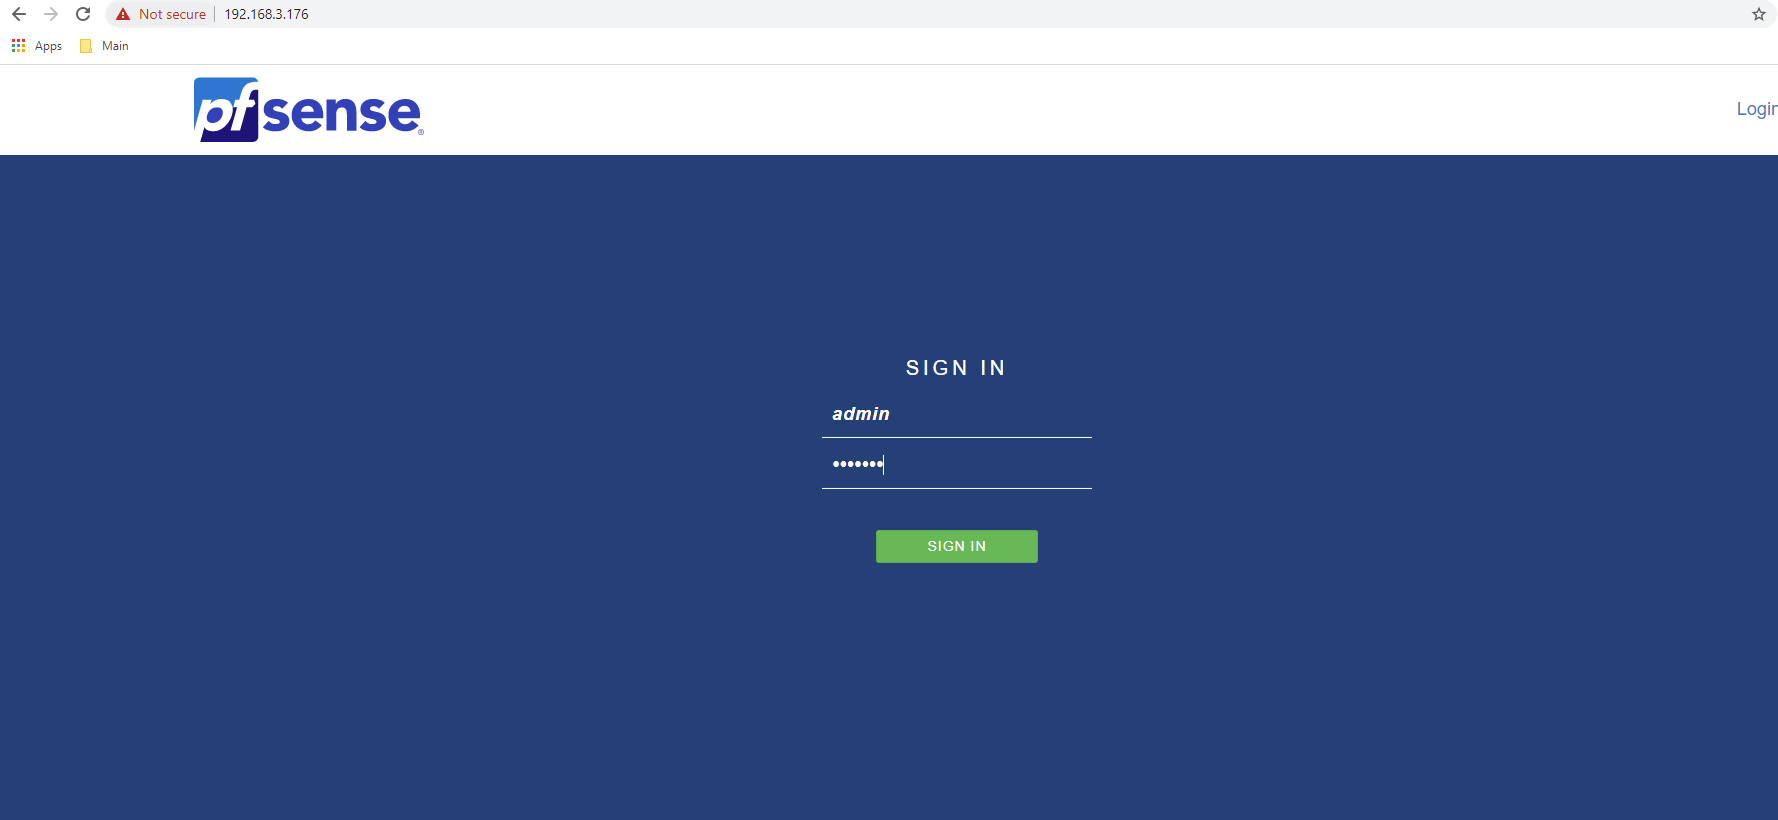
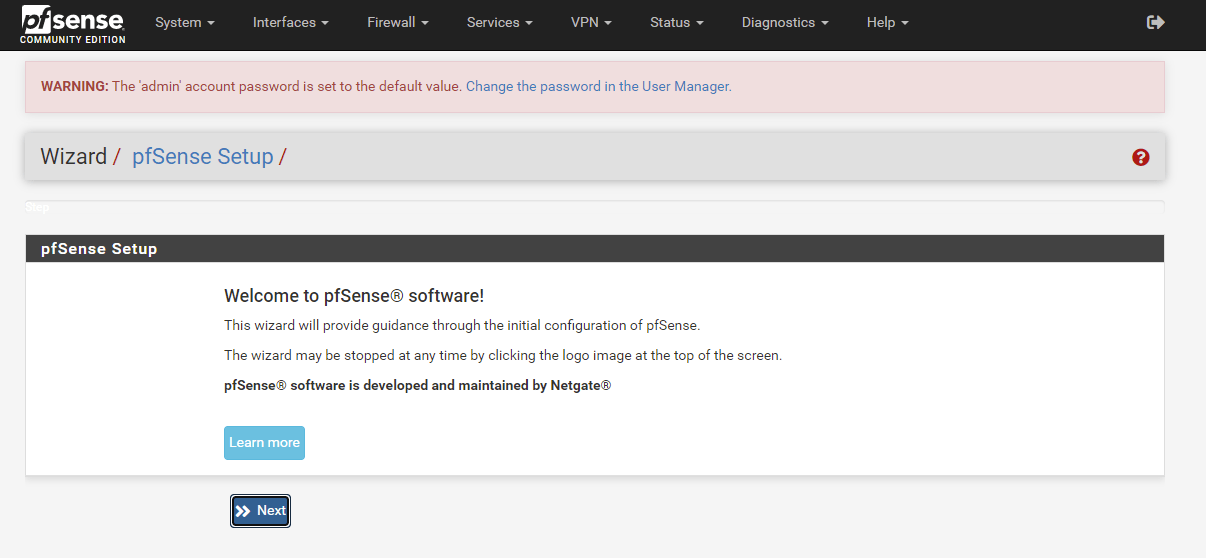
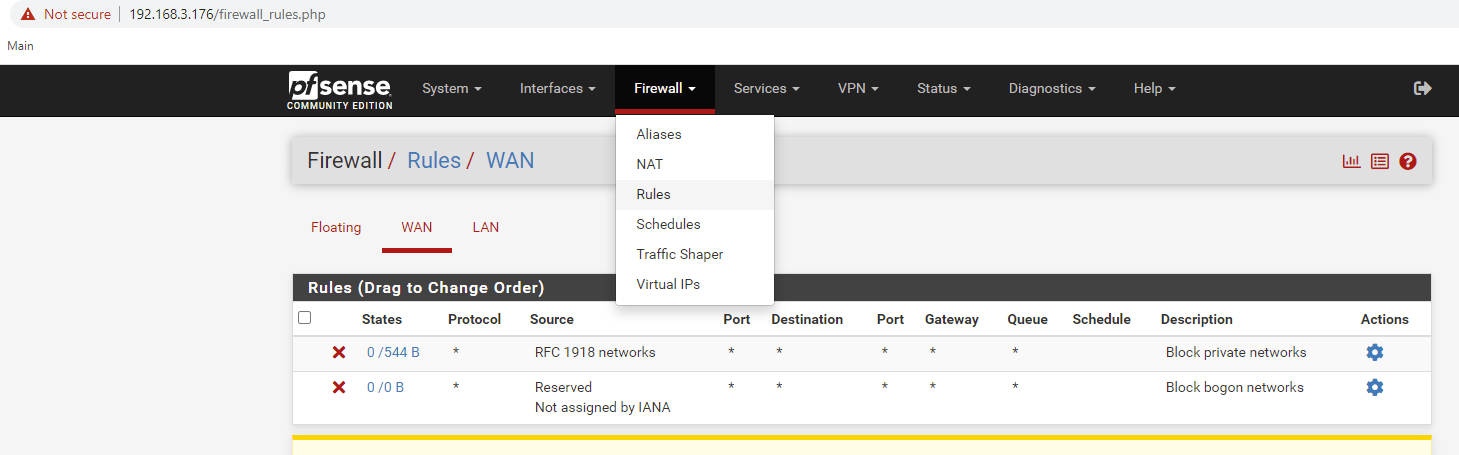
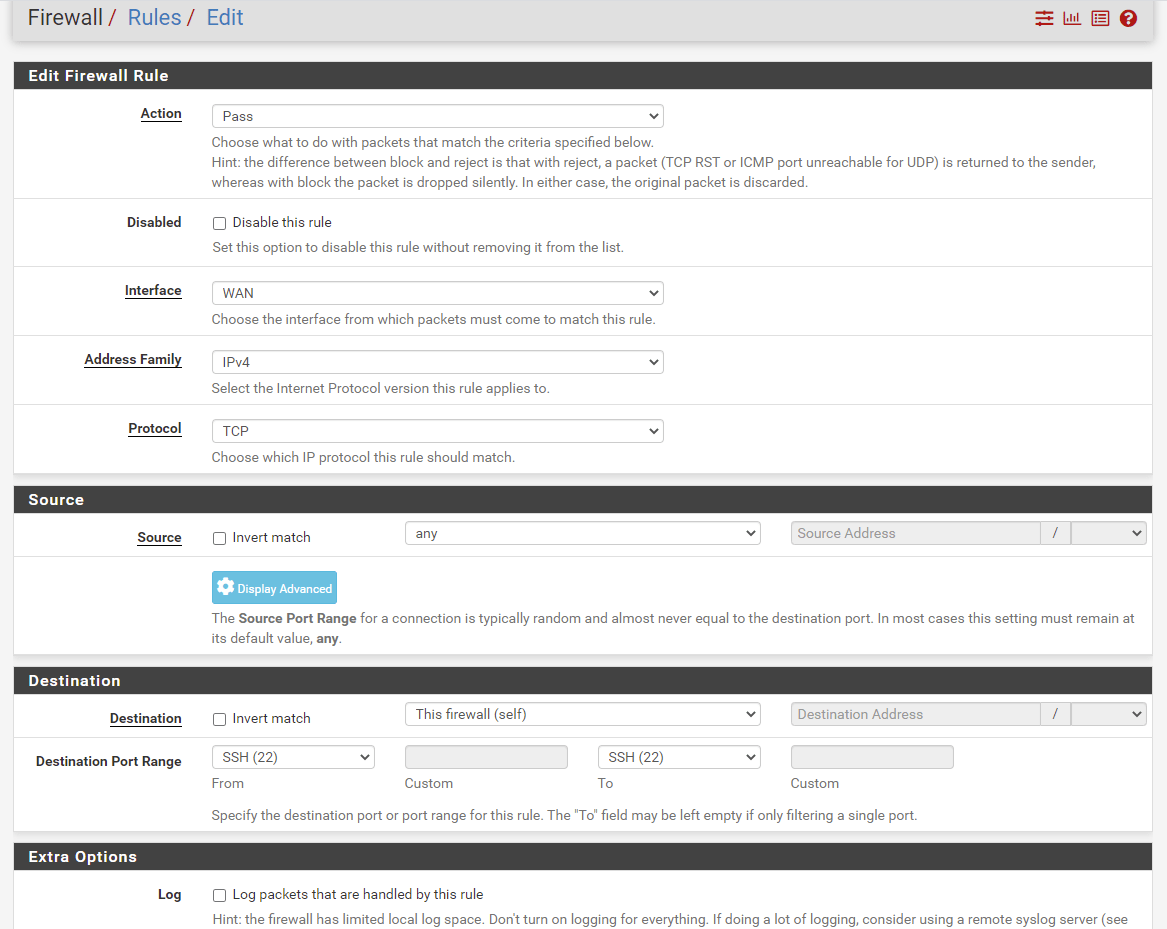
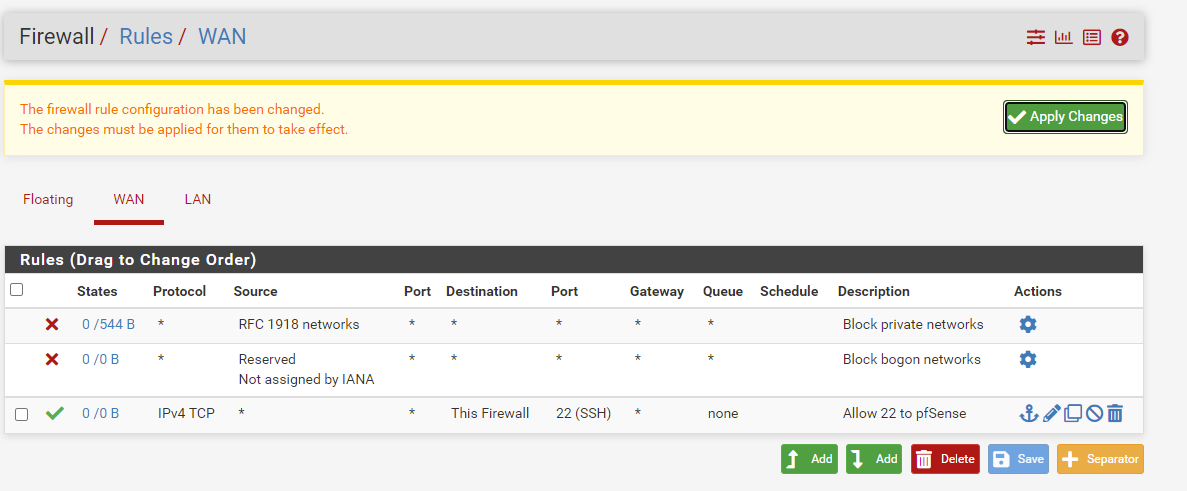
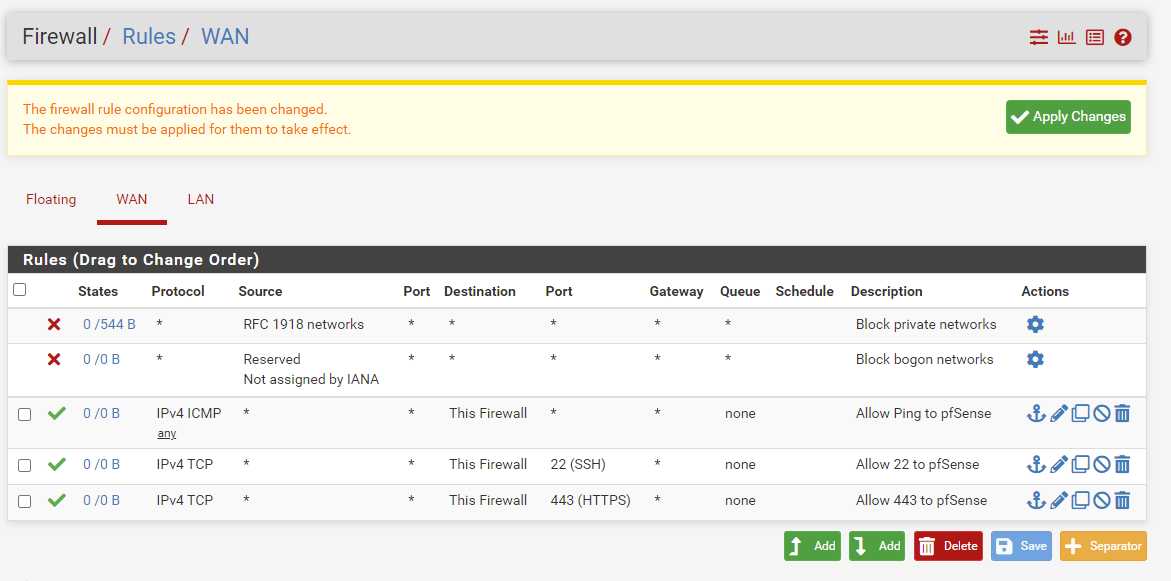
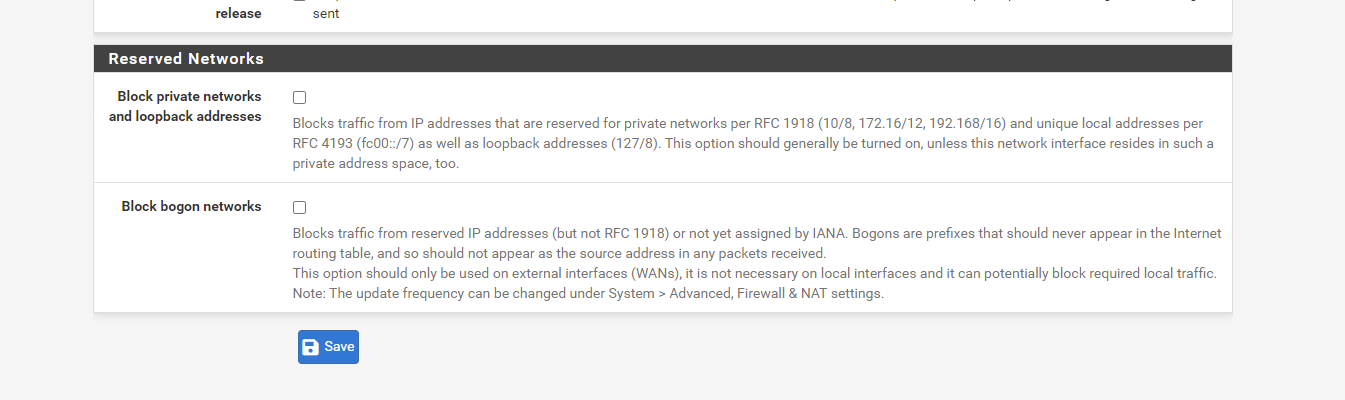
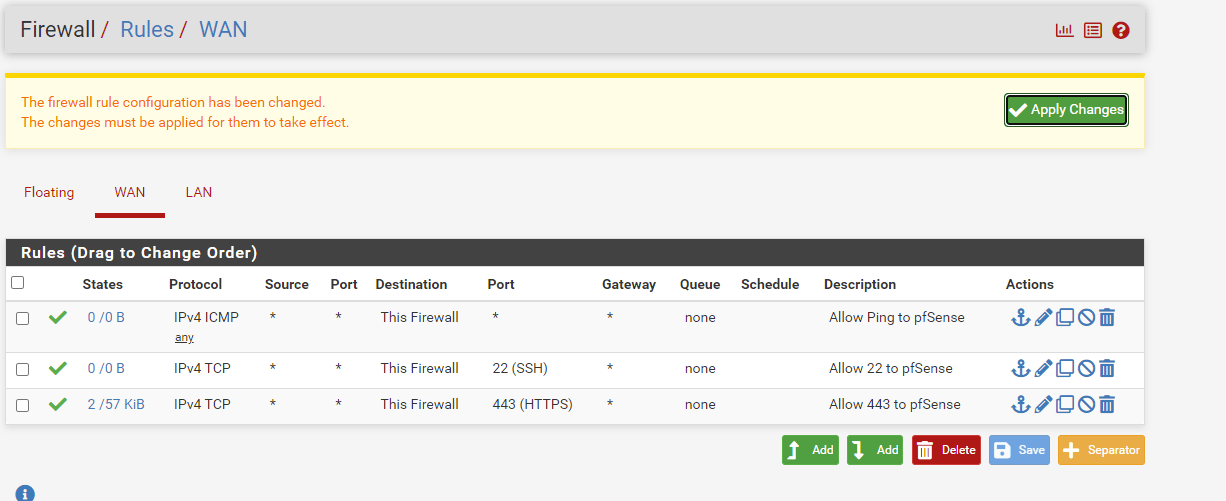
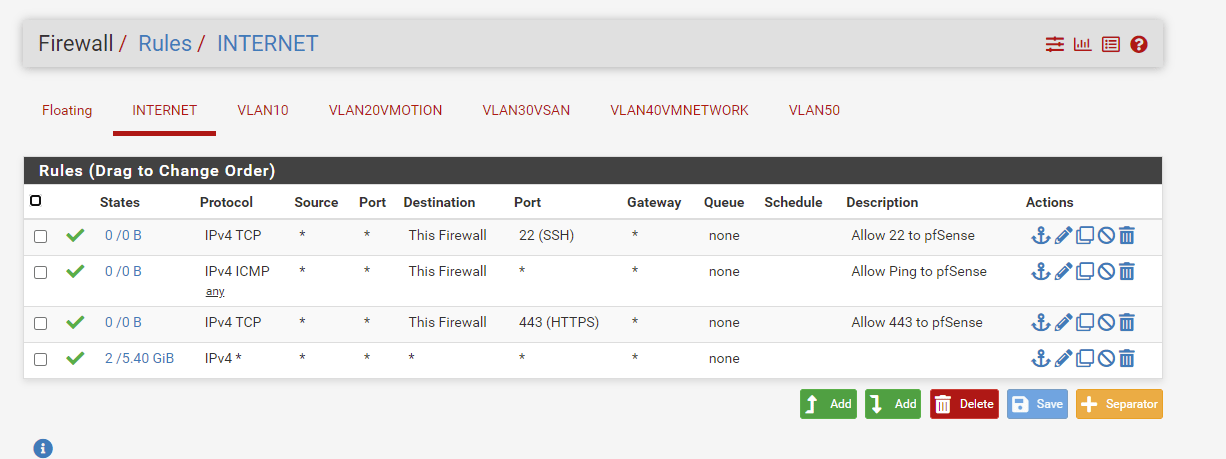
At this point you can access the GUI of the pfsense firewall. login with admin:pfsenseIt’s a good idea to go ahead and reset the admin account password, click the link in the red banner at the top of the page.Navigate over to the firewall tab, and select Rules. We need to configure some basic firewall rules to allow us access to the firewall. (Which is blocked by default)Select the Green Add button and let’s add the first rule. As you can see in this image, I modified the destination port to SSH (22) and the Destination “This firewall (self)”I also added a description. Click save.DO NOT APPLY THE CHANGES YET! Your screen should look like this..Go ahead and configure 2 more rules, in the same manner. for ICMP and port 443 (HTTPS)Lastly we need to remove these 2 rules, by editing the WAN interface. Click on the gear icon on the right side.Scroll all the way down on the page and you will see an option to uncheck these boxes. Uncheck “Block private networks and loopback addresses” and “Block bogon networks”Go ahead and apply these changes.Navigate back to the Firewall rules section and you’ll see those 2 rules are gone. All that is left is the 3 rules that you created. Go ahead and apply changes. It will take a minute, but if everything worked, you should still have access to the GUI.
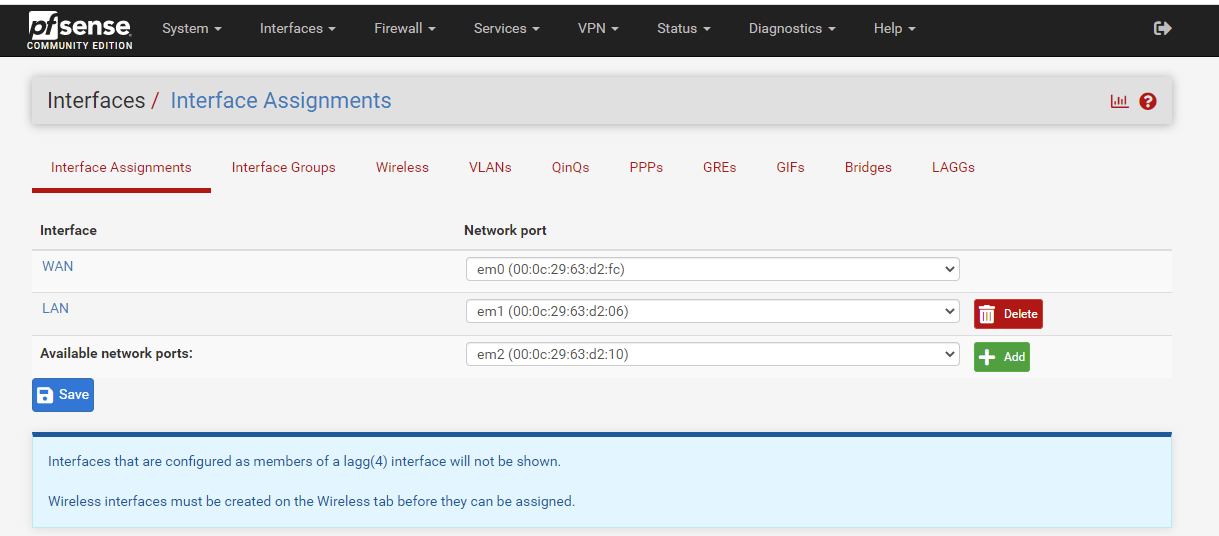
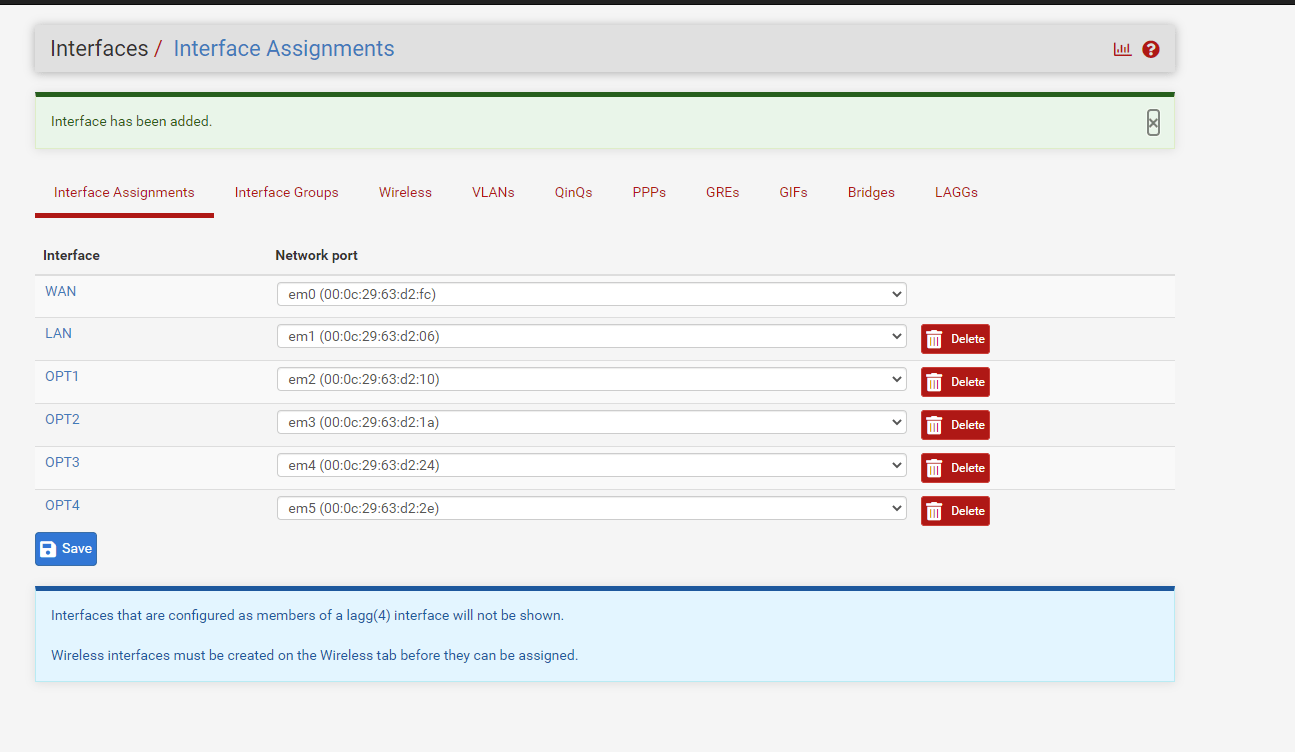
Setting up the Interfaces
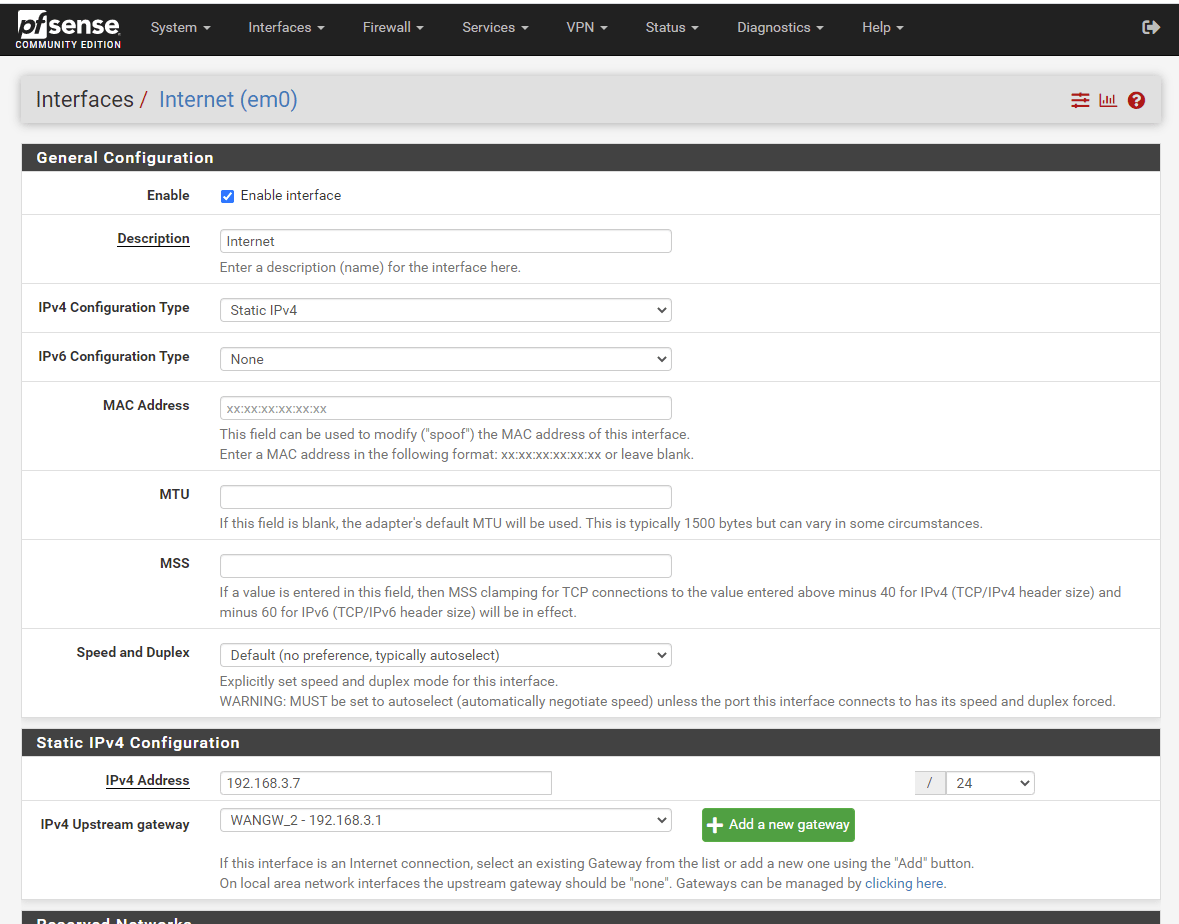
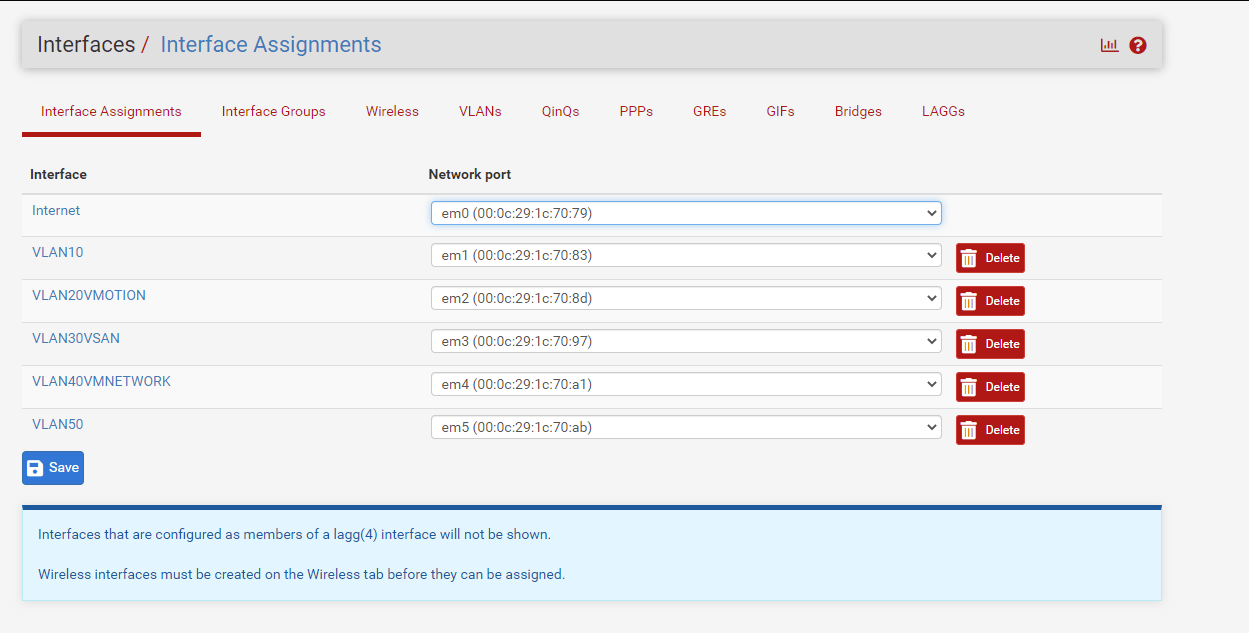
Next up, let’s rename and configure the interfaces for our WAN, then our 4 Internal vlans. Navigate to Interfaces -> AssignmentsClick Add a few times until you add all the available interfaces. Should look like this (Don’t worry if your interface names are slightly different)Now we’re going to go 1 by 1 through each of the interfaces and do the following: 1.Enable 2. Set Description 3. Static IPv4 4. IPv6 None 5. IPv4 Address and Mask (Select a static IP in your home network) 6. IPv4 Upstream gateway (Choose your gateway, ONLY SET THIS ON THE WAN)And lastly, make sure these are unchecked. Save.We’re going to repeat this process for each of the other interfaces. Here’s an example of the first vlan interface.Same thing, uncheck these boxes. Save.In the end, your interfaces should be setup like this. Check the network diagram if you are unsure of what IPs to use.
Firewall rules for each of the interfaces
I’m not going to go through each of the edit screens on how to add firewall rules, since I have shown examples in the above screenshots. Instead i’m just going to post screenshots of the firewall rules that I have added for each interface. In some instances I have just added a blanket allow all from any to any because its my home lab and pfsense is not my actual internet firewall 🙂 If you want to keep it more secure, go for it.
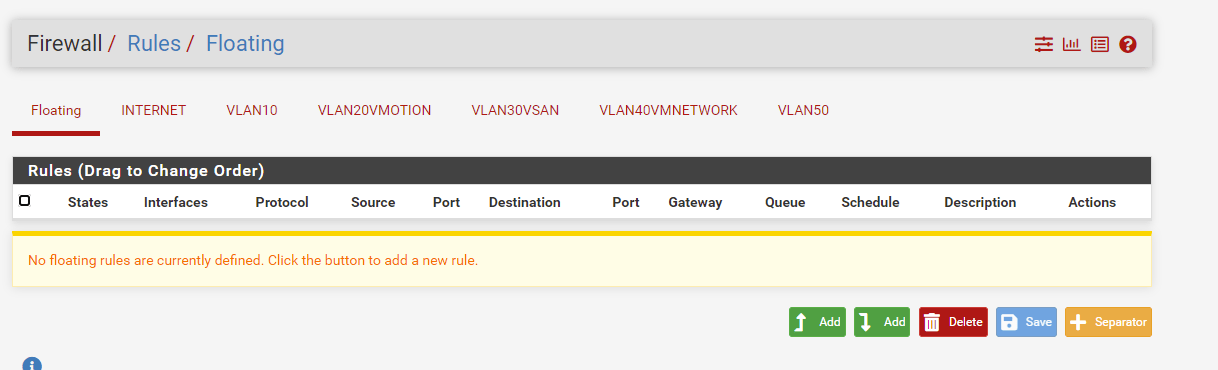
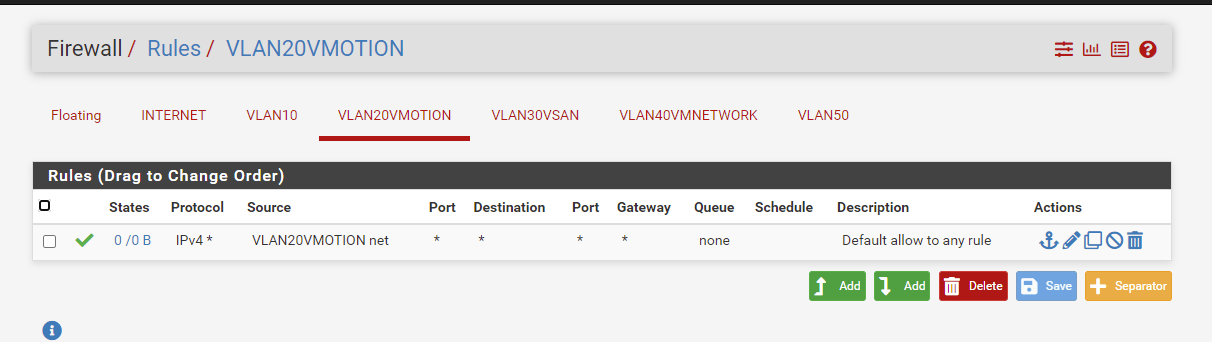
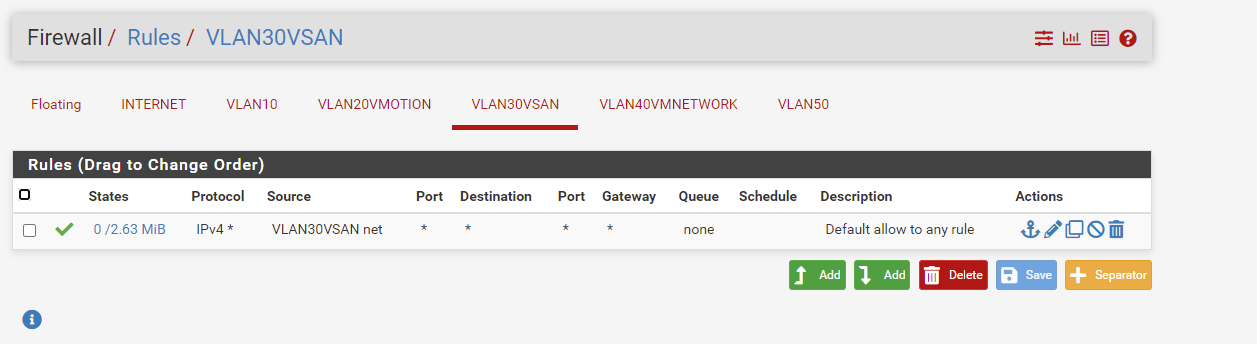
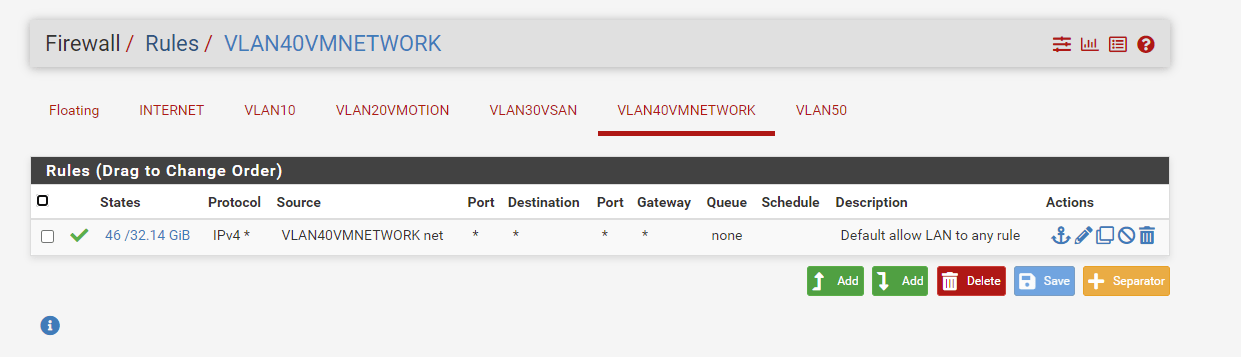
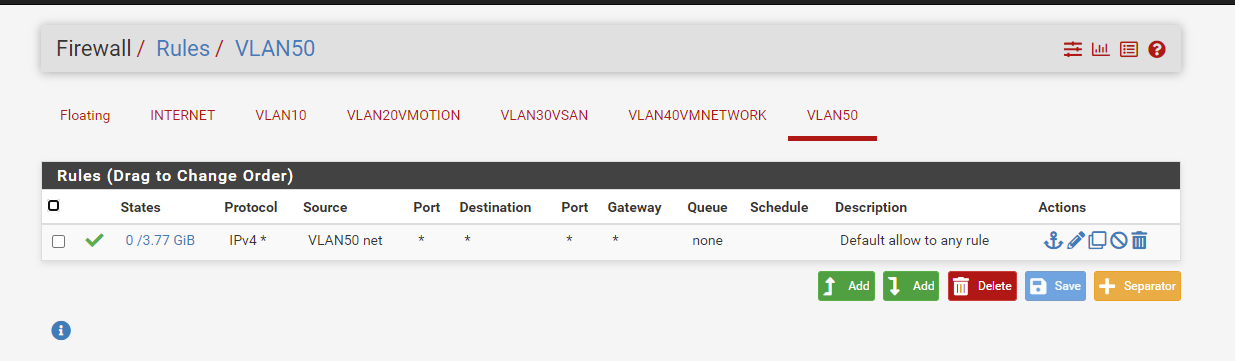
Nothing to configure on the Floating interface.Internet has the 3 rules we added initially. And my blanket allow everything rule 🙂 (which essentially makes the first 3 rules useless)The Anti-Lockout rule is set by default on the LAN interface, it’s not hurting anything so you can leave it. Add 2 more rules.I started getting lazy and only adding ipv4. Honestly, I don’t use ipv6..Same..Same..Last one.. And once they’re all set, you can Apply the changes.
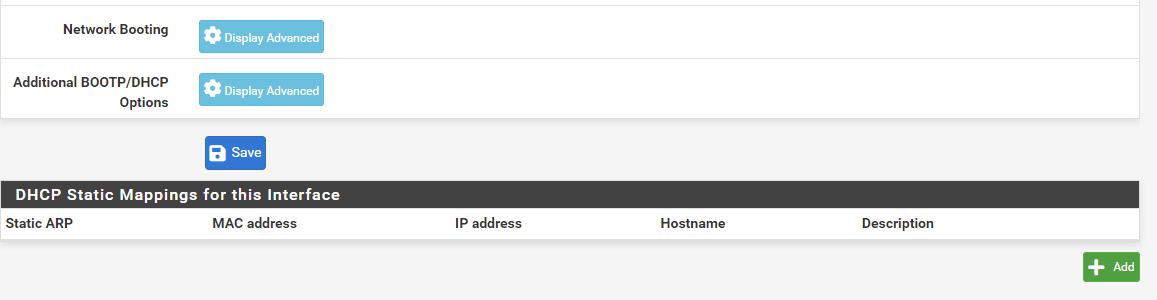
Configure DHCP – Optional, but recommended
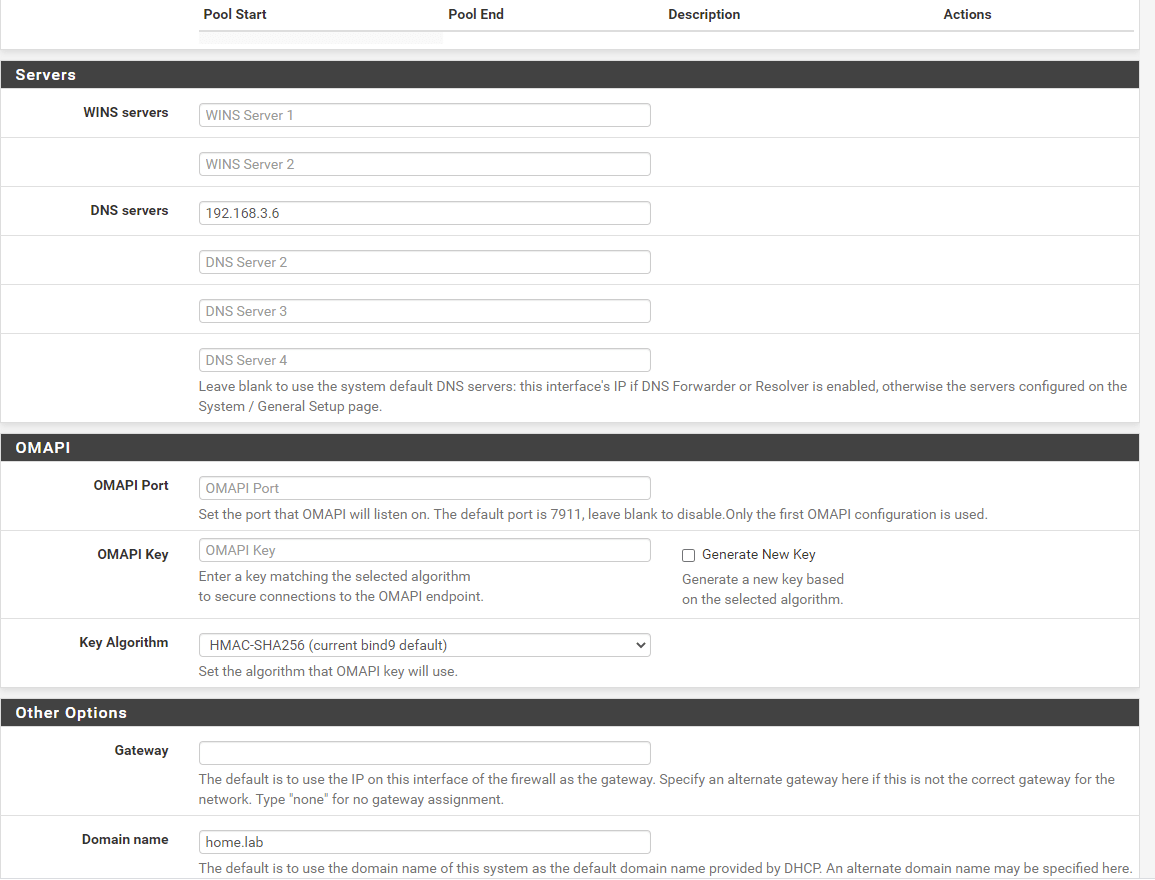
I would recommend setting up 50 or so IPs to be used for DHCP. It makes spinning up new vms in vcenter a little easier since it will auto select and IP, get the correct dns server, domain name, etc. Configure these on all the interfaces EXCEPT The WAN (Internet) interface.
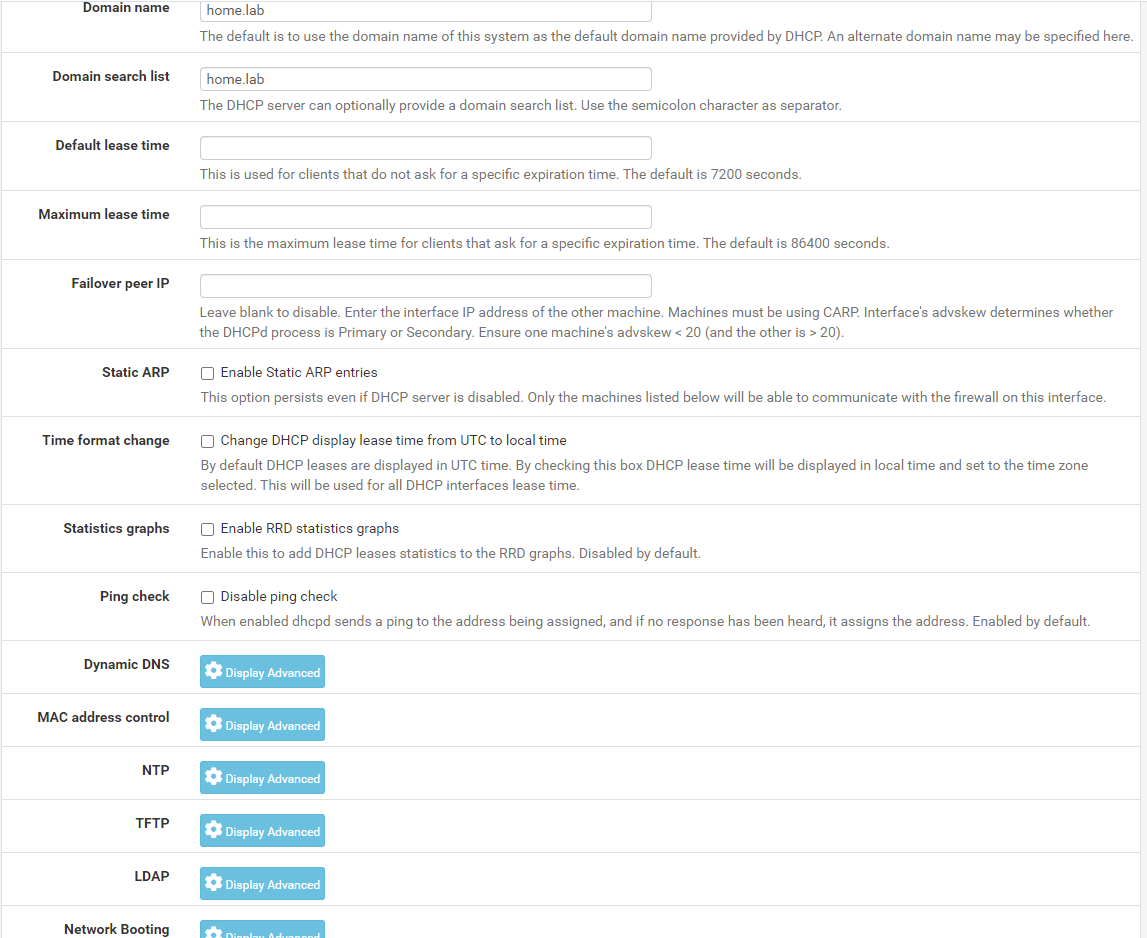
Click Enable, and setup using similar settings as above. I chose the range .100 – .150 in all my vlans. You can choose any range in the /24.Set the DNS serverSet the domain name, and search listNothing here. Just hit save, then configure the rest.
Optional: Parse the xml and skip the step by step guide
This is my backup config. It probably won’t load for you if you try and do a system restore since I’ve removed cert info and passwords, etc. But if you prefer to parse this and setup pfsense, i’m making it available.
5 thoughts on “Home Lab – Virtual Router in your home lab – pfsense”
How do you configure pfsense to give out only .5 addresses to a new VM’s that are being build, Please.
Check out the Configure DHCP – Optional, but recommended section. It talks about adding DHCP to the subnets.
When your VM spins up in vcenter, point the DNS to default gateway IP address and if you’ve configured the dhcp it will assign an IP address.
I had to rebuild my lab and i am running in to an issue. my set up as follows.
I have created a virtual switch for each “vlan” and port group that is assigned to that switch. I am installing pfsense. Every time i attach additional nics to it vLAN10 and so on pfsense will not get WAN ip address. If i remove those nic’s and just have one VM Network, i get an WAN ip address via DHCP.
Matt,
First, thank you so much for these guides. Its really helpful in getting someone like me off the ground.
I think that in your screenshots where you’re creating the VM, the interface should be “VM Network” instead of vLAN10-Management. If I create the router with vLAN10-Management as the first interface, it considers that the WAN interface and doesn’t get a reachable IP.
Please feel free to delete this comment if I’m wrong.
Also, if you want to add another step for completeness, I had to disable the DHCPv6 and RA services on the LAN interface before it would let me disable IPV6 on that interface.
Thank you again!