The vyos router will be deployed inside vCenter and it’s sole function is to route between your home network and the NSX-T network. We will configure iBGP between the two, so that any new segments you add in NSX-T will auto populate to the vyos router. Likewise, we will NAT on the vyos, so that all the segments can get internet access.
Deploy vyos Router in vCenter
Download the latest version of vyos here: https://s3-us.vyos.io/rolling/current/vyos-rolling-latest.iso
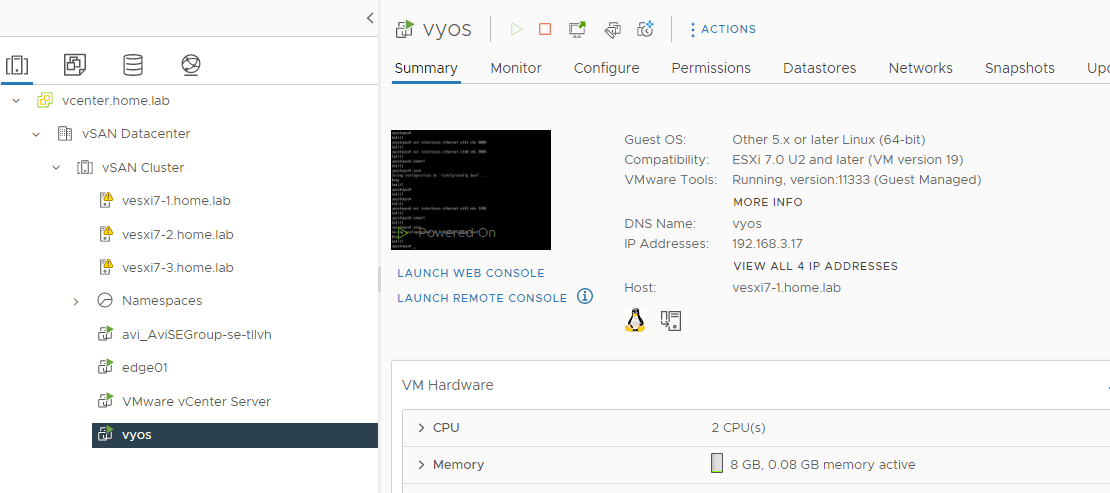
After the VM boots up, the default username is vyos, and password is vyos. Before you can ssh into the router, you will need to set an IP address using the vCenter Web Console.
Install vyos
Using vCenter Web Console, login: vyos:vyos and run the install command. There are a few options but it is simple to install.
install image
Configure vyos
I normally recommend rebooting immediately after installing vyos, and make sure to remove the content library iso file from the VM. All of the commands are below.
- configure the eth0 interface and enable ssh
- set mtu
- configure the eth1
- set the NAT rule for outbound on eth0
- configure BGP for NSX-T
reboot
configure
set interfaces ethernet eth0 address 192.168.3.17/24
set service ssh
set system name-server 192.168.3.6
set interfaces ethernet eth0 mtu 9000
set interfaces ethernet eth1 mtu 9000
set interfaces ethernet eth1 address 172.16.10.2/24
set nat source rule 100 source address 0.0.0.0/0
set nat source rule 100 outbound-interface eth0
set nat source rule 100 translation address masquerade
set protocols bgp local-as 65002
set protocols bgp neighbor 172.16.10.1 remote-as 65000
set protocols bgp neighbor 172.16.10.1 address-family ipv4-unicast
set protocols bgp address-family ipv4-unicast redistribute connected
set protocols bgp address-family ipv4-unicast redistribute kernel
set protocols bgp address-family ipv4-unicast redistribute static
set protocols static route 0.0.0.0/0 next-hop 192.168.3.1
commit
save
That’s it for now. Once NSX-T is configured, you should be able to run a “show ip bgp” and see all the learned routes. For now that iBGP link is down.
Great content! I’m just getting started on Vyos and some BGP testing as well. Much appreciated!