It’s time to upgrade my physical ESXi hosts. They’re still running the older vSphere7 when I installed it last year. Honestly, vSphere 7 has been great, but it’s important to me to stay with the latest code, especially in lab environments. This will be a quick blog post, since the process is relatively easy.
Downloading vSphere 8
Login to VMware Customer Connect.
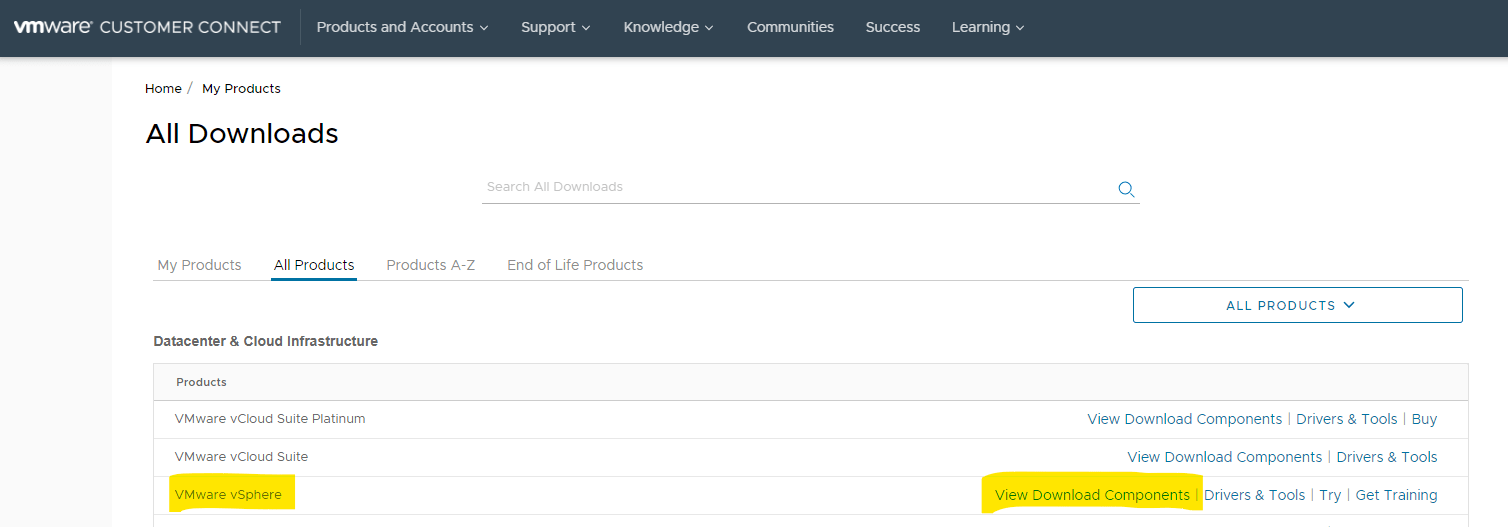
Navigate to the Products and Accounts page, and search for “VMware vSphere”, and click the “View Download Components” link.
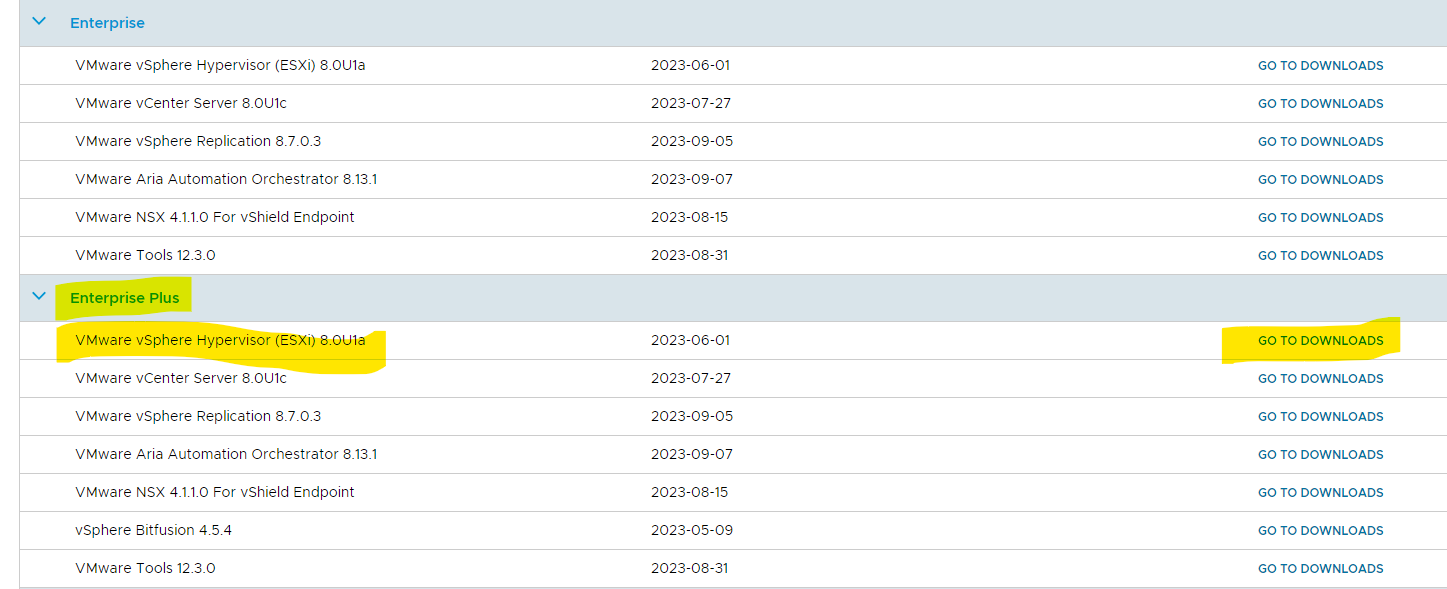
Select your edition, and the software “VMware vSphere Hypervisor” and then go to the downloads page.

Click the download now link, and wait until the ISO has downloaded.
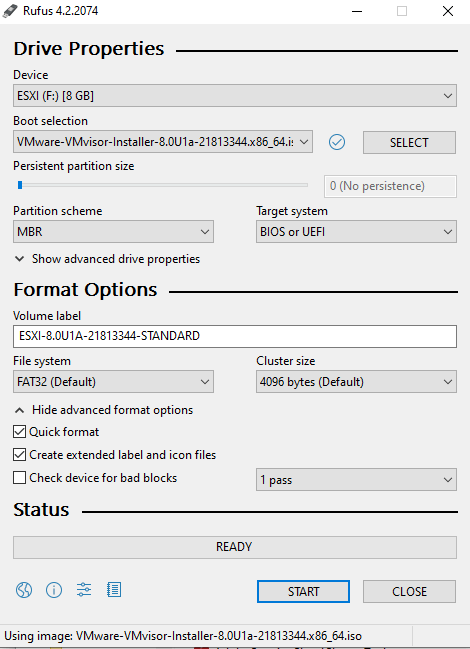
Burn the ISO to a flash drive
Now we need to burn the ISO into a flash drive or ssd, to make it bootable. I have a spare ssd laying around, so i’ll use that and burn it using Rufus.
Shutdown the host
I went in and powered down all my running VMs in preparation for this upgrade. The last step for me really was to power down the VM.
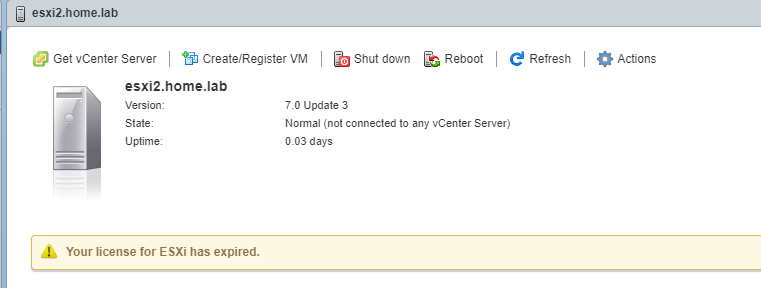
Old version above…
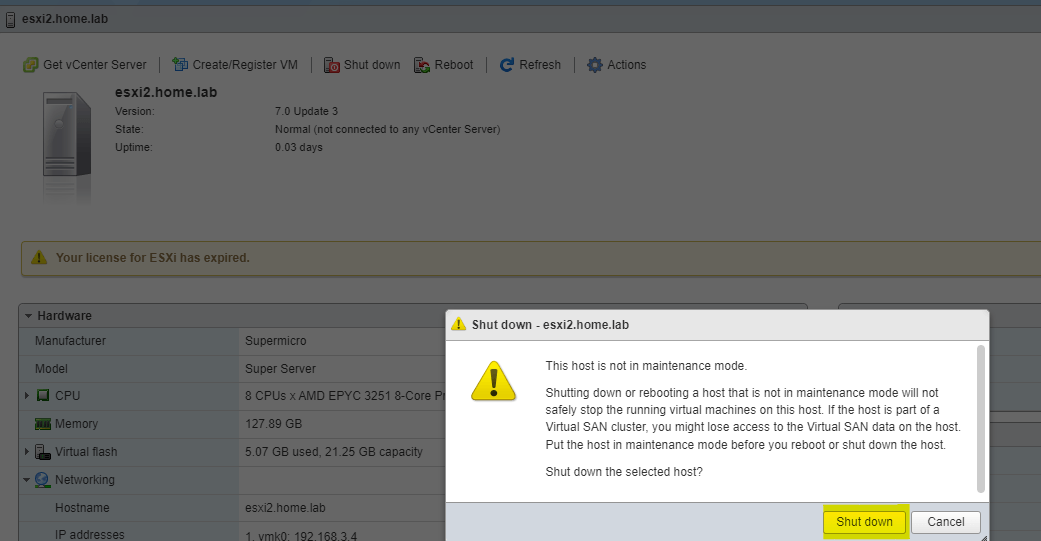
Let’s shut it down.
Upgrade the ESXi Host
Insert the flash drive into the host, and hook up a keyboard and monitor, and let’s get started.
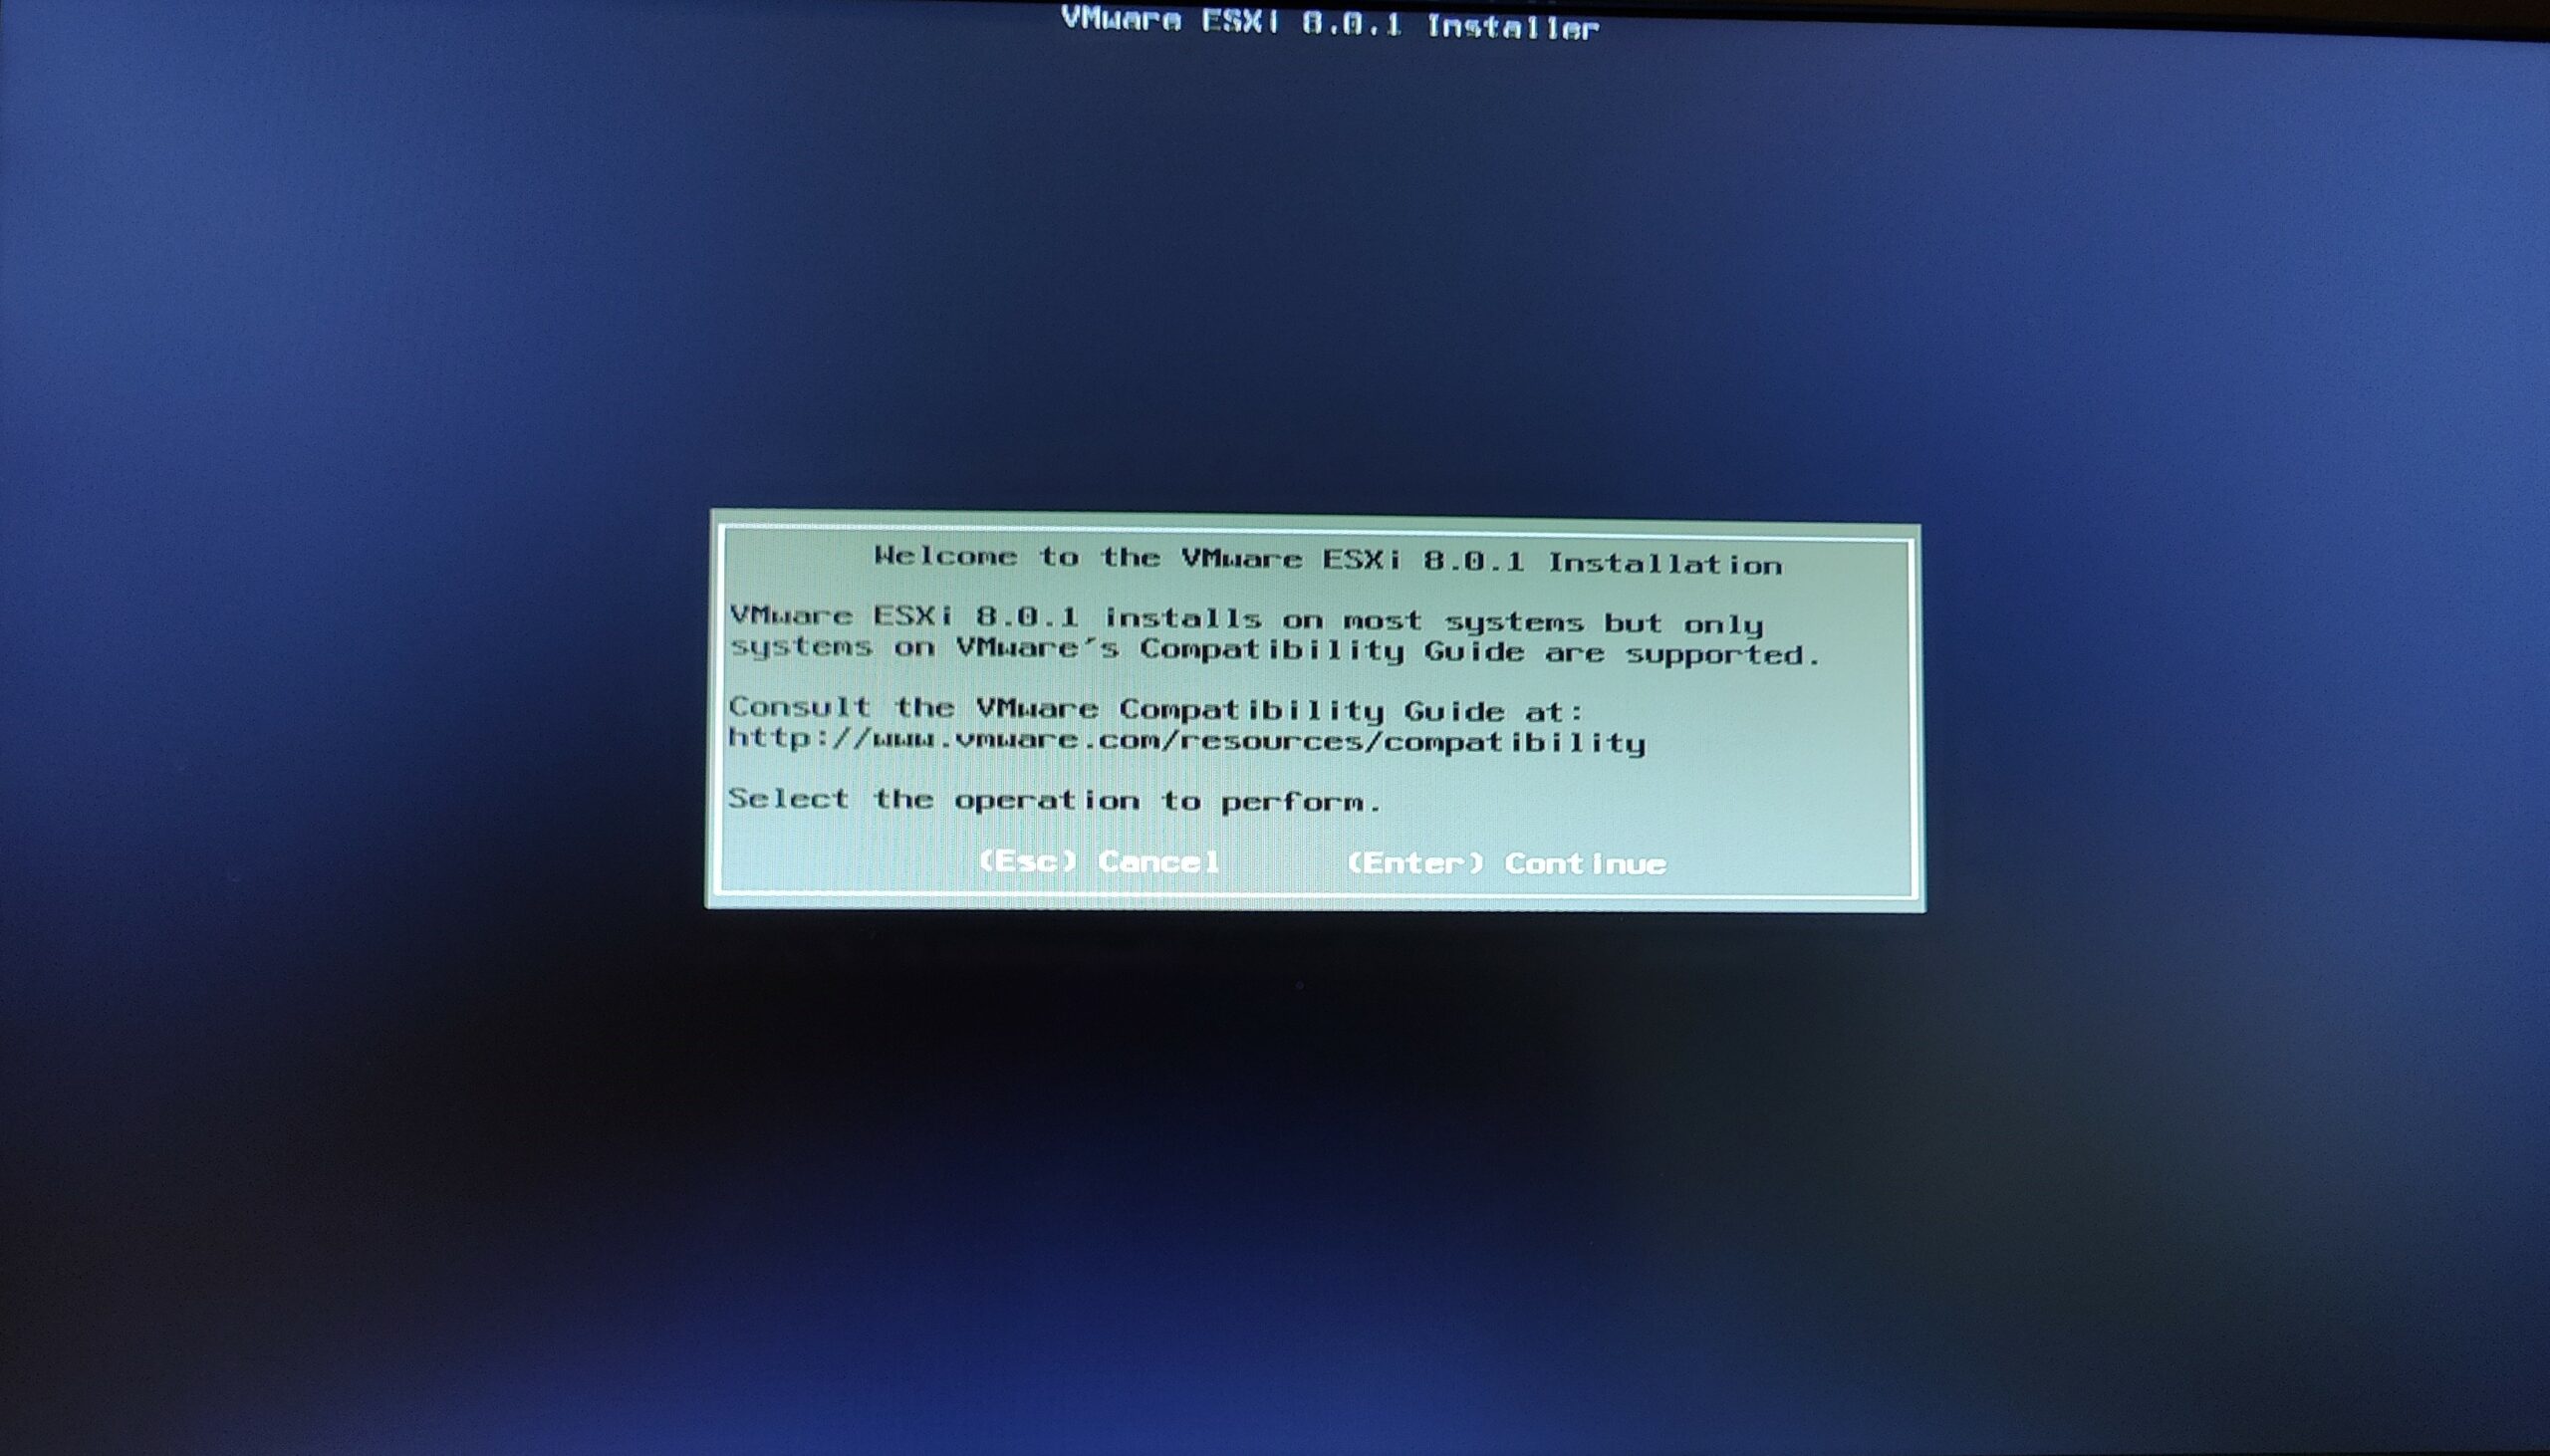
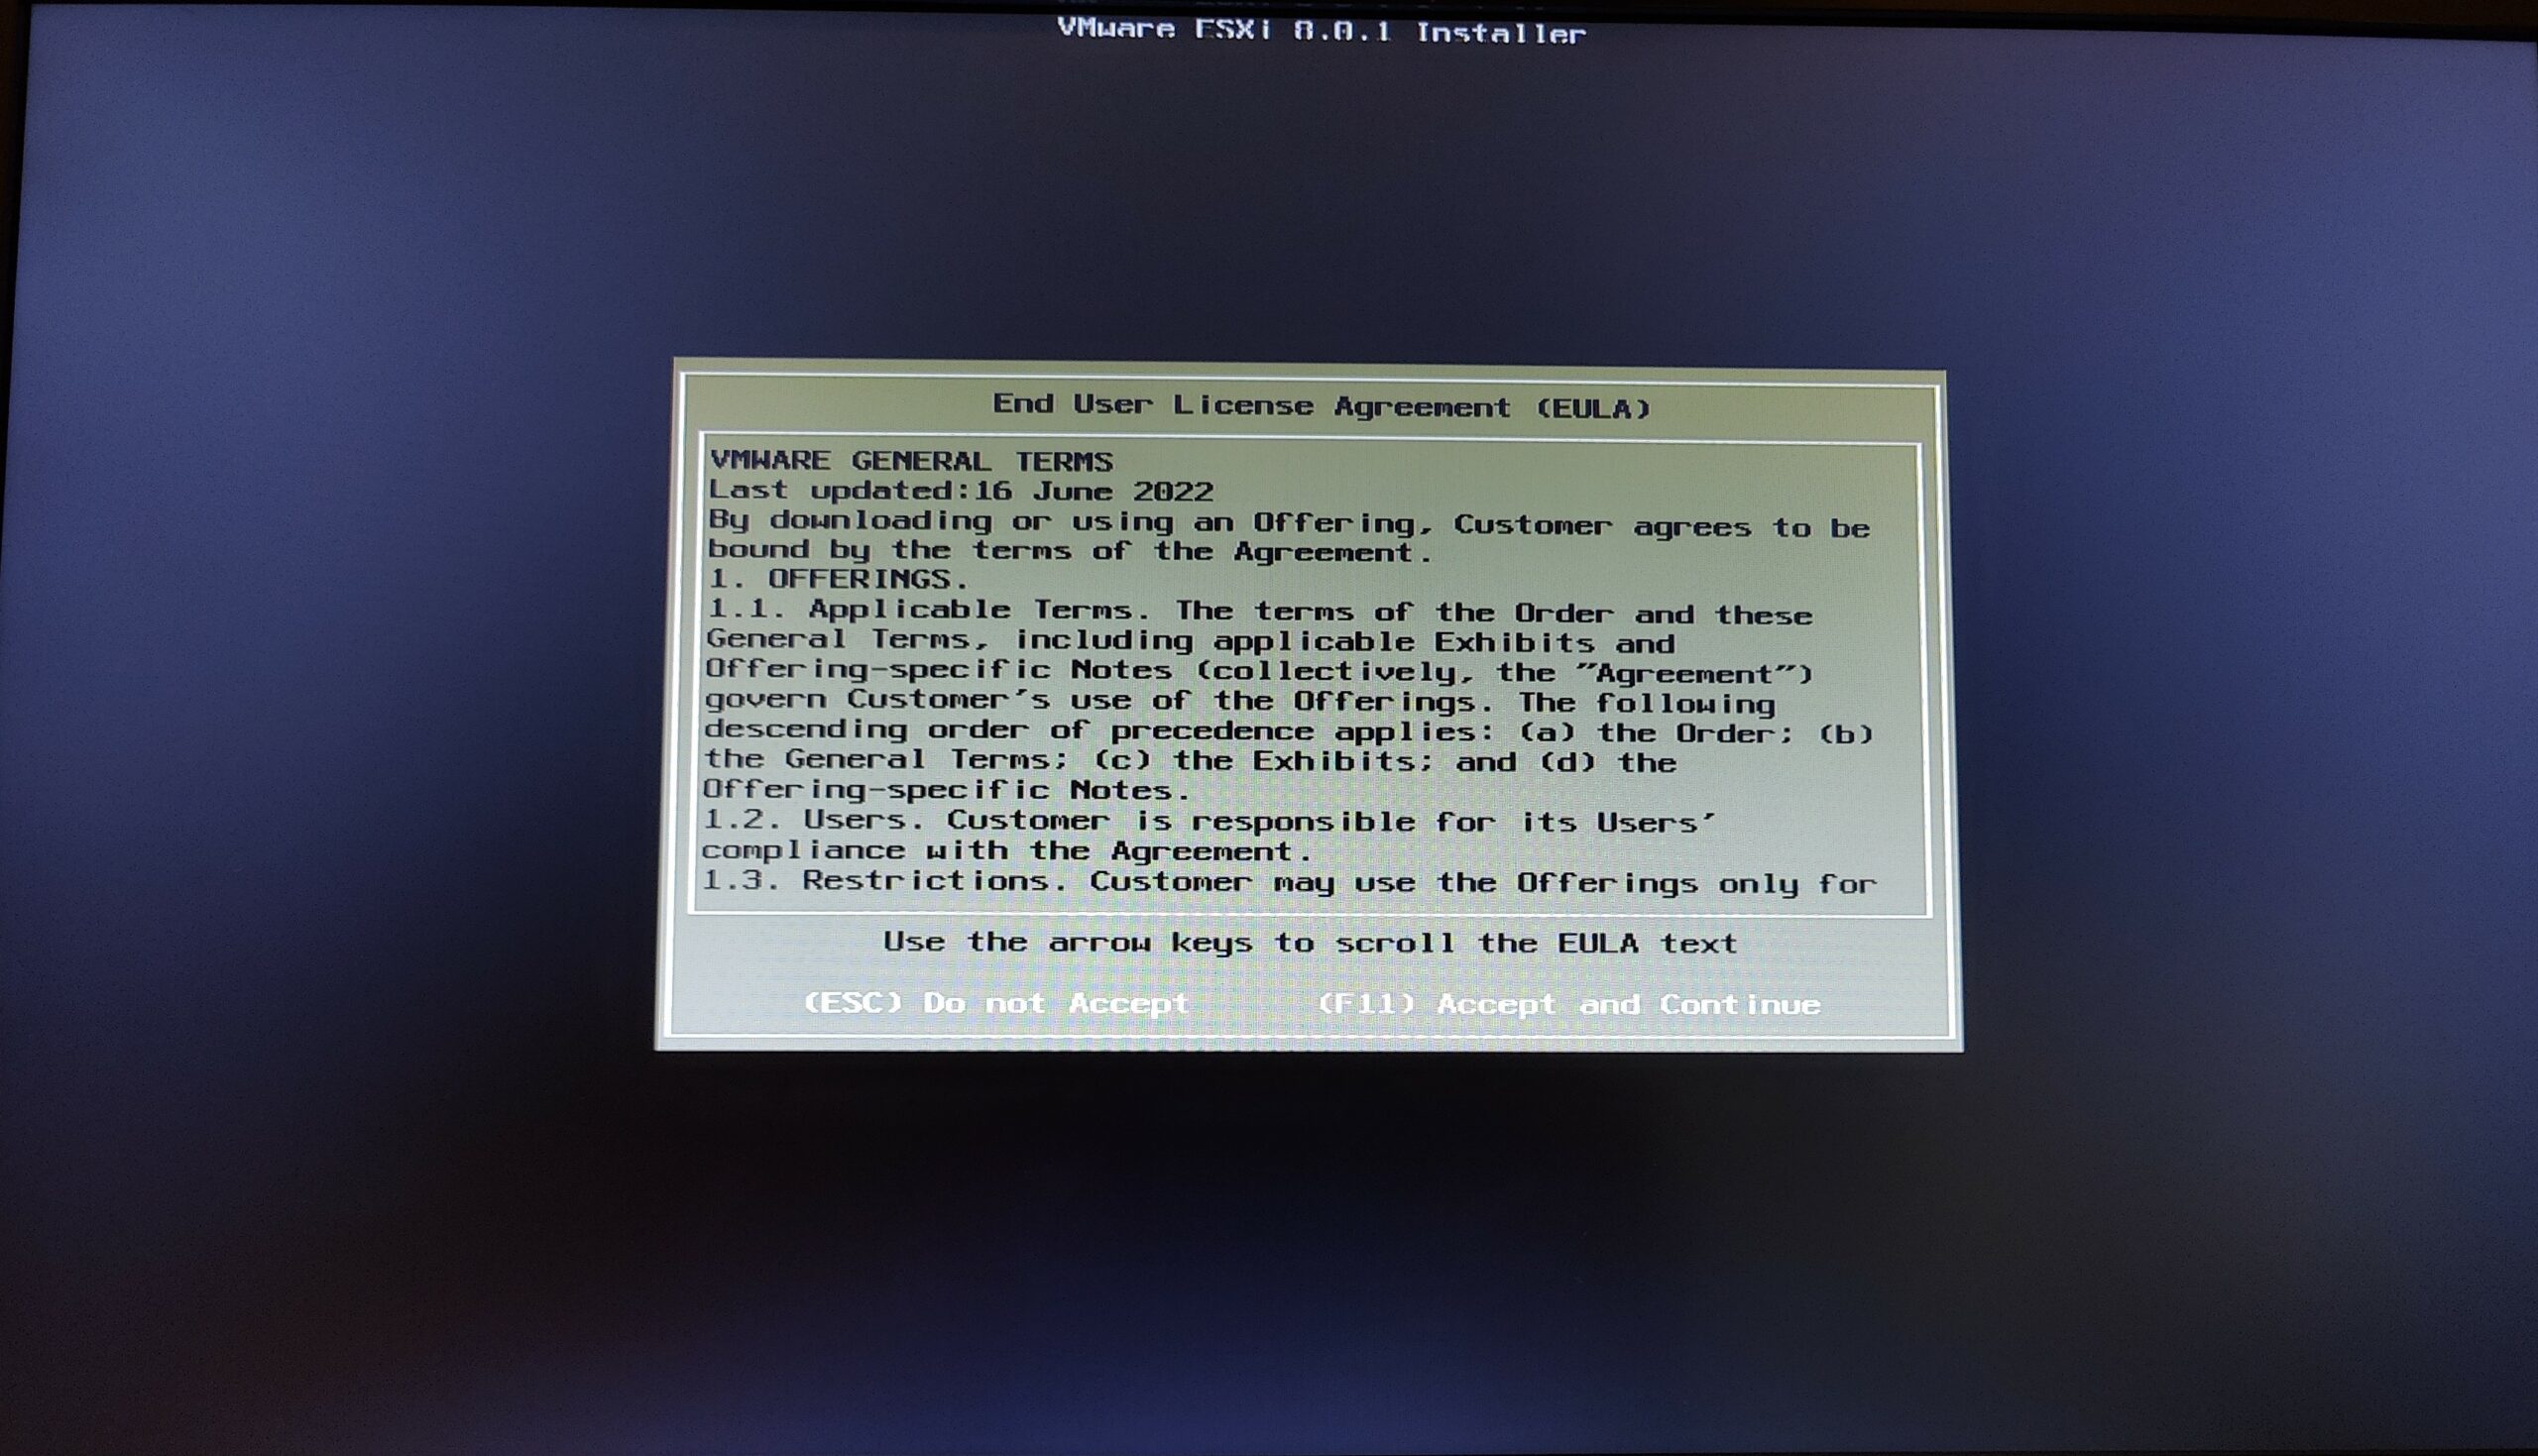
I took a screenshot of each of the screens below, but as you’ll see, it is very straightforward.
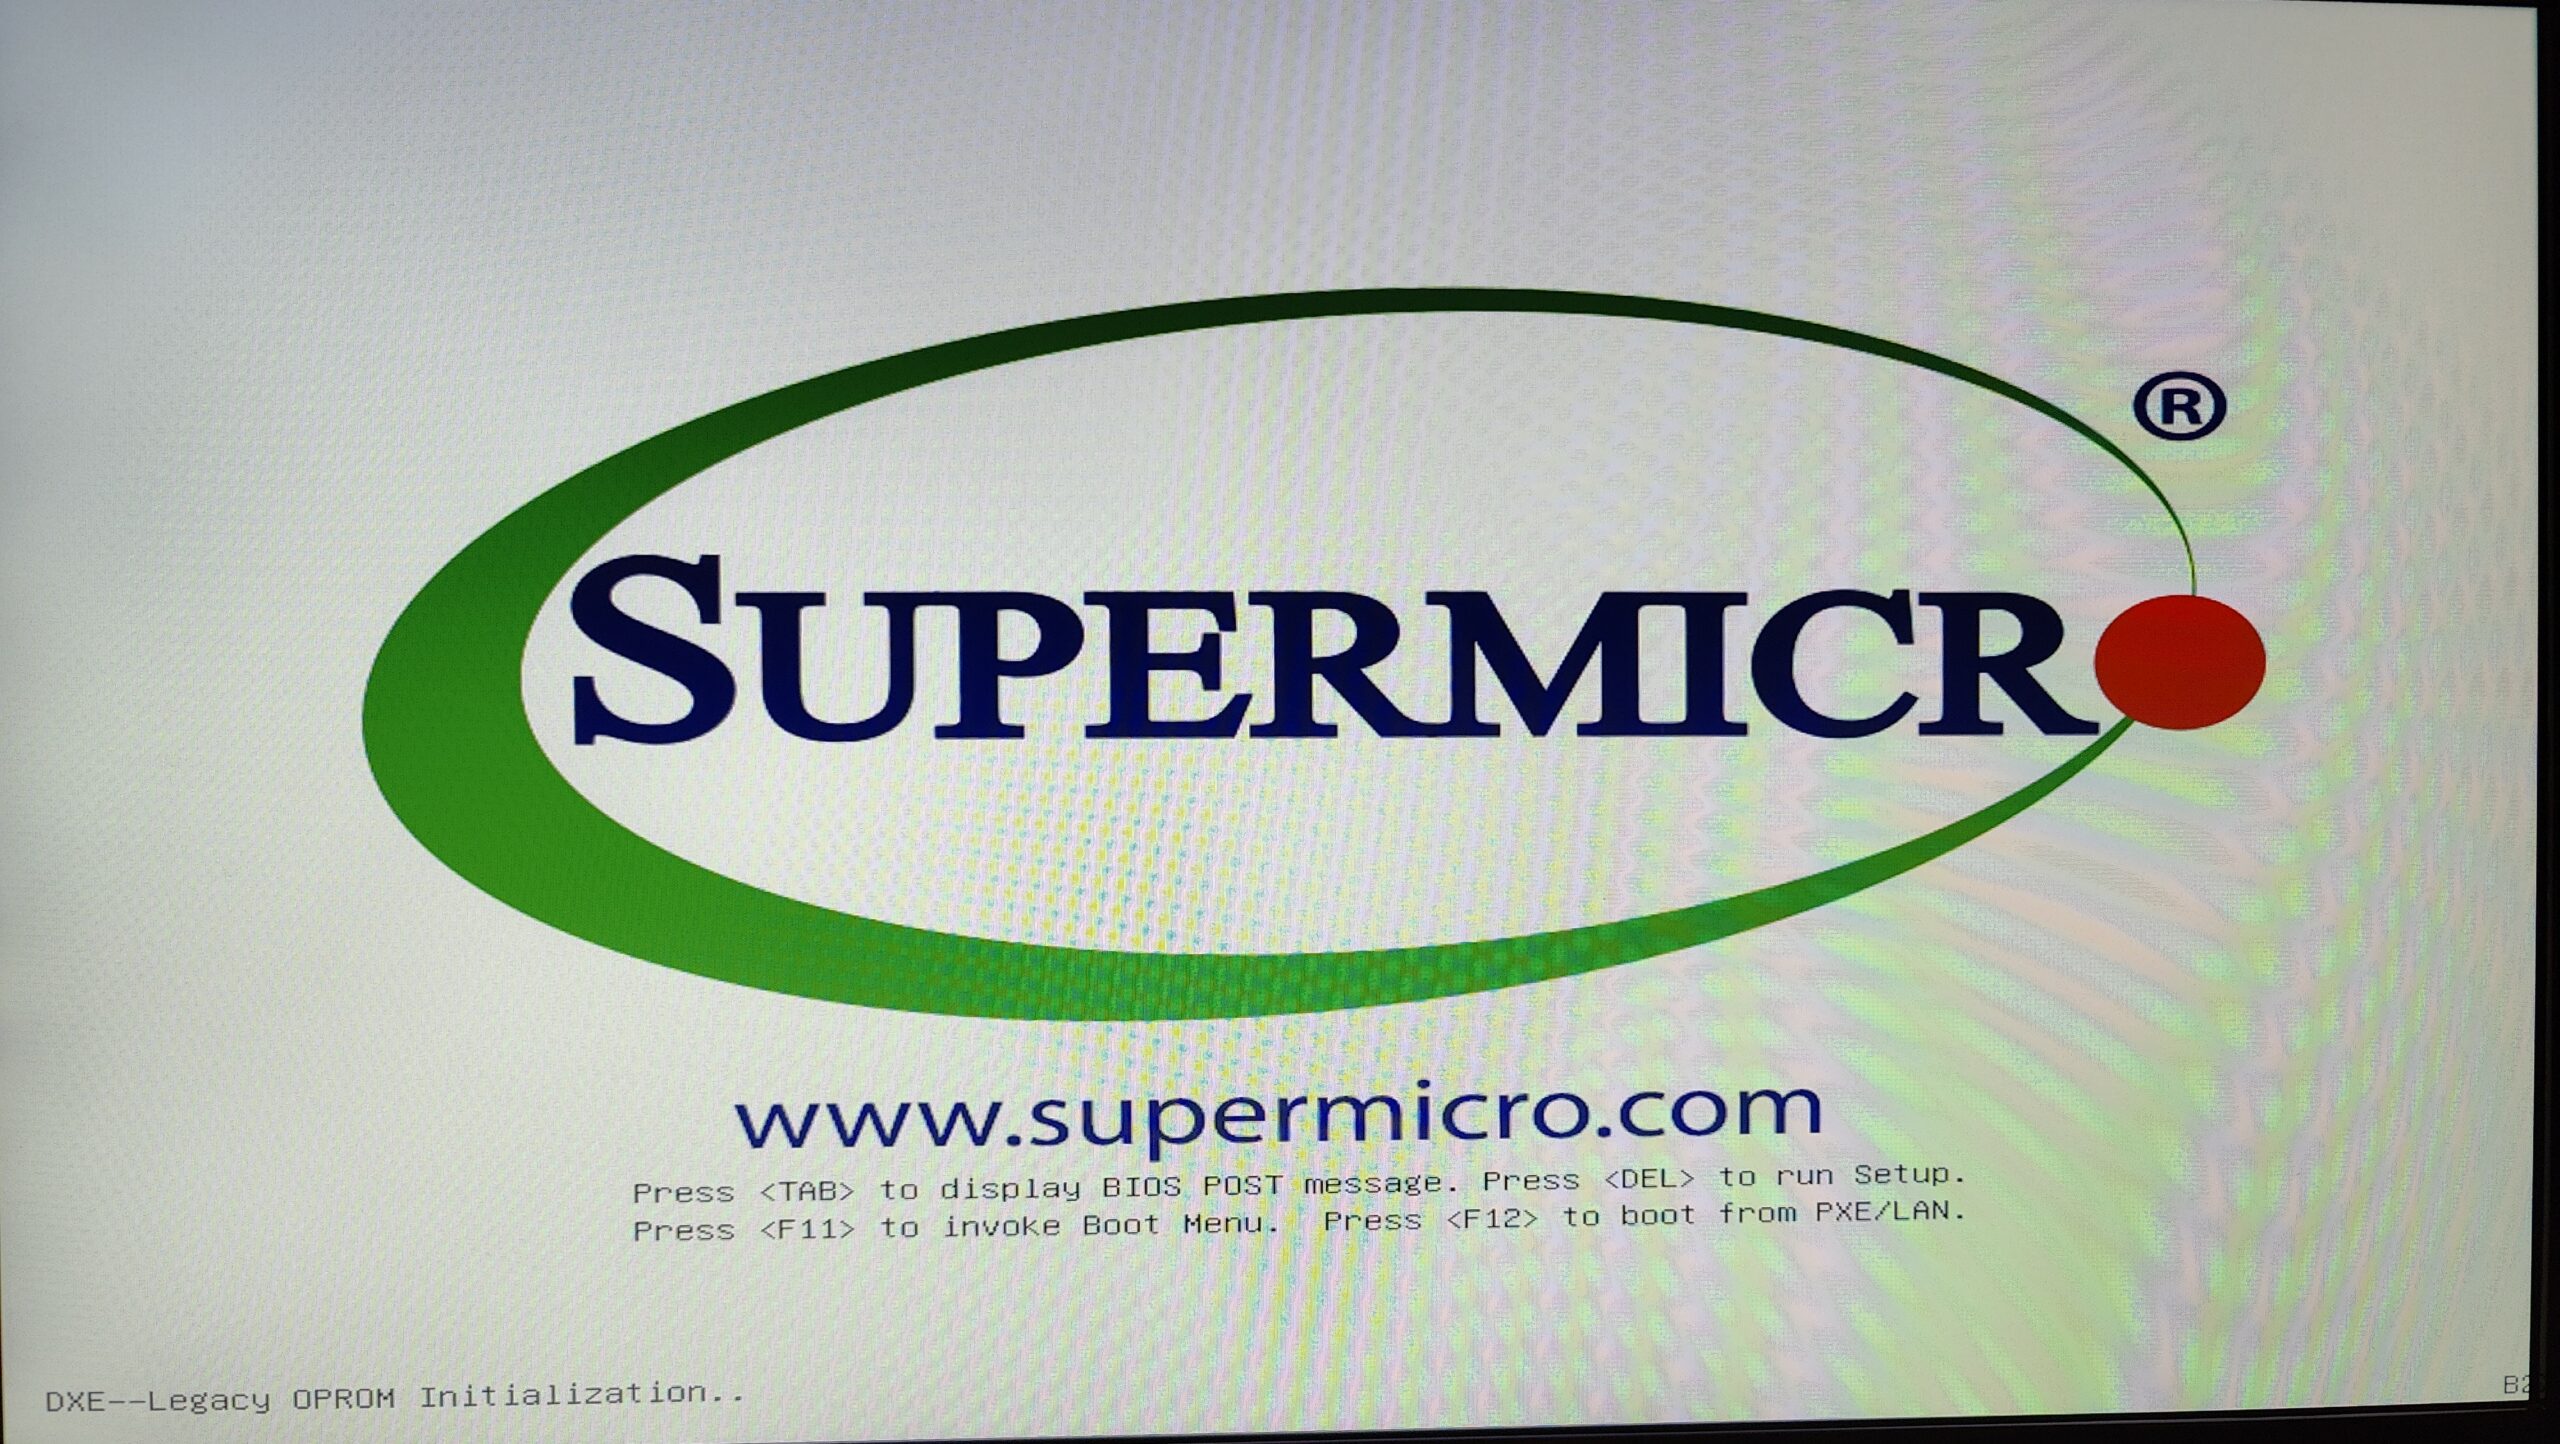
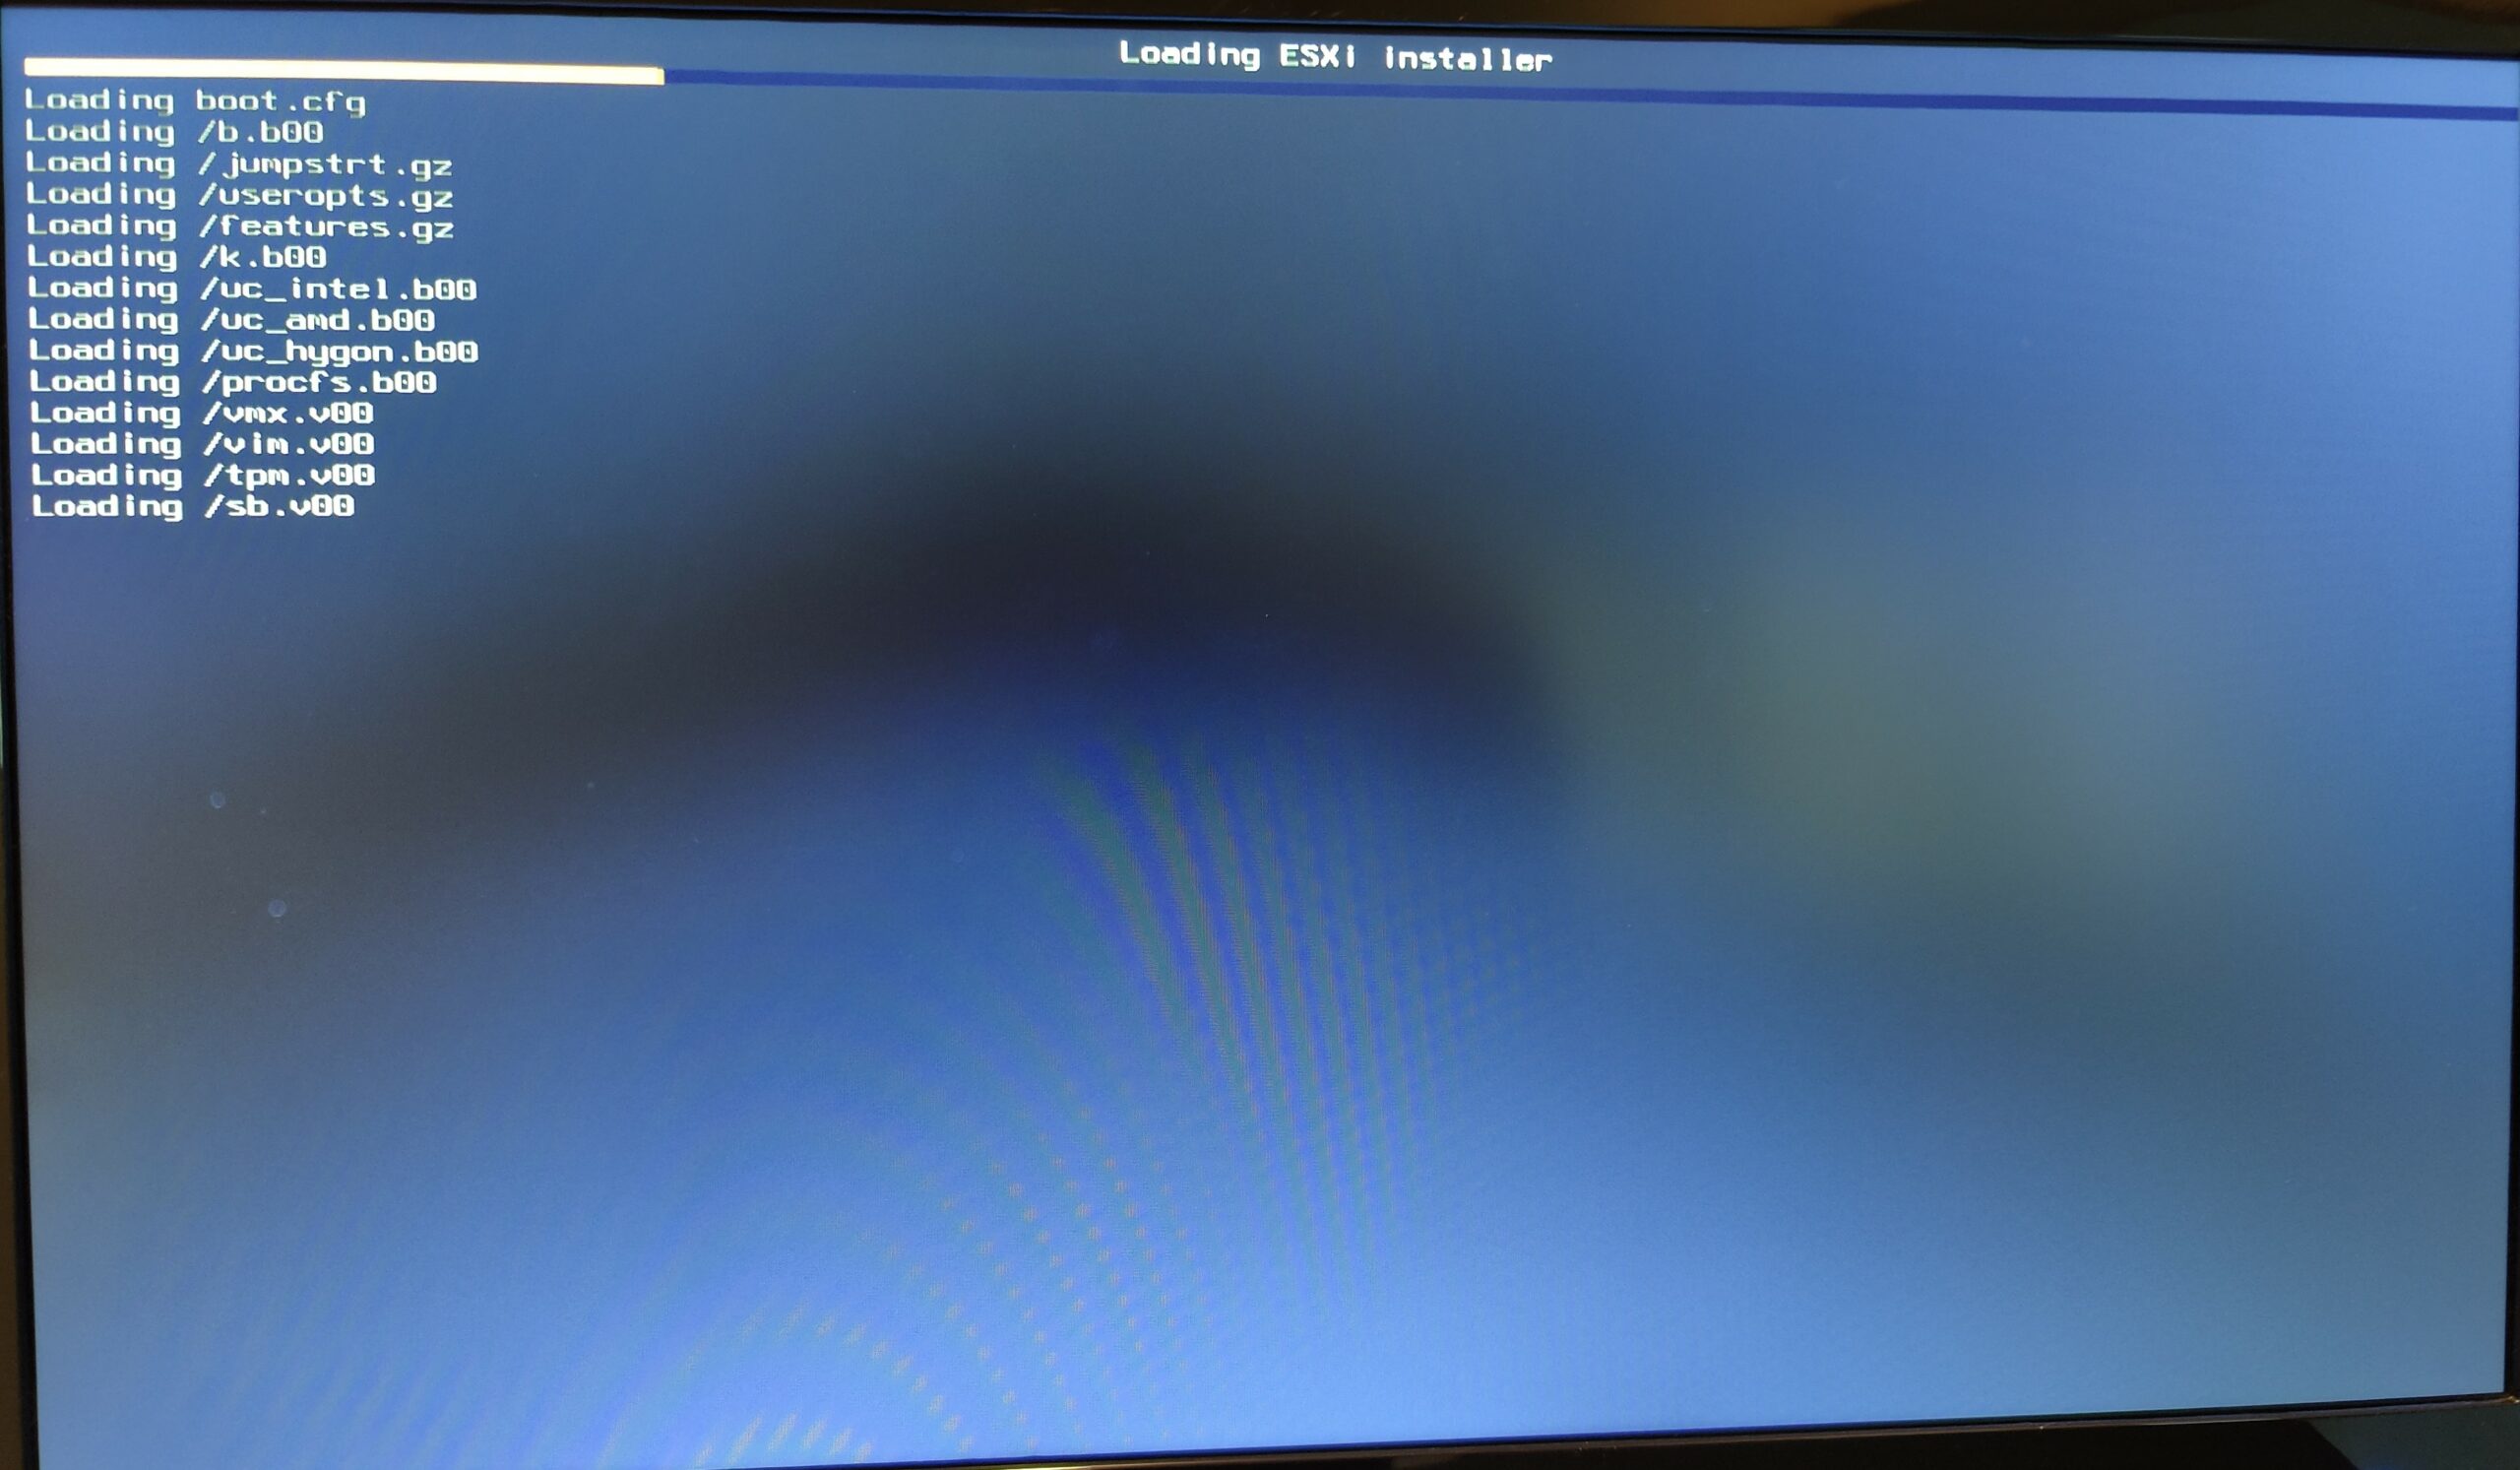
After powering on the host, wait until you see the screen above, and push F11 on the keyboard.
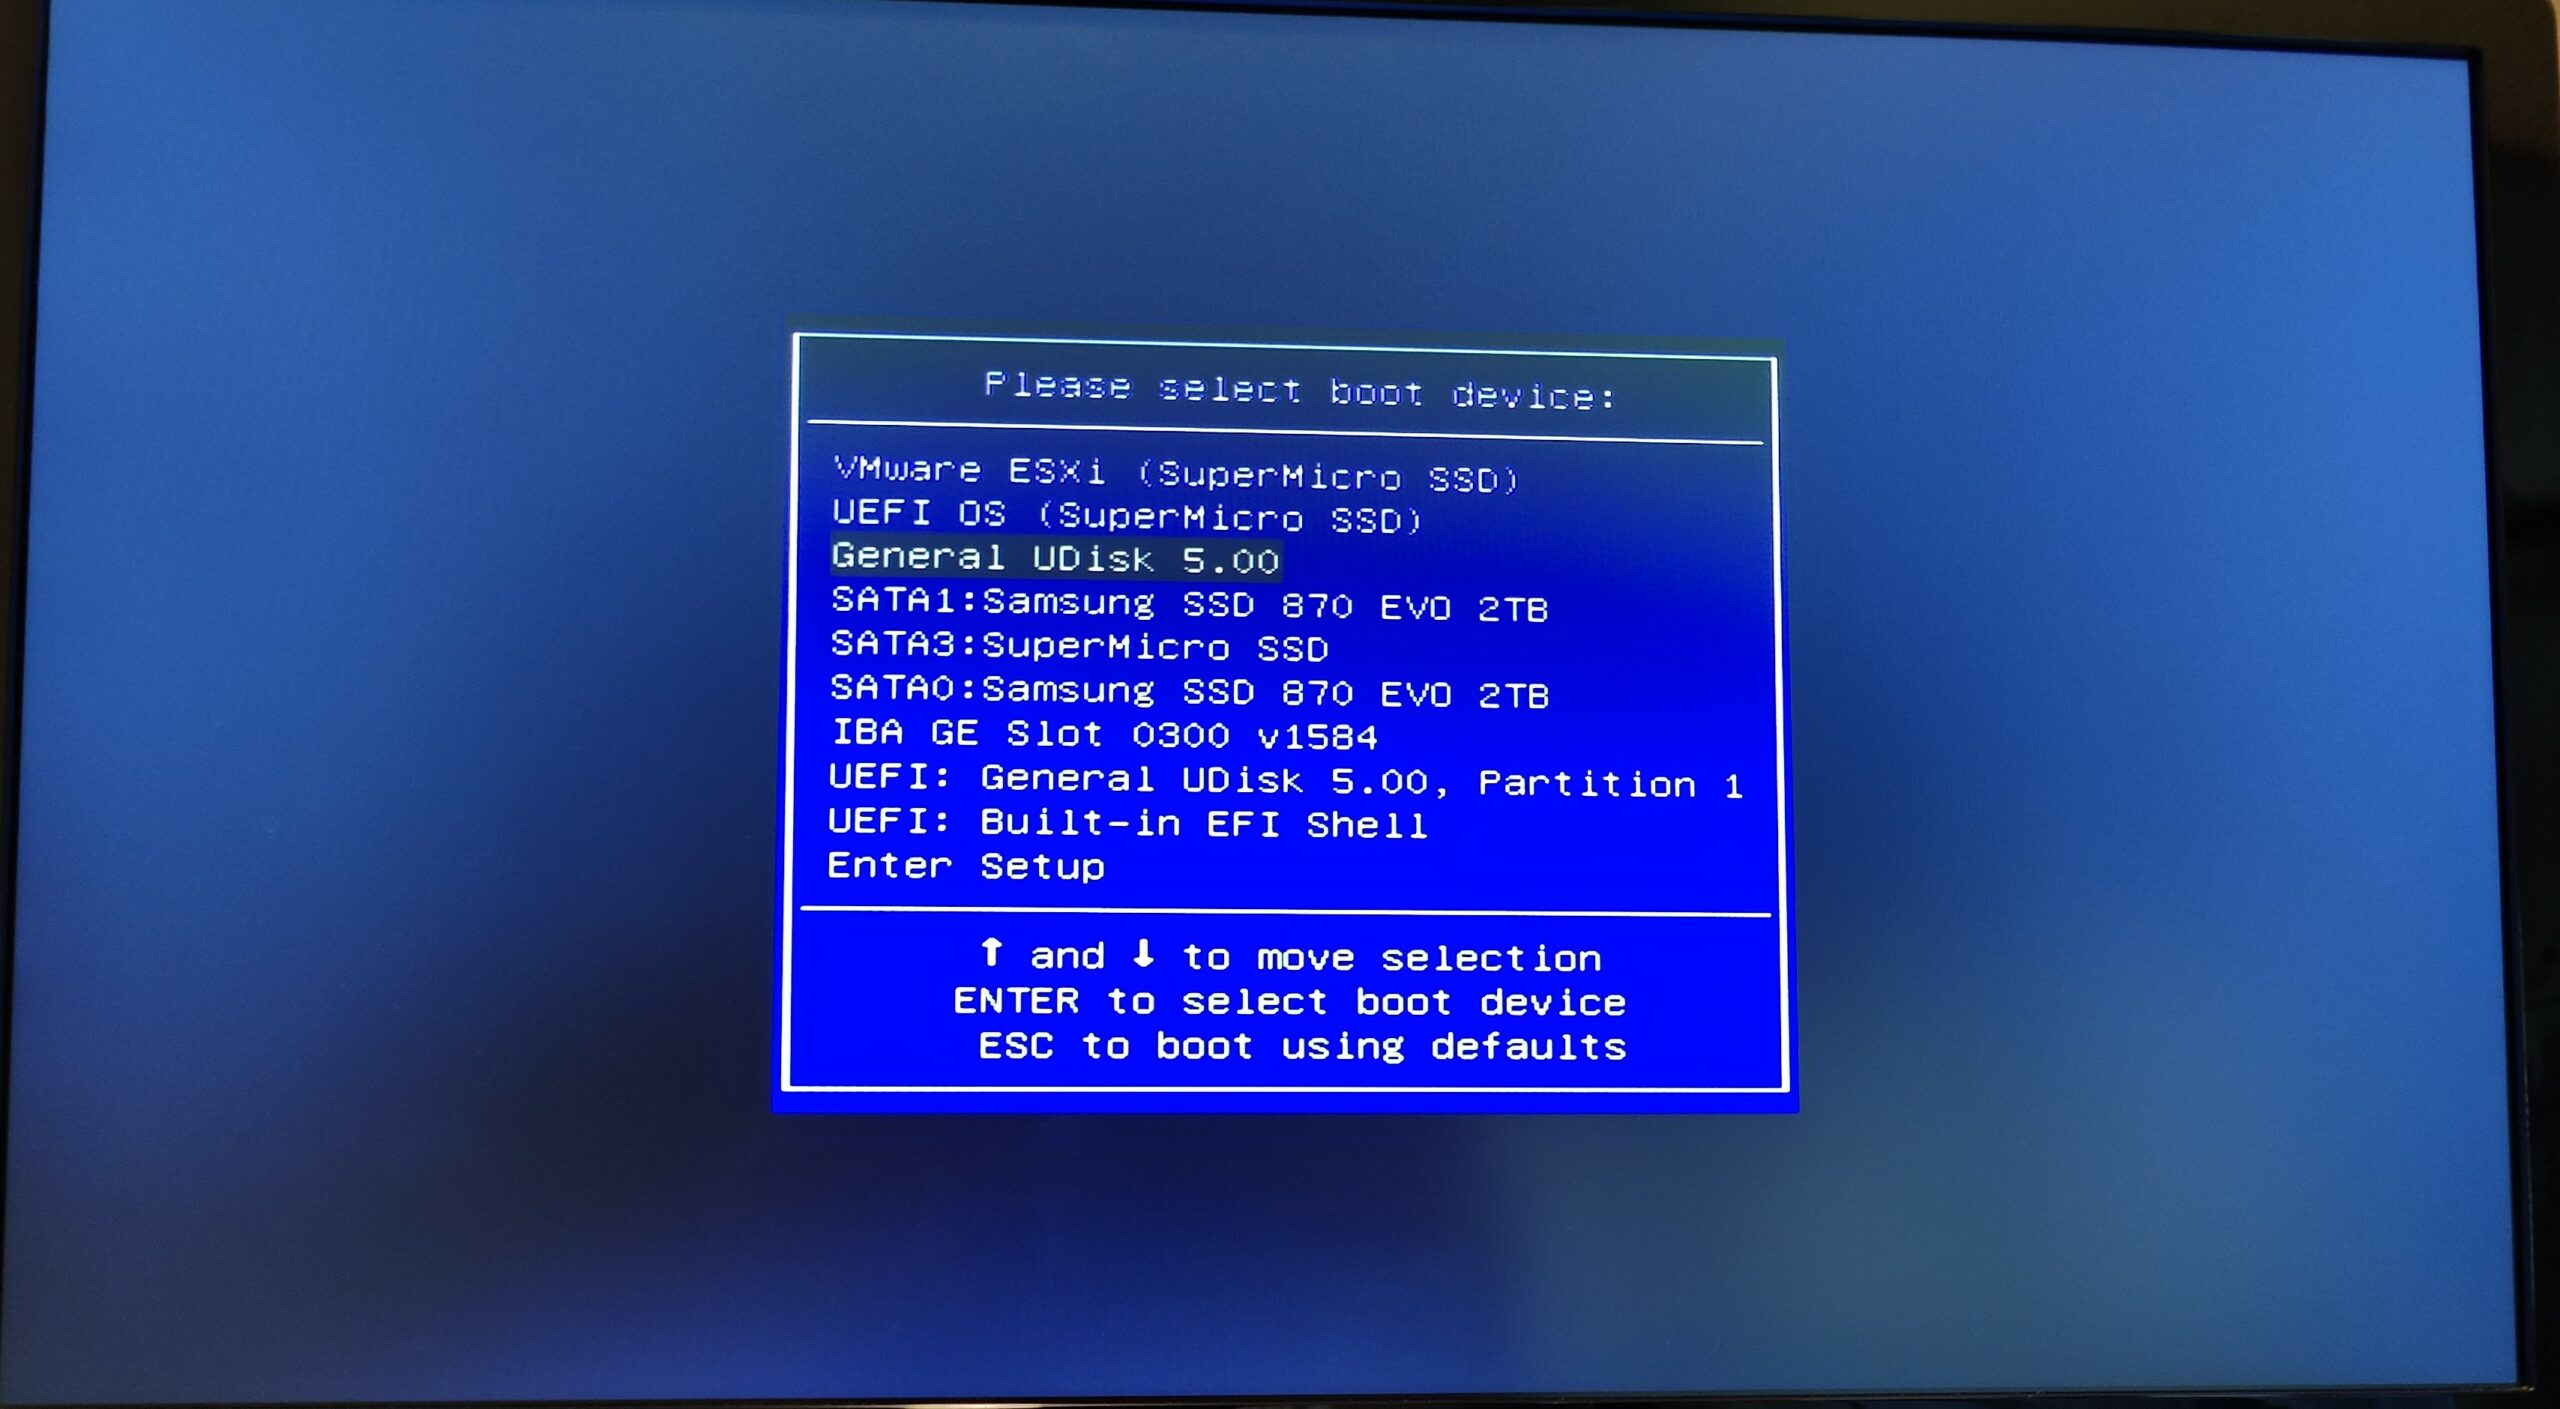
Select the drive above, it’s easiest if you match the disk/volume size with the flash drive capacity. Select your boot device and press enter.
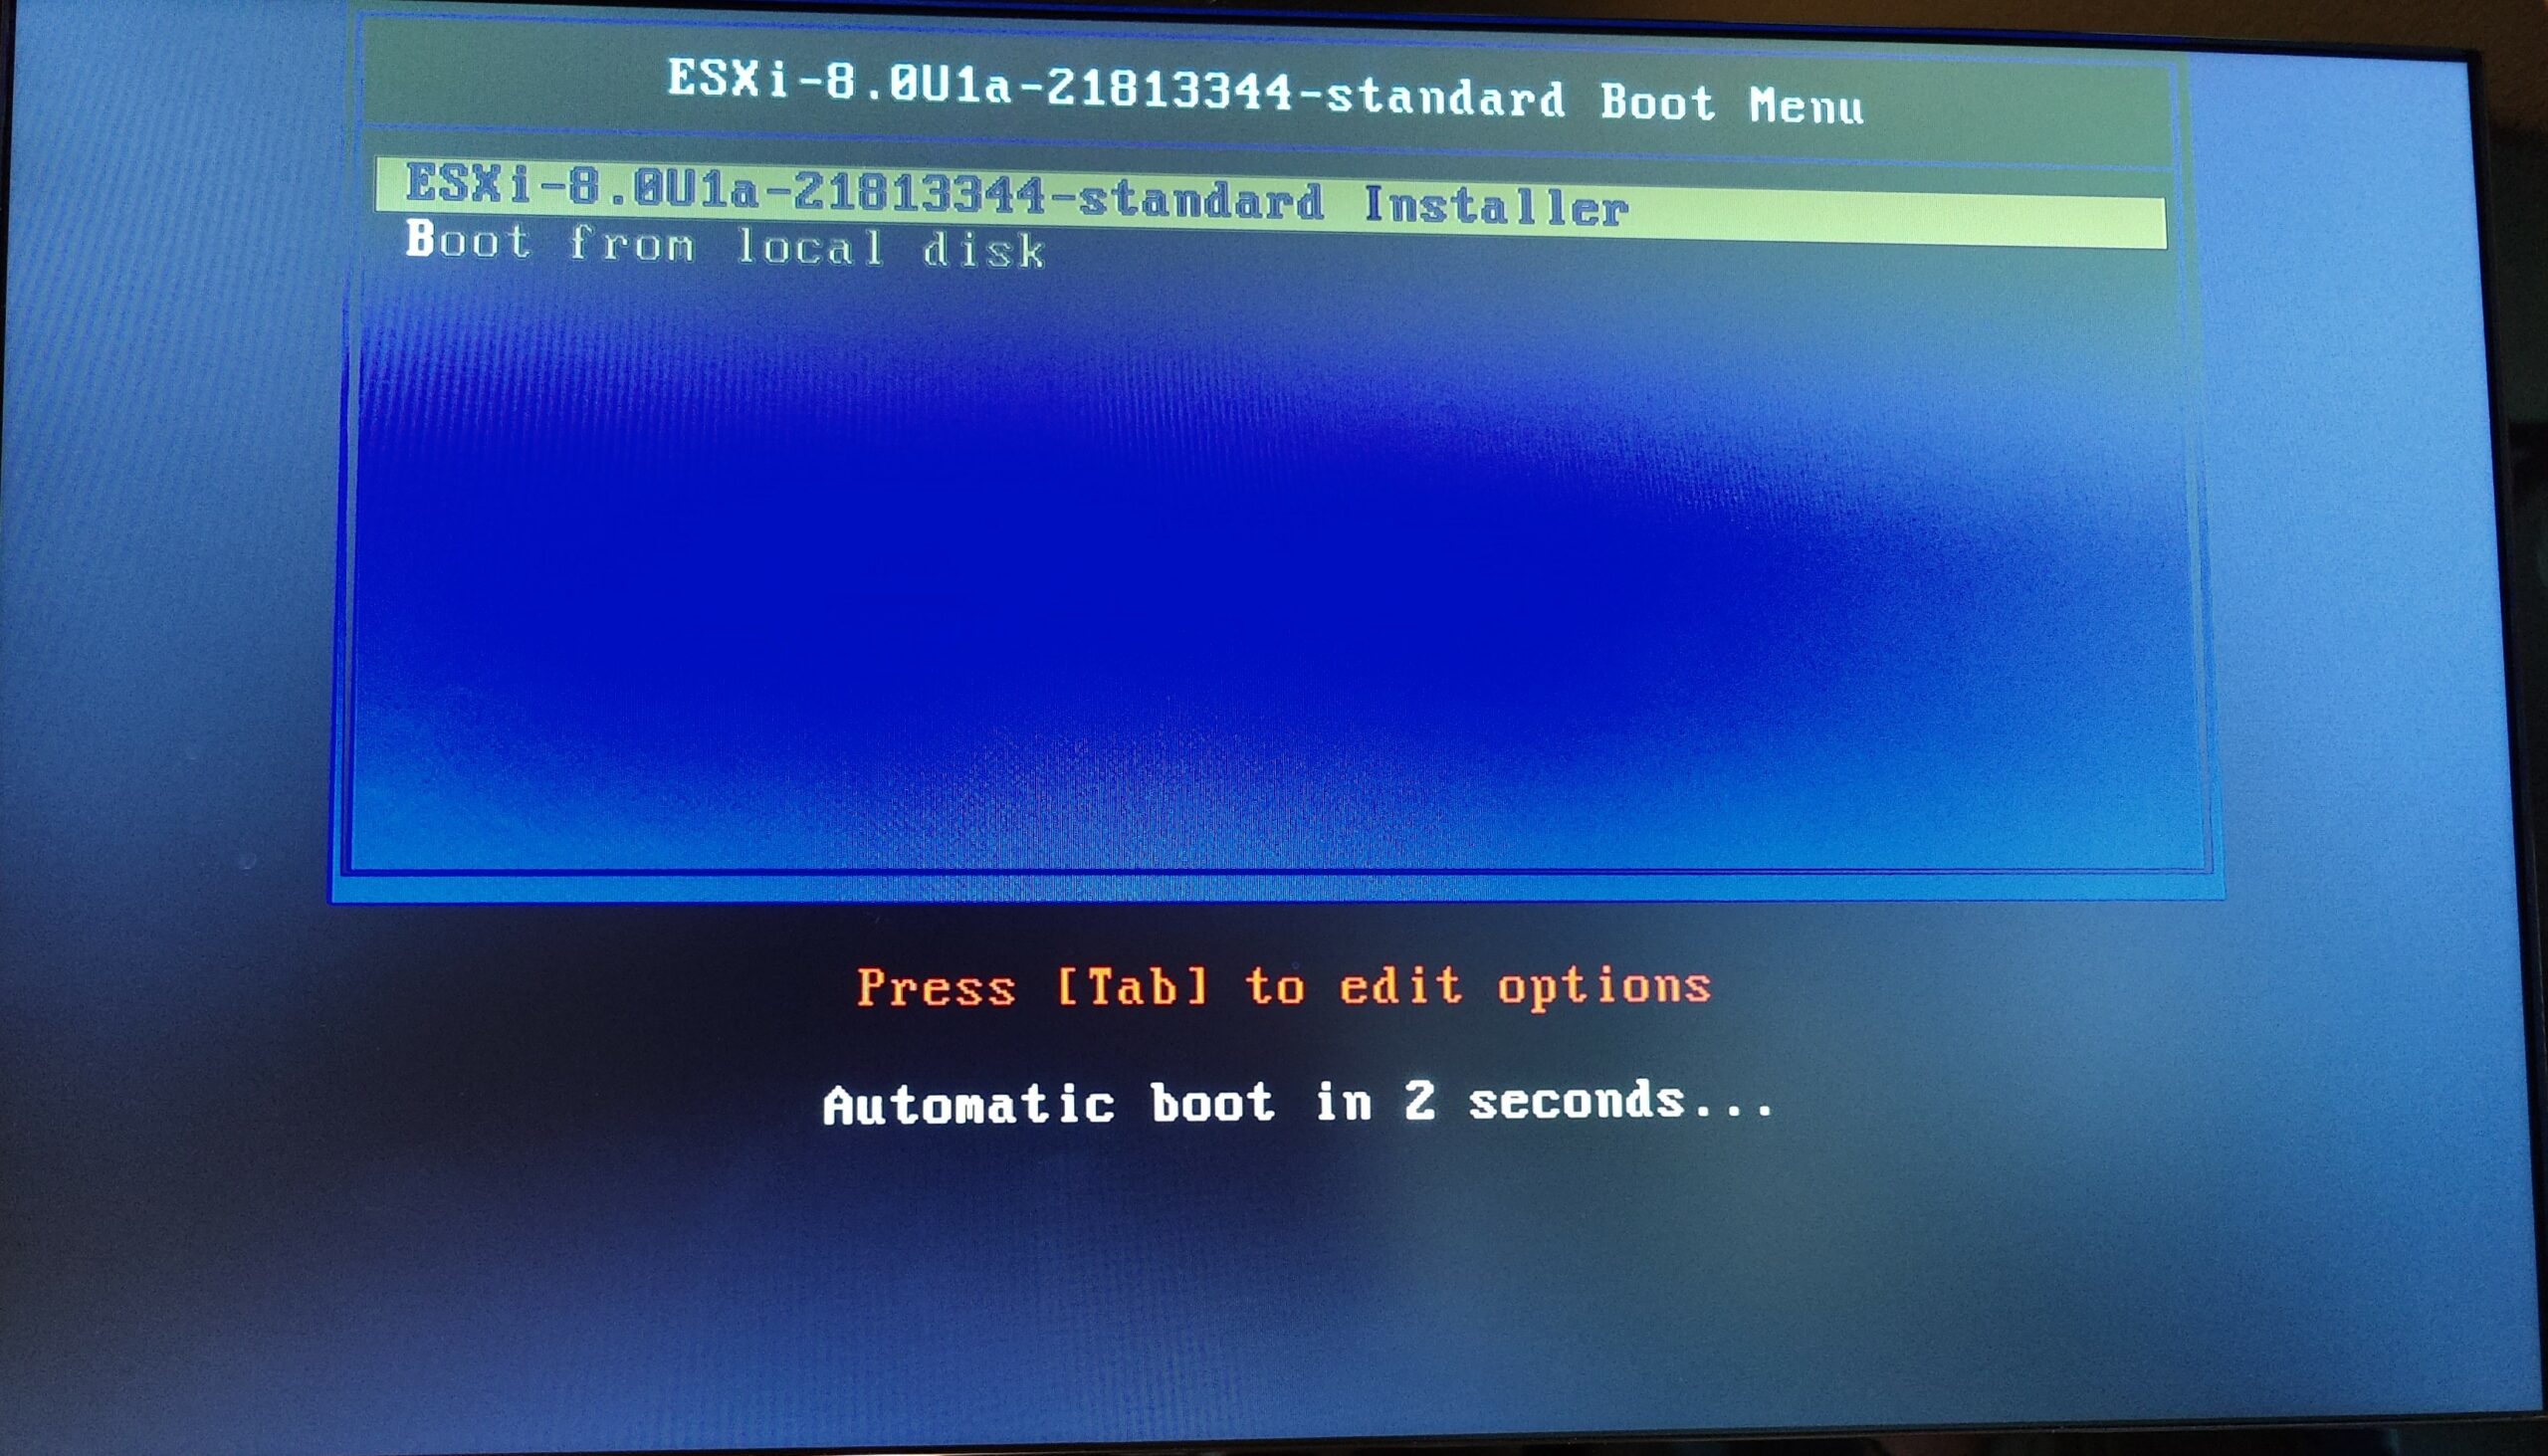
“ESXi-8.0U1a-21813344-standard Installer”
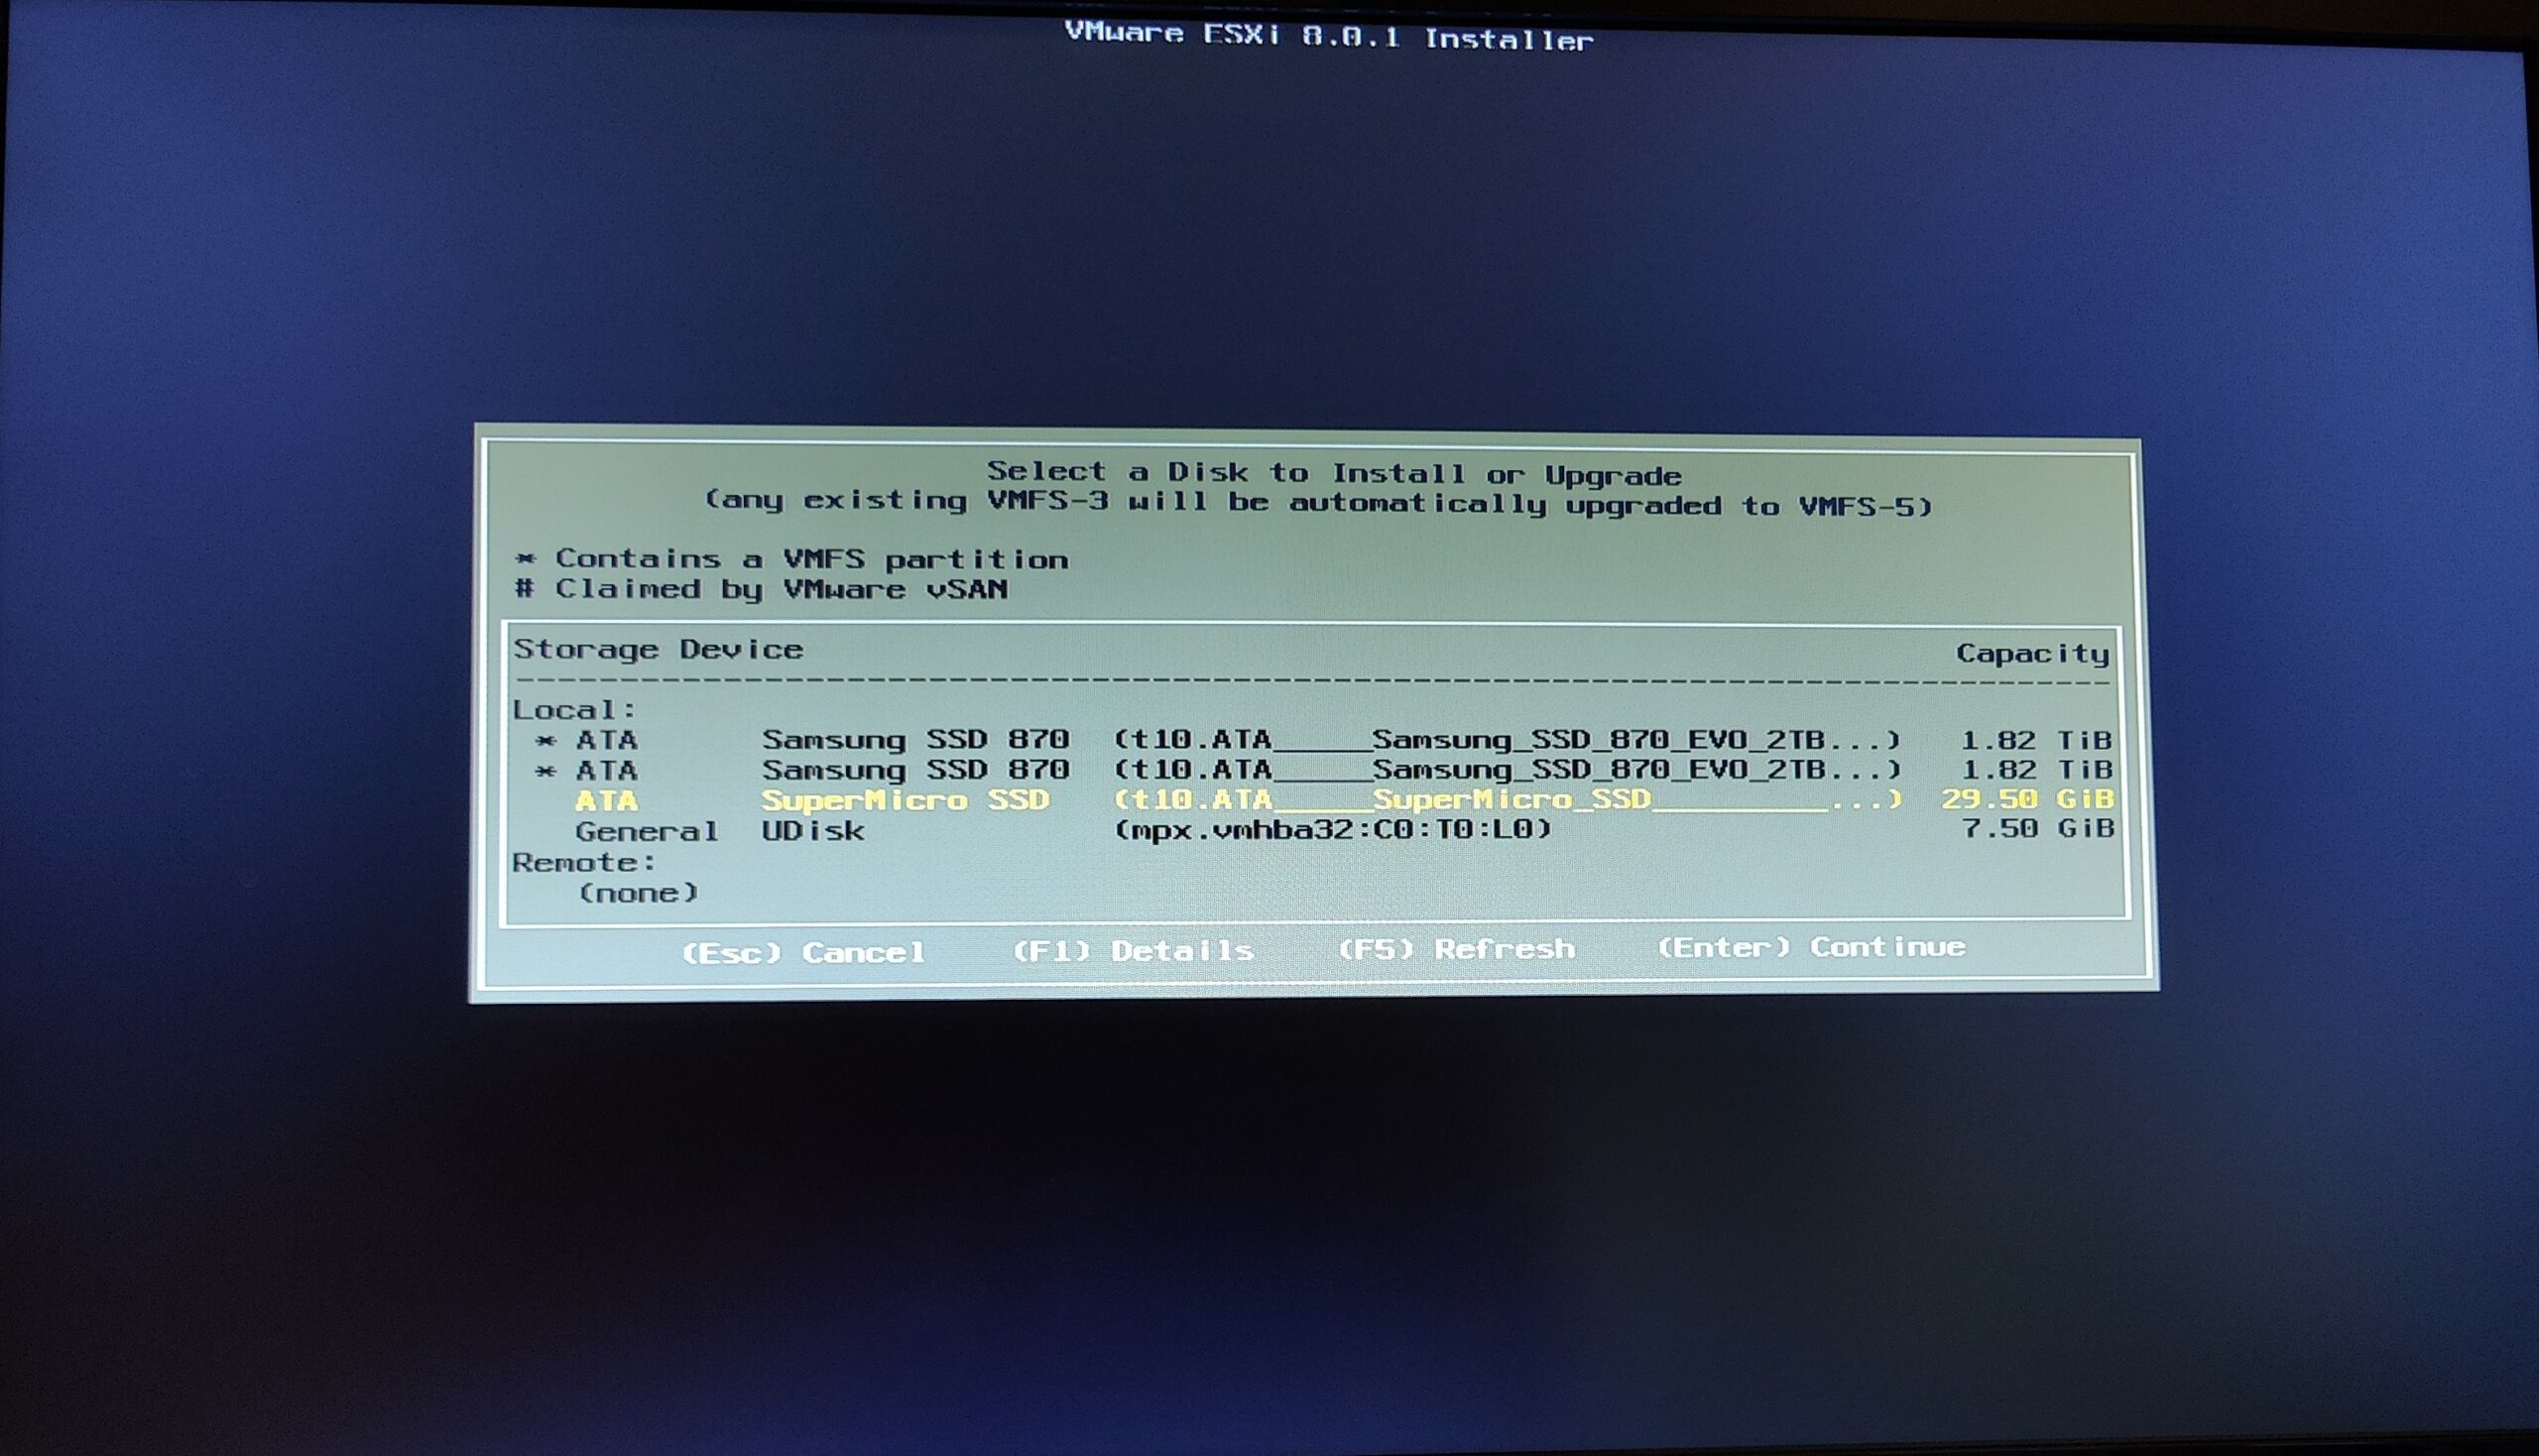
Here they are asking you which disk you would like to install the esxi software on. Since we already have it installed on one of our drives on the SuperMicro, we need to select that drive.
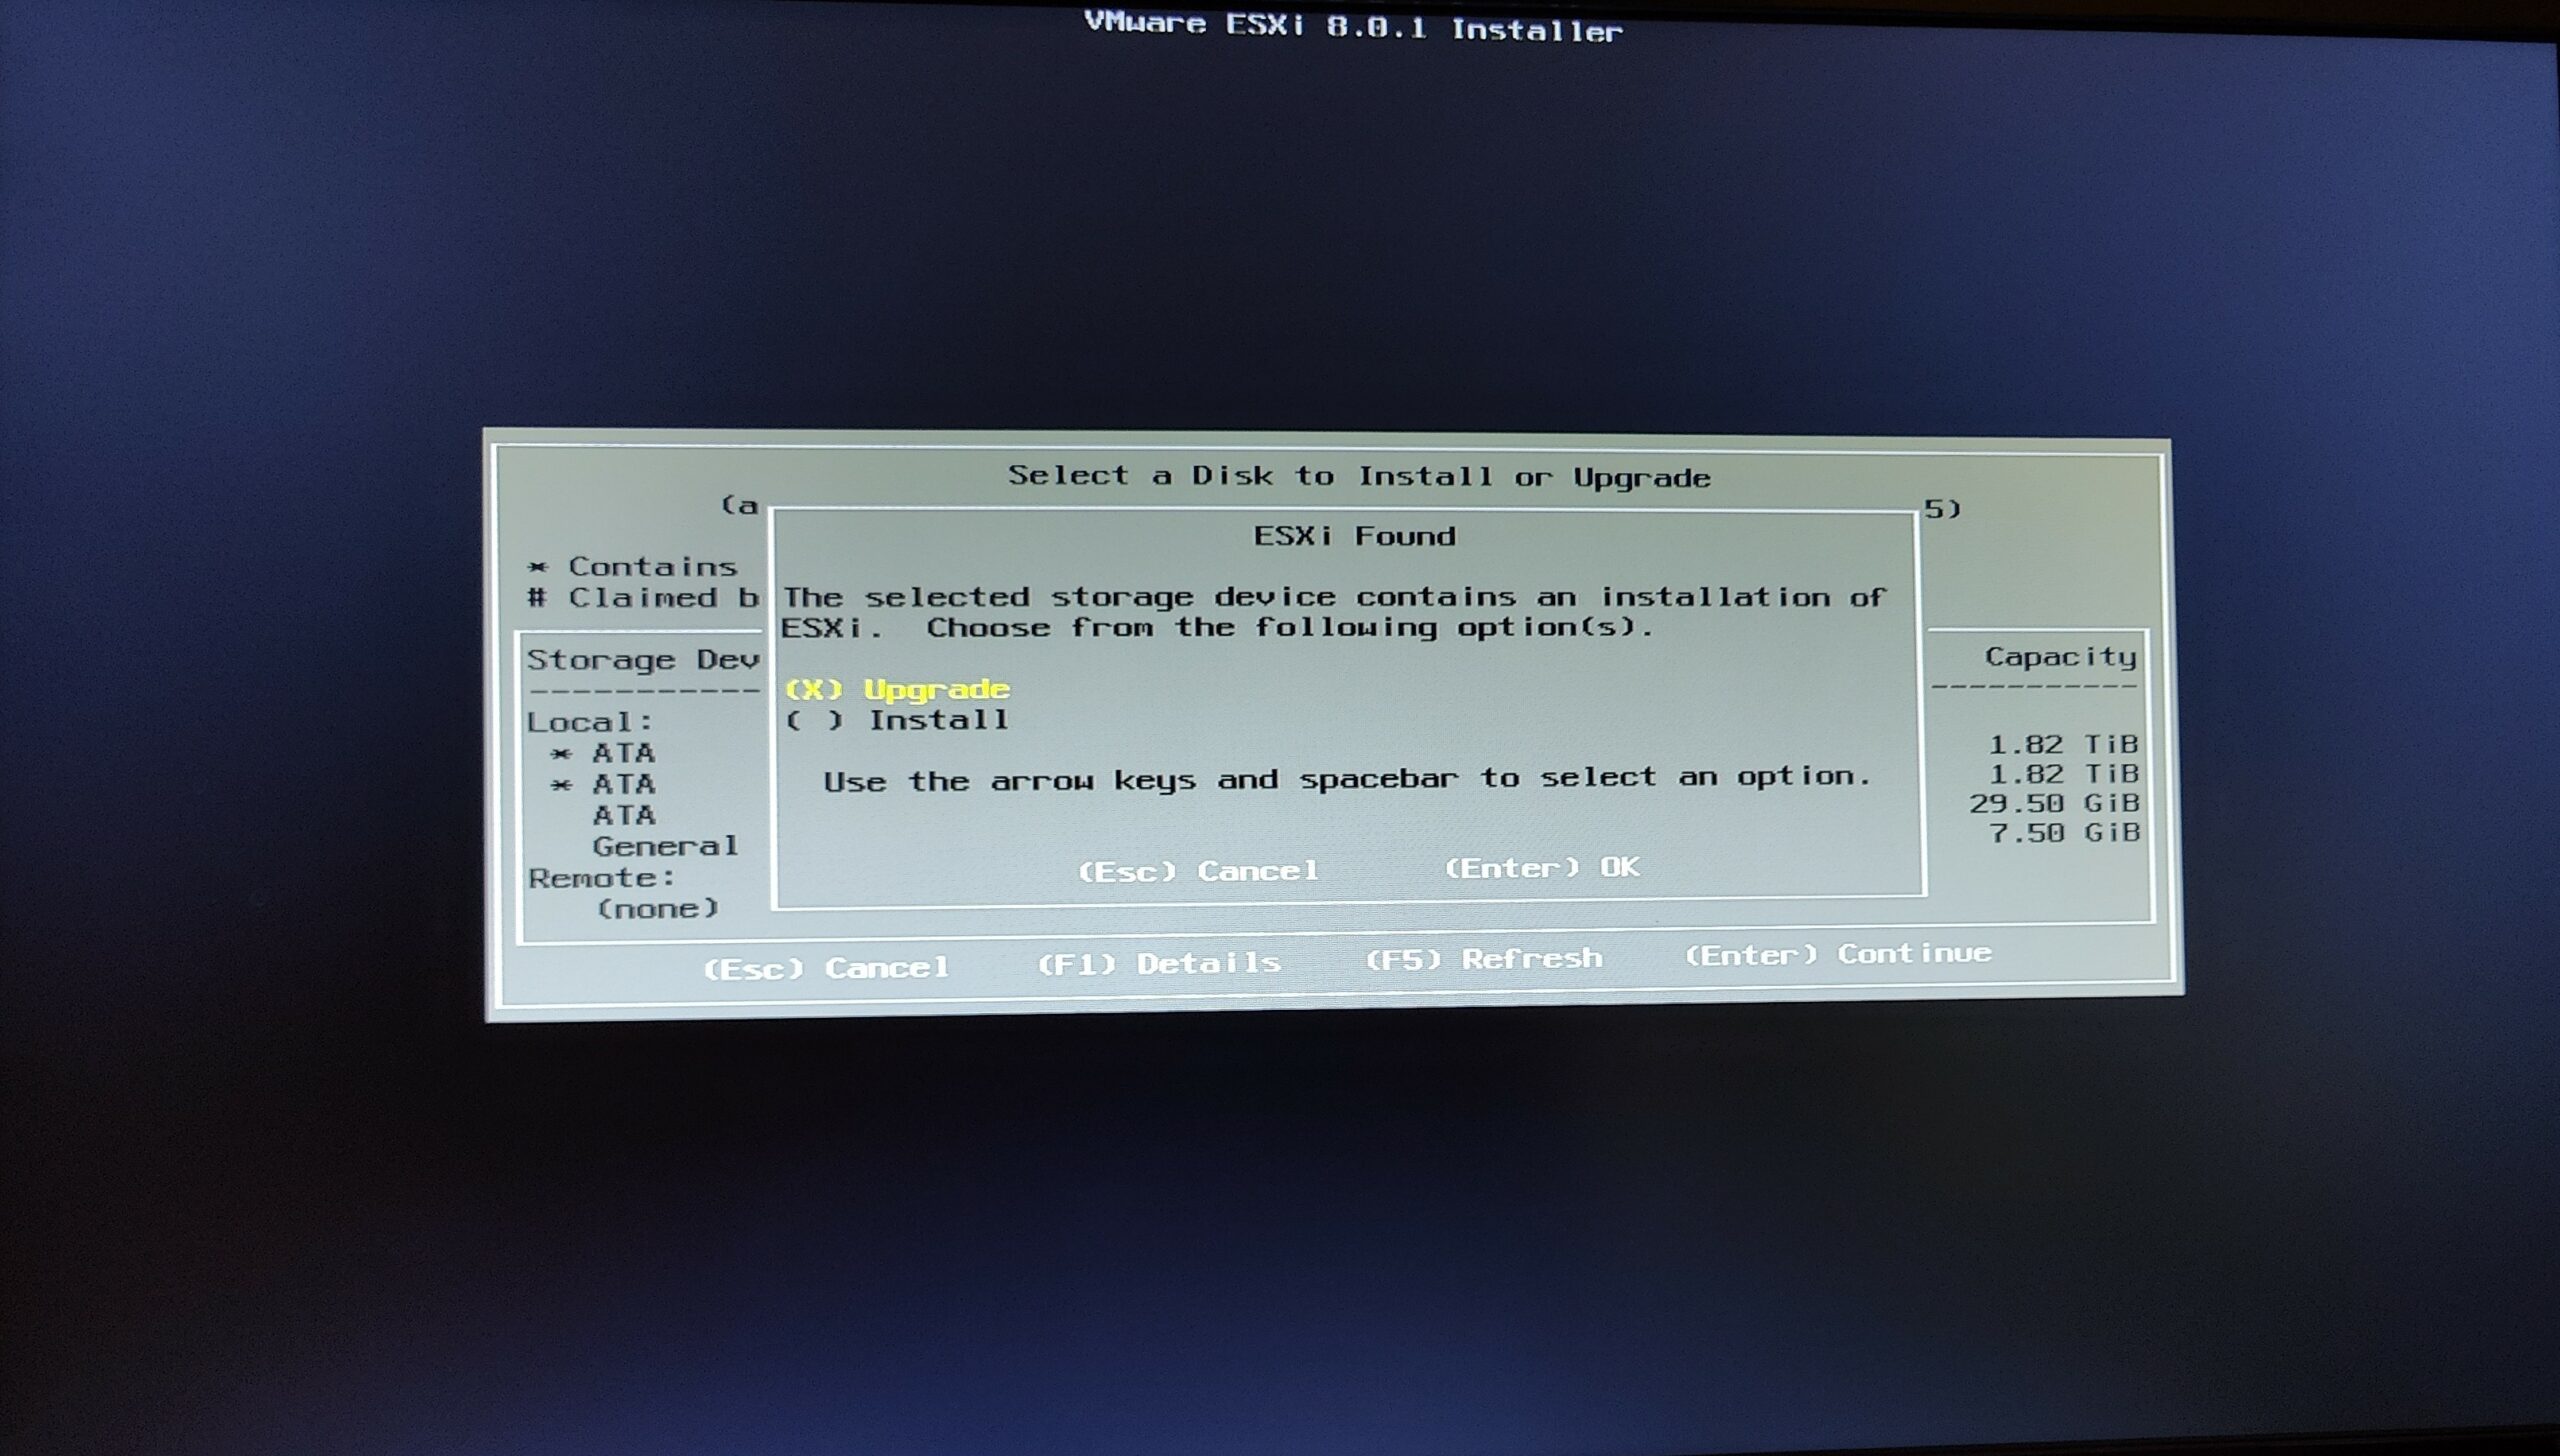
The existing software is recognized, and we select Upgrade.


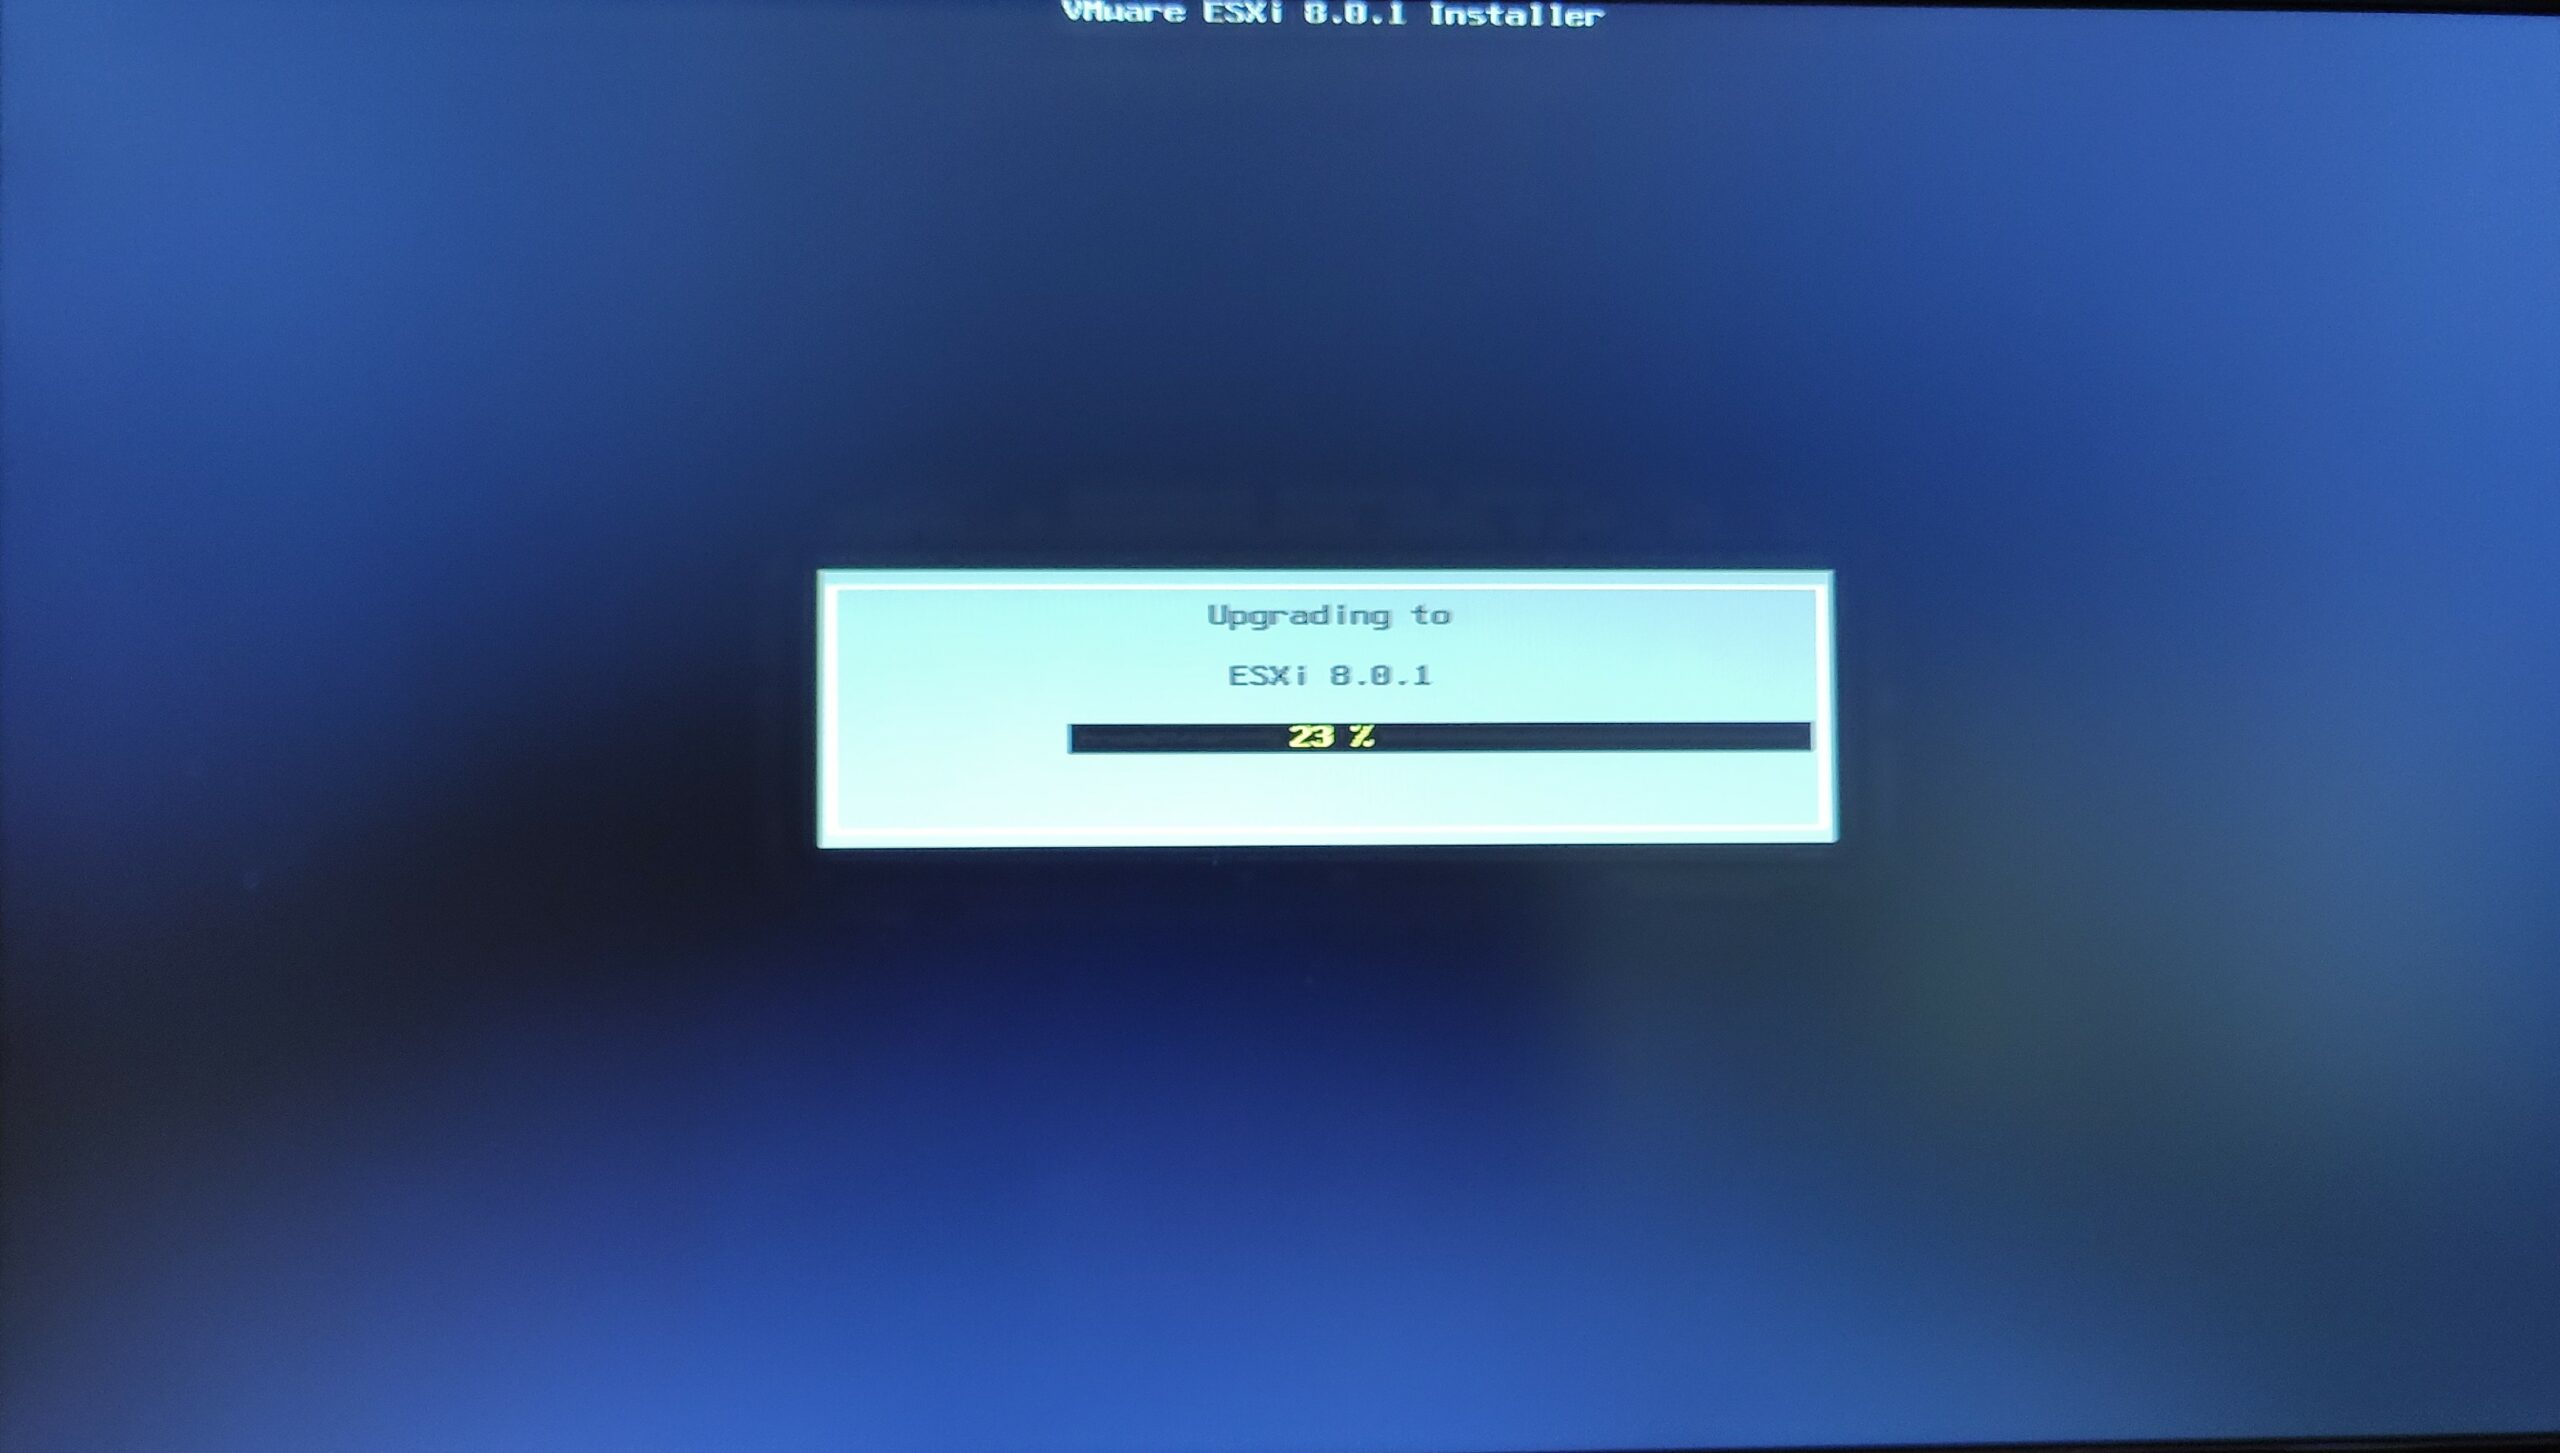

And finally you should see the message above, indicating the install was successful. Remove the flash drive and reboot the host.
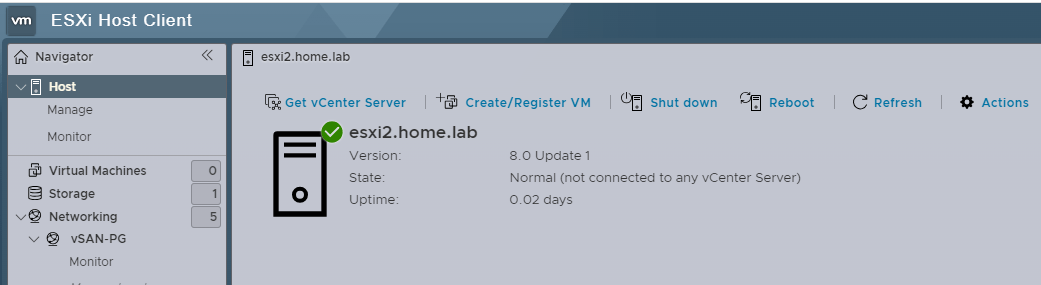
Now we can see the upgrade was successful and we’re running vSphere 8.0